Replacing the Hard Disk
Install only blank hard disk drives received from the Pelco factory. Do not install a replacement hard disk drive that is already formatted. Hard disk drives that are already formatted can cause errors on the DX4000.
WARNING: Any video on the hard disk drive will be lost when the drive is replaced. If possible, back up important video recordings before you replace a hard disk drive.
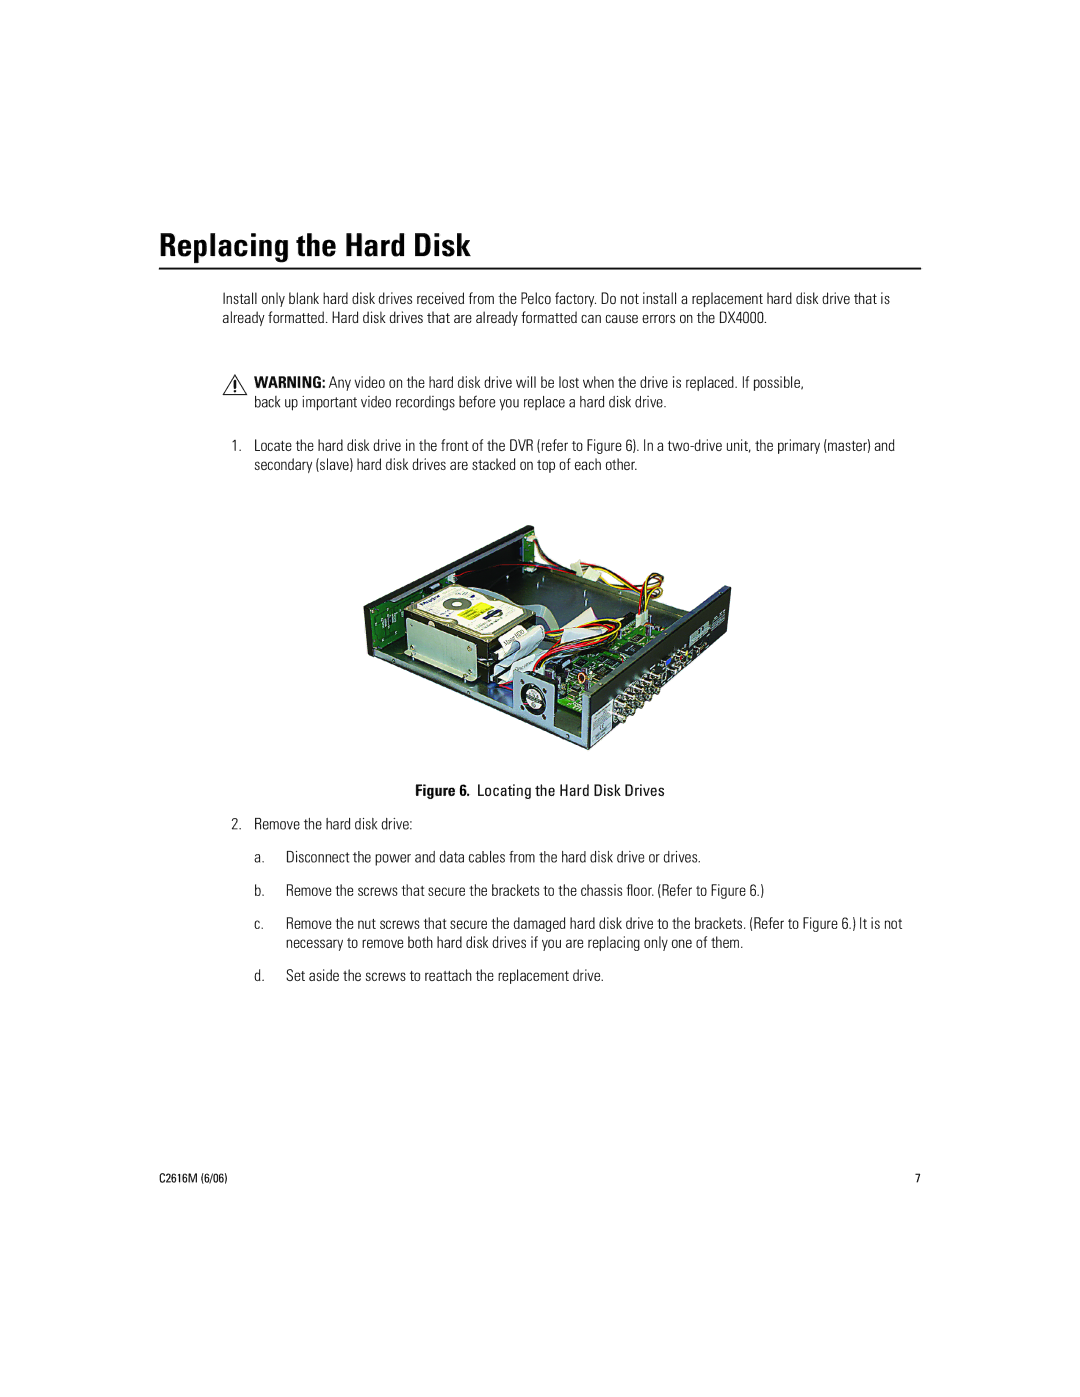
1.Locate the hard disk drive in the front of the DVR (refer to Figure 6). In a
Figure 6. Locating the Hard Disk Drives
2.Remove the hard disk drive:
a.Disconnect the power and data cables from the hard disk drive or drives.
b.Remove the screws that secure the brackets to the chassis floor. (Refer to Figure 6.)
c.Remove the nut screws that secure the damaged hard disk drive to the brackets. (Refer to Figure 6.) It is not necessary to remove both hard disk drives if you are replacing only one of them.
d.Set aside the screws to reattach the replacement drive.
C2616M (6/06) | 7 |