2.Pull video and power wires to the selected ceiling tile.
3.Mount the unit to the ceiling tile (refer to Figure 6 and Figure 7):
a.Remove the ceiling tile from the ceiling.
b.Cut a hole 4 inches (10 cm) in diameter in the ceiling tile.
c.Use one of the following:
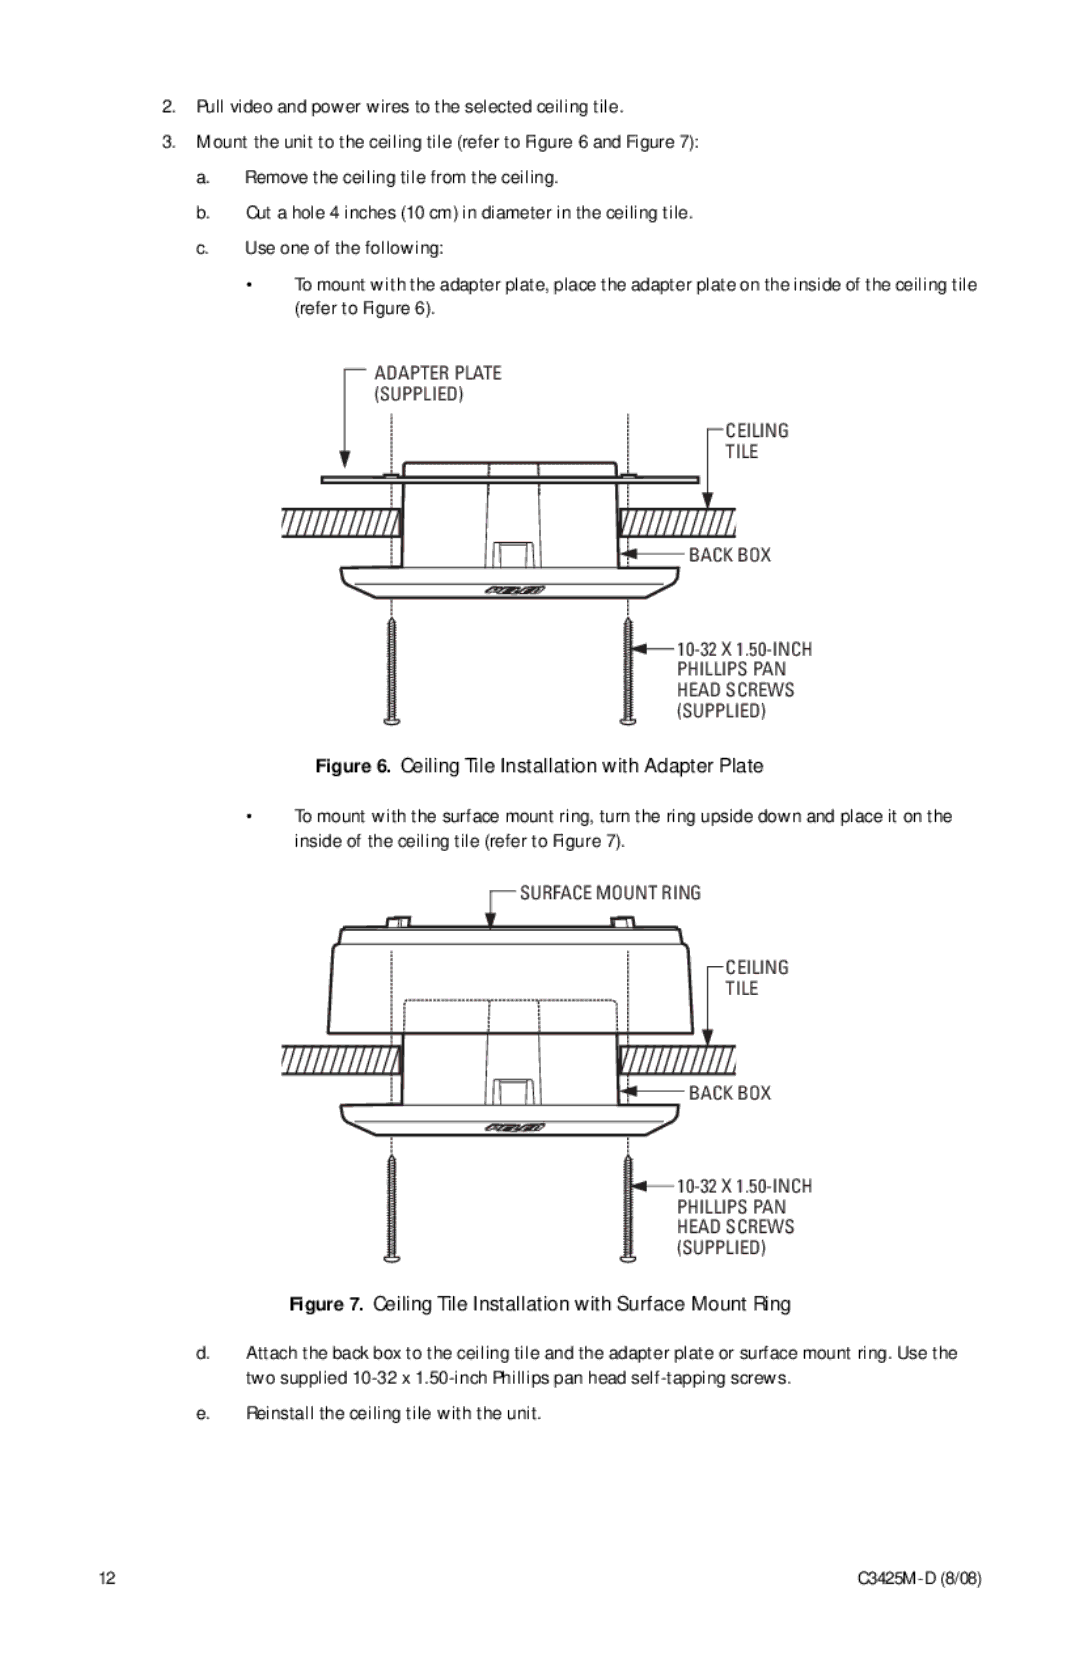
•To mount with the adapter plate, place the adapter plate on the inside of the ceiling tile (refer to Figure 6).
ADAPTER PLATE (SUPPLIED)
CEILING
TILE
![]() BACK BOX
BACK BOX
![]()
Figure 6. Ceiling Tile Installation with Adapter Plate
•To mount with the surface mount ring, turn the ring upside down and place it on the inside of the ceiling tile (refer to Figure 7).
 SURFACE MOUNT RING
CEILING
TILE
 BACK BOX
![]()
Figure 7. Ceiling Tile Installation with Surface Mount Ring
d.Attach the back box to the ceiling tile and the adapter plate or surface mount ring. Use the two supplied
e.Reinstall the ceiling tile with the unit.
12 |