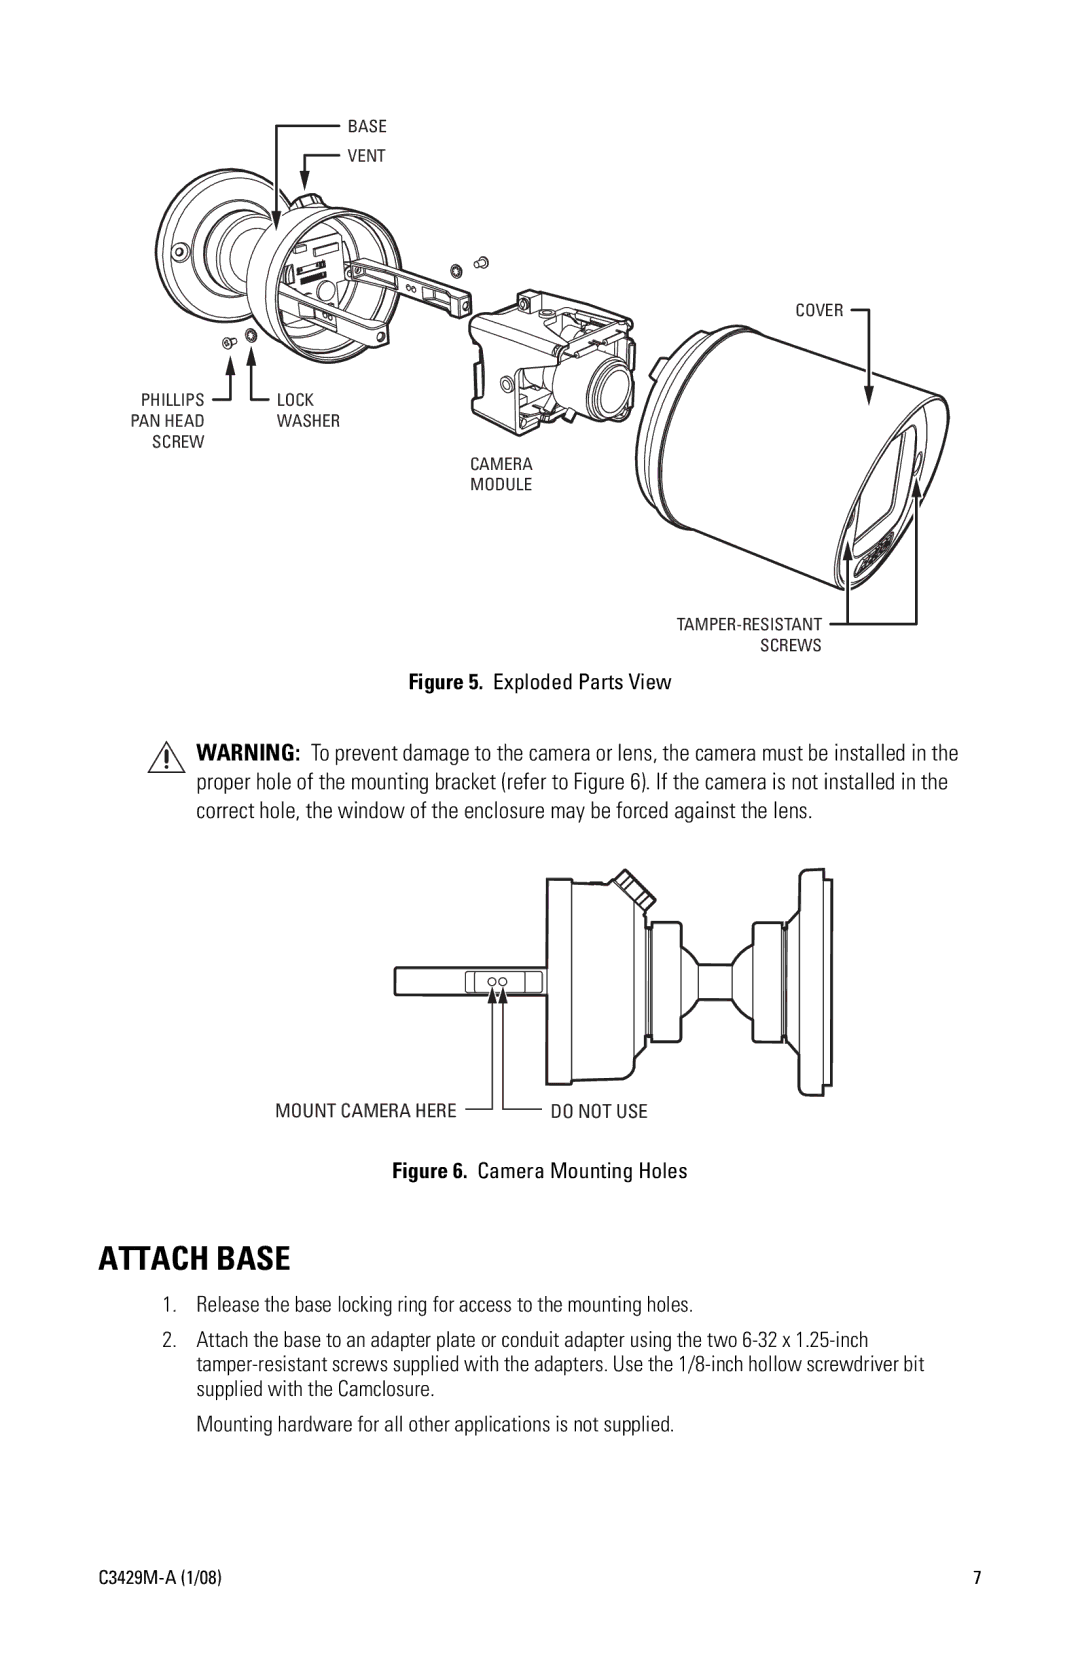
PHILLIPS PAN HEAD SCREW
BASE
VENT
COVER
![]() LOCK
LOCK
WASHER
CAMERA
MODULE
![]()
SCREWS
Figure 5. Exploded Parts View
WARNING: To prevent damage to the camera or lens, the camera must be installed in the proper hole of the mounting bracket (refer to Figure 6). If the camera is not installed in the correct hole, the window of the enclosure may be forced against the lens.
MOUNT CAMERA HERE
DO NOT USE
Figure 6. Camera Mounting Holes
ATTACH BASE
1.Release the base locking ring for access to the mounting holes.
2.Attach the base to an adapter plate or conduit adapter using the two
Mounting hardware for all other applications is not supplied.
7 |