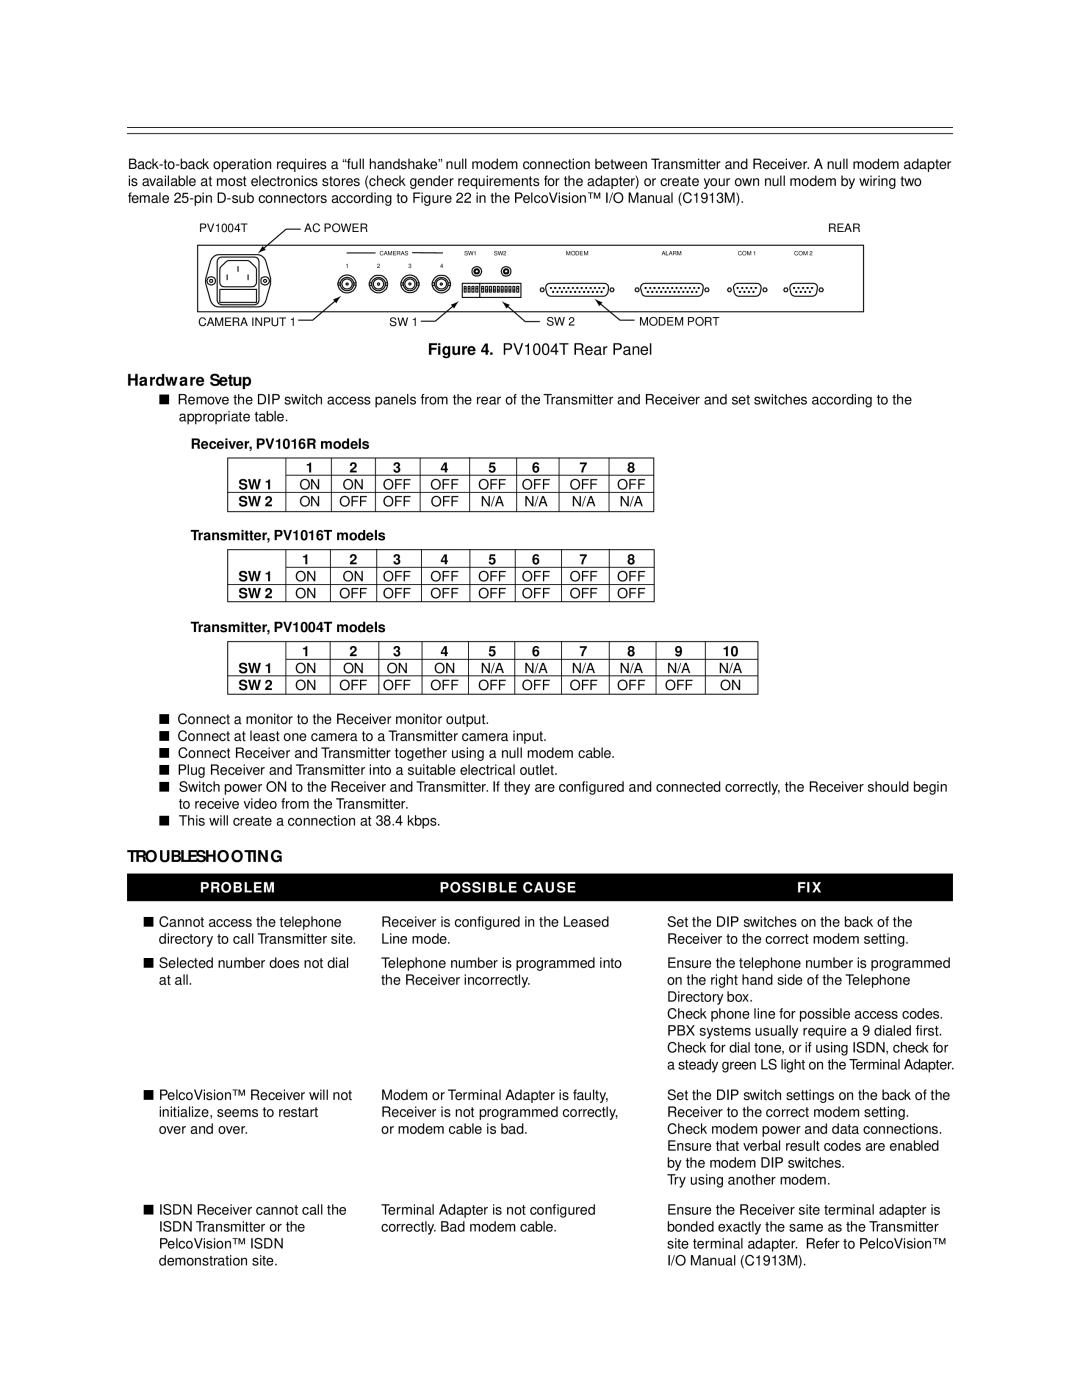
PV1004T | AC POWER |
|
|
|
|
|
| REAR |
|
| CAMERAS | SW1 SW2 | MODEM | ALARM | COM 1 | COM 2 | |
| 1 | 2 | 3 | 4 |
|
|
|
|
CAMERA INPUT 1 |
|
| SW 1 |
| SW 2 | MODEM PORT |
|
|
Figure 4. PV1004T Rear Panel
Hardware Setup
■Remove the DIP switch access panels from the rear of the Transmitter and Receiver and set switches according to the appropriate table.
Receiver, PV1016R models |
|
|
|
|
|
|
|
|
|
| |||
|
|
|
|
|
|
|
|
|
|
|
|
|
|
|
| 1 | 2 | 3 | 4 | 5 | 6 | 7 | 8 |
|
| ||
| SW 1 | ON | ON |
| OFF | OFF | OFF | OFF |
| OFF | OFF |
|
|
| SW 2 | ON | OFF |
| OFF | OFF | N/A | N/A |
| N/A | N/A |
|
|
Transmitter, PV1016T models |
|
|
|
|
|
|
|
| |||||
|
|
|
|
|
|
|
|
|
|
|
|
|
|
|
| 1 | 2 | 3 | 4 | 5 | 6 |
| 7 | 8 |
|
| |
| SW 1 | ON | ON |
| OFF | OFF | OFF | OFF |
| OFF | OFF |
|
|
| SW 2 | ON | OFF |
| OFF | OFF | OFF | OFF |
| OFF | OFF |
|
|
Transmitter, PV1004T models |
|
|
|
|
|
|
|
| |||||
|
|
|
|
|
|
|
|
|
|
|
|
| |
|
| 1 | 2 |
| 3 | 4 | 5 | 6 |
| 7 | 8 | 9 | 10 |
| SW 1 | ON | ON |
| ON | ON | N/A | N/A |
| N/A | N/A | N/A | N/A |
| SW 2 | ON | OFF |
| OFF | OFF | OFF | OFF |
| OFF | OFF | OFF | ON |
■Connect a monitor to the Receiver monitor output.
■Connect at least one camera to a Transmitter camera input.
■Connect Receiver and Transmitter together using a null modem cable.
■Plug Receiver and Transmitter into a suitable electrical outlet.
■Switch power ON to the Receiver and Transmitter. If they are configured and connected correctly, the Receiver should begin to receive video from the Transmitter.
■This will create a connection at 38.4 kbps.
TROUBLESHOOTING
PROBLEM
■Cannot access the telephone directory to call Transmitter site.
■Selected number does not dial at all.
■PelcoVision™ Receiver will not initialize, seems to restart over and over.
■ISDN Receiver cannot call the ISDN Transmitter or the PelcoVision™ ISDN demonstration site.
POSSIBLE CAUSE
Receiver is configured in the Leased Line mode.
Telephone number is programmed into the Receiver incorrectly.
Modem or Terminal Adapter is faulty, Receiver is not programmed correctly, or modem cable is bad.
Terminal Adapter is not configured correctly. Bad modem cable.
FIX
Set the DIP switches on the back of the Receiver to the correct modem setting.
Ensure the telephone number is programmed on the right hand side of the Telephone Directory box.
Check phone line for possible access codes. PBX systems usually require a 9 dialed first. Check for dial tone, or if using ISDN, check for a steady green LS light on the Terminal Adapter.
Set the DIP switch settings on the back of the Receiver to the correct modem setting. Check modem power and data connections. Ensure that verbal result codes are enabled by the modem DIP switches.
Try using another modem.
Ensure the Receiver site terminal adapter is bonded exactly the same as the Transmitter site terminal adapter. Refer to PelcoVision™ I/O Manual (C1913M).