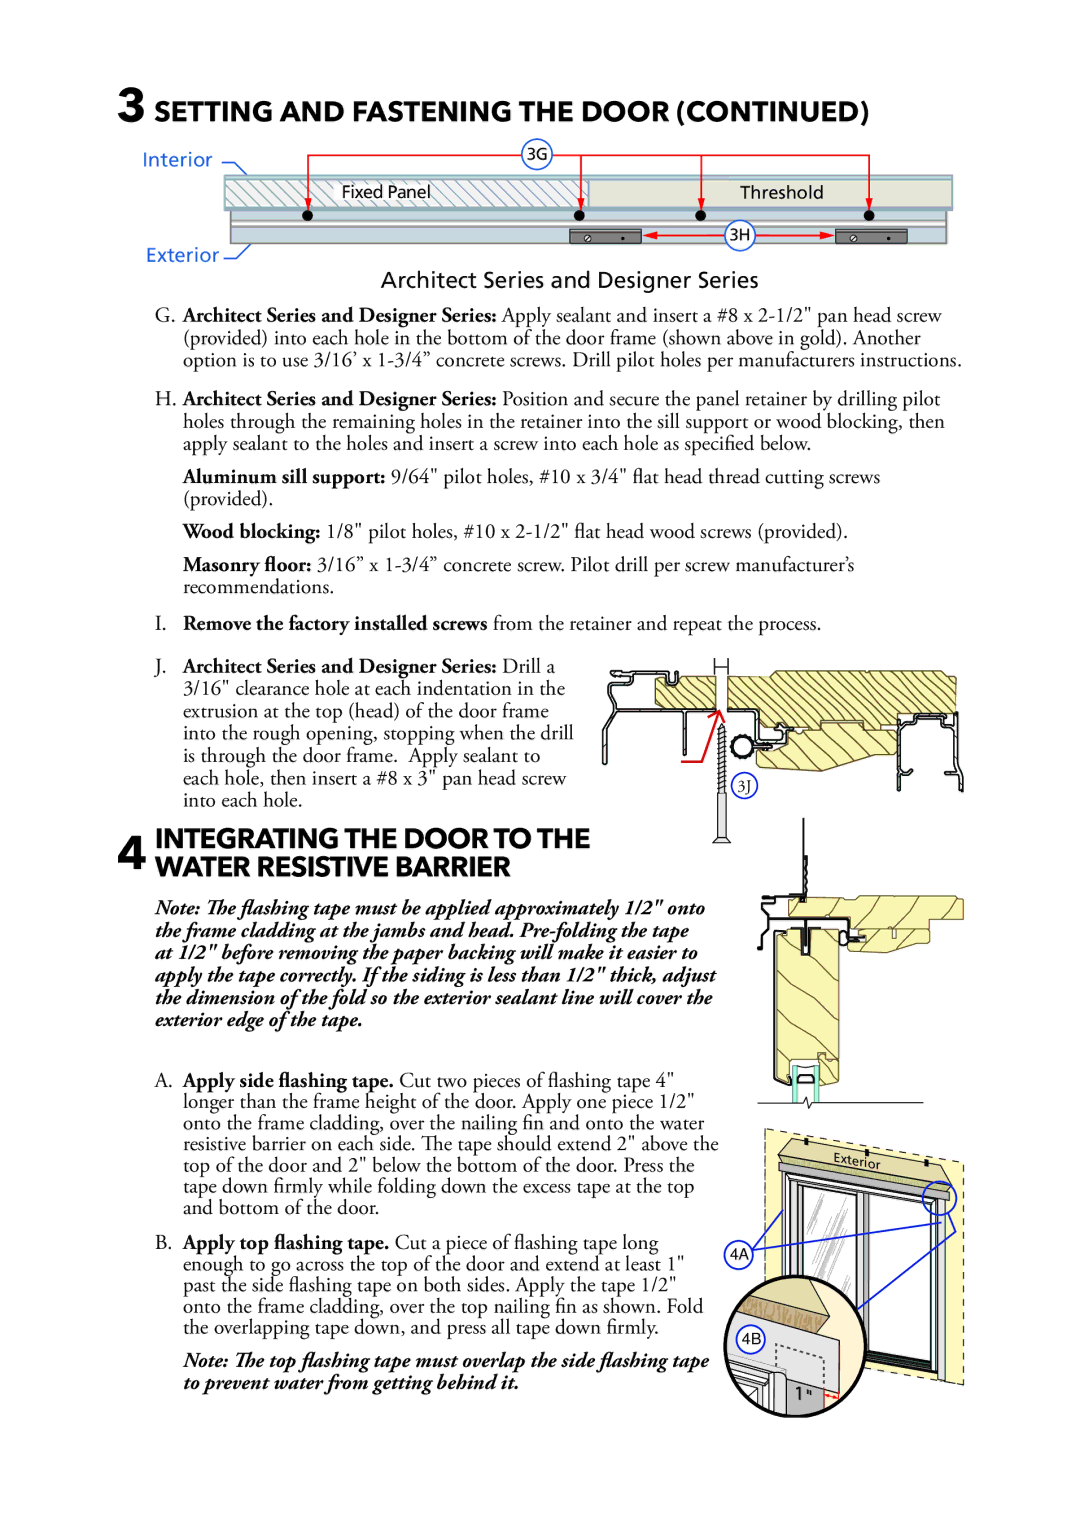
801W0103 specifications
The Pella 801W0103 is a contemporary and stylish window solution designed for those seeking a perfect blend of aesthetics, functionality, and energy efficiency. This specific model represents Pella's commitment to high-quality craftsmanship and innovative technology, making it a popular choice among homeowners and builders alike.One of the standout features of the Pella 801W0103 is its advanced insulating properties. The window is designed with energy efficiency in mind, equipped with multiple panes of glass that provide an exceptional thermal barrier. This multi-layered glass not only keeps homes warmer in the winter and cooler in the summer but also helps reduce energy costs over time. The Low-E (low emissivity) glass coating further enhances thermal performance by reflecting infrared sunlight while allowing natural light to enter.
In terms of design, the Pella 801W0103 is available in various styles, sizes, and finishes, making it versatile enough to complement any architectural style, from modern to traditional. The window features a sleek profile that maximizes glass area for an unobstructed view, creating an inviting indoor atmosphere. The frame is crafted from high-quality materials, ensuring durability, resistance to the elements, and minimal maintenance over the years.
Another notable attribute of the Pella 801W0103 is its commitment to security. The window is equipped with advanced locking mechanisms and reinforced frames, providing peace of mind for homeowners concerned about safety. The seamless integration of these features ensures that the window meets stringent security standards, providing an added layer of protection against potential intruders.
Pella also emphasizes sustainability in its product offerings. The materials used in the construction of the 801W0103 are not only durable but also environmentally friendly, with a focus on renewable resources. Additionally, the energy efficiency of the window contributes to a reduced carbon footprint, aligning with modern eco-conscious living.
In summary, the Pella 801W0103 is an exceptional window option that combines cutting-edge technology, stunning design, and energy efficiency. Its outstanding insulating properties, robust security features, and eco-friendly materials make it an ideal choice for discerning homeowners looking to enhance their living spaces while making a positive impact on the environment. Whether for a new build or a remodeling project, this window model brings unparalleled value and performance to any home.

