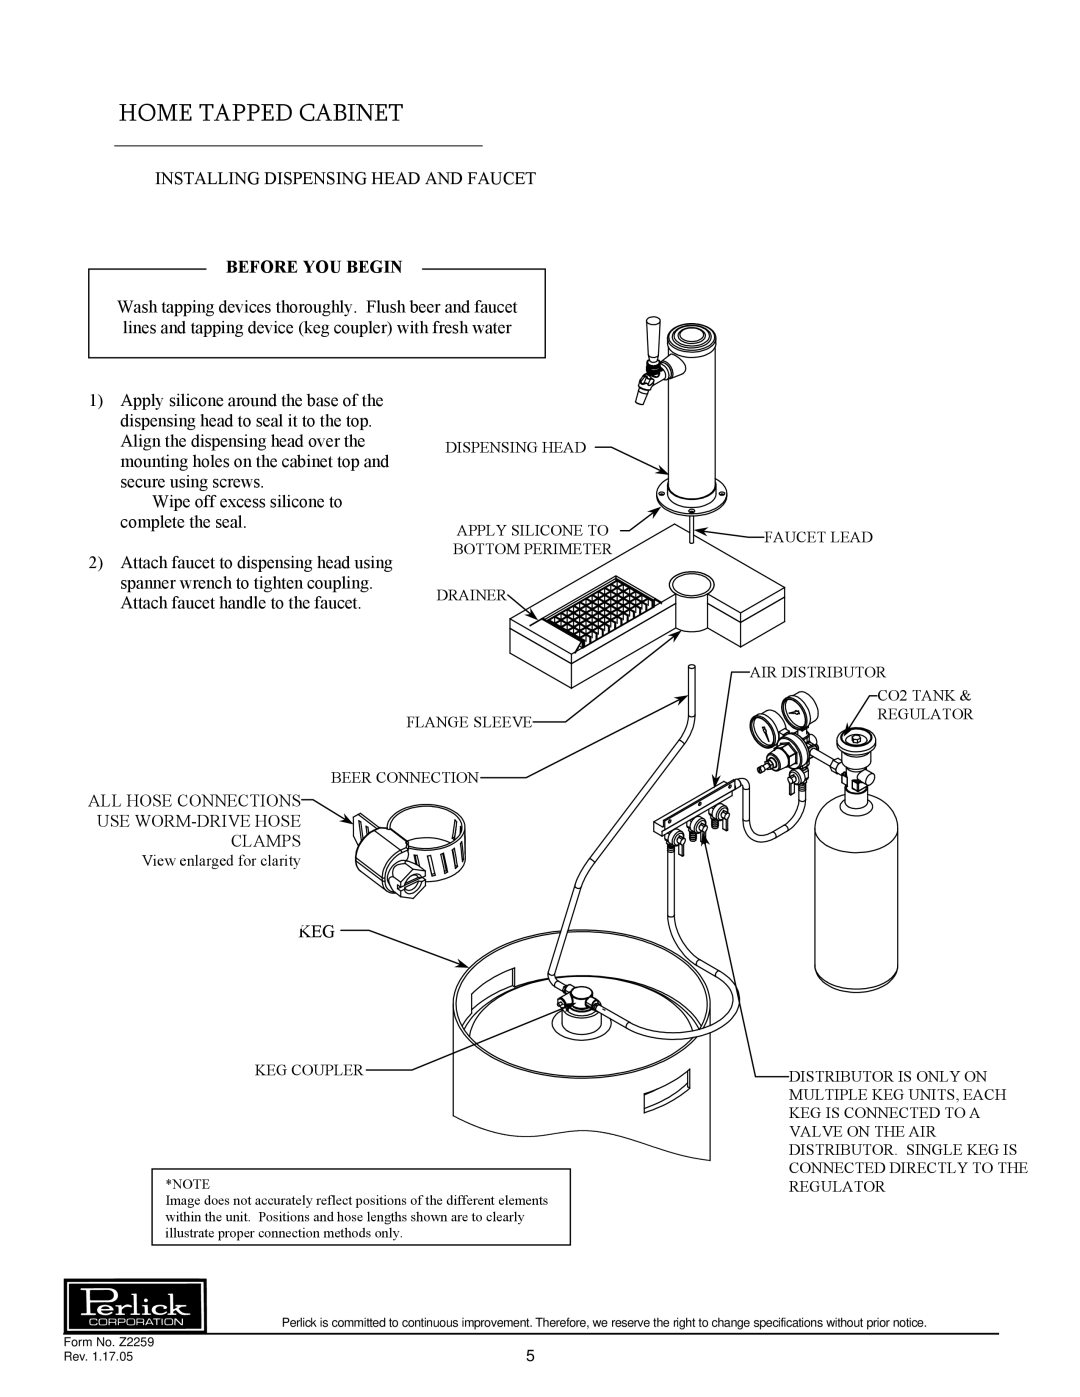
H Series specifications
The Perlick H Series is a standout line in the realm of professional refrigeration and beverage dispensing solutions. Designed with the needs of commercial establishments in mind, this series offers a blend of functionality, efficiency, and aesthetic appeal. It's particularly suited for bars, restaurants, and cafes that require reliable and stylish equipment for serving beverages.One of the main features of the Perlick H Series is its innovative design, which prioritizes accessibility and ease of use. The units in this series are built with a spacious interior, allowing for maximum storage of kegs, bottles, and cans. The design also incorporates a sleek, stainless-steel finish that not only enhances durability but also adds a modern look to any establishment.
In terms of technology, the Perlick H Series boasts energy-efficient refrigeration systems. These units are engineered with advanced cooling technology that ensures consistent temperatures while consuming less energy. This not only helps in reducing operational costs but also aligns with the increasing need for sustainability in the restaurant and hospitality sectors.
Another notable characteristic of the H Series is its versatility. It includes a range of configurations, from compact models to larger setups, accommodating the varying needs of businesses. Whether a small craft beer pub or a large-scale event venue, the H Series provides options that can fit different spaces and requirements.
The Perlick H Series also focuses on user-friendly features. It incorporates customizable shelving and storage options, allowing operators to organize their inventory effectively. Additionally, the series includes intuitive control systems that enable precise temperature management, ensuring that beverages are always stored at optimal conditions.
Furthermore, the H Series is designed with ease of maintenance in mind. Removable parts and a straightforward cleaning process ensure that upkeep is manageable, aiding in maintaining hygiene standards essential in food and beverage service.
In summary, the Perlick H Series represents a comprehensive solution for beverage dispensing and refrigeration in commercial settings. Its combination of innovative technology, user-centric design, and energy efficiency makes it a top choice for establishments looking to enhance their beverage service capabilities while also considering sustainability. The H Series is not just about functionality; it’s about creating an elevated experience for both operators and patrons alike.

