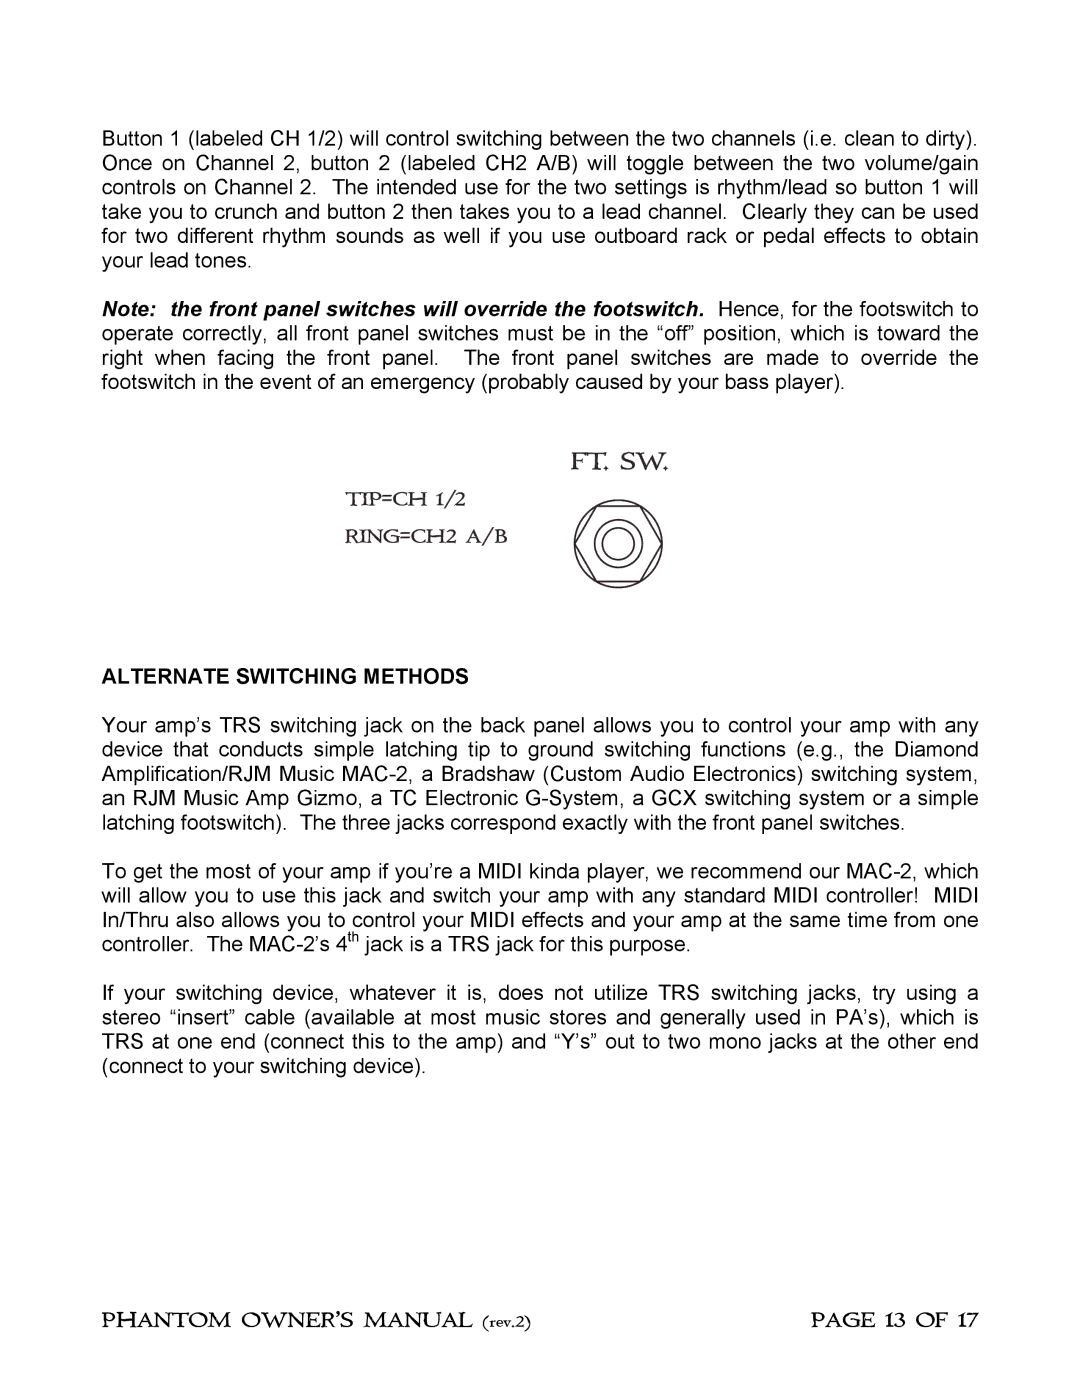
Button 1 (labeled CH 1/2) will control switching between the two channels (i.e. clean to dirty). Once on Channel 2, button 2 (labeled CH2 A/B) will toggle between the two volume/gain controls on Channel 2. The intended use for the two settings is rhythm/lead so button 1 will take you to crunch and button 2 then takes you to a lead channel. Clearly they can be used for two different rhythm sounds as well if you use outboard rack or pedal effects to obtain your lead tones.
Note: the front panel switches will override the footswitch. Hence, for the footswitch to operate correctly, all front panel switches must be in the “off” position, which is toward the right when facing the front panel. The front panel switches are made to override the footswitch in the event of an emergency (probably caused by your bass player).
ALTERNATE SWITCHING METHODS
Your amp’s TRS switching jack on the back panel allows you to control your amp with any device that conducts simple latching tip to ground switching functions (e.g., the Diamond Amplification/RJM Music
To get the most of your amp if you’re a MIDI kinda player, we recommend our
If your switching device, whatever it is, does not utilize TRS switching jacks, try using a stereo “insert” cable (available at most music stores and generally used in PA’s), which is TRS at one end (connect this to the amp) and “Y’s” out to two mono jacks at the other end (connect to your switching device).
PHANTOM OWNER’S MANUAL (rev.2) | PAGE 13 OF 17 |
