Troubleshooting
|
|
|
|
|
•Safety and |
| Troubleshooting |
|
|
|
|
|
| |
Troubleshooting |
|
|
|
|
•FAQs |
|
|
|
|
|
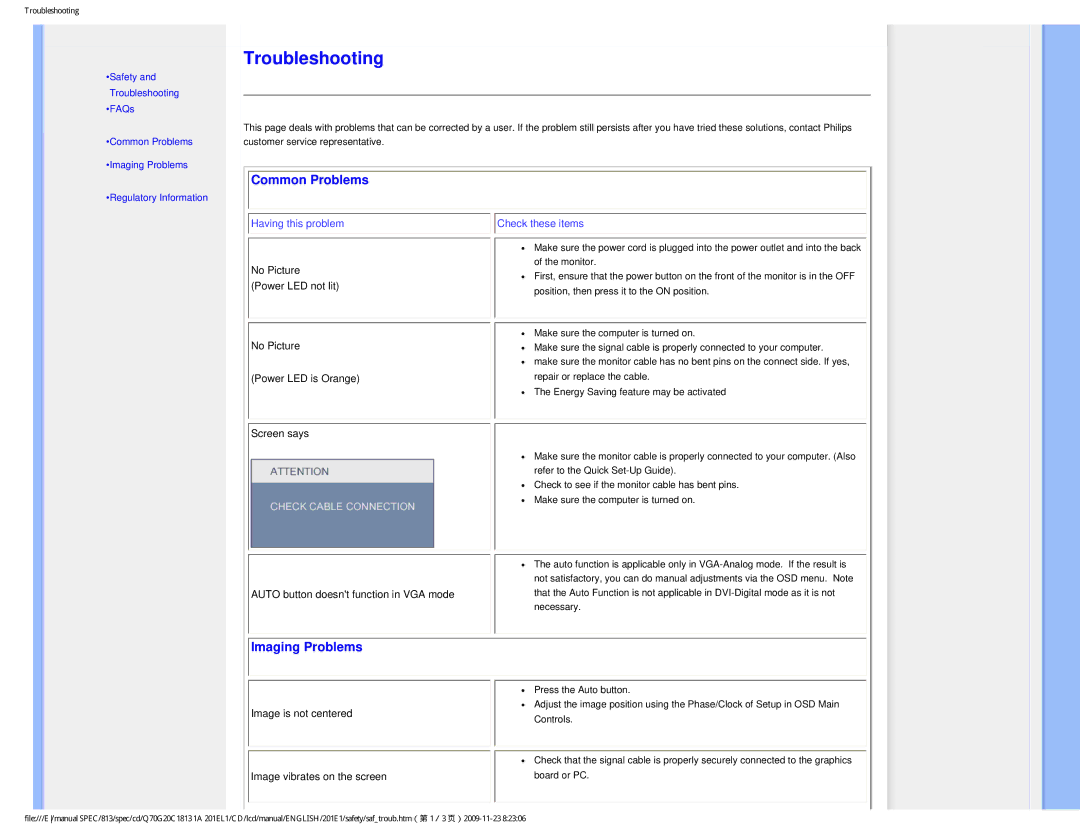
| This page deals with problems that can be corrected by a user. If the problem still persists after you have tried these solutions, contact Philips |
| |
•Common Problems |
| customer service representative. |
|
|
•Imaging Problems |
| Common Problems |
|
|
•Regulatory Information |
|
|
| |
|
|
|
| |
|
| Having this problem | Check these items |
|
|
|
| ● Make sure the power cord is plugged into the power outlet and into the back |
|
|
| No Picture | of the monitor. |
|
|
| ● First, ensure that the power button on the front of the monitor is in the OFF |
| |
|
| (Power LED not lit) |
| |
|
| position, then press it to the ON position. |
| |
|
|
|
| |
|
| No Picture | ● Make sure the computer is turned on. |
|
|
| ● Make sure the signal cable is properly connected to your computer. |
| |
|
|
| ● make sure the monitor cable has no bent pins on the connect side. If yes, |
|
|
| (Power LED is Orange) | repair or replace the cable. |
|
|
|
| ● The Energy Saving feature may be activated |
|
Screen says
● Make sure the monitor cable is properly connected to your computer. (Also refer to the Quick
● Check to see if the monitor cable has bent pins. ● Make sure the computer is turned on.
AUTO button doesn't function in VGA mode
 Imaging Problems
Image is not centered
Image vibrates on the screen
●The auto function is applicable only in
●Press the Auto button.
●Adjust the image position using the Phase/Clock of Setup in OSD Main Controls.
●Check that the signal cable is properly securely connected to the graphics board or PC.
file:///E/manual SPEC/813/spec/cd/Q70G20C1813 1A 201EL1/CD/lcd/manual/ENGLISH/201E1/safety/saf_troub.htm(第 1/3
