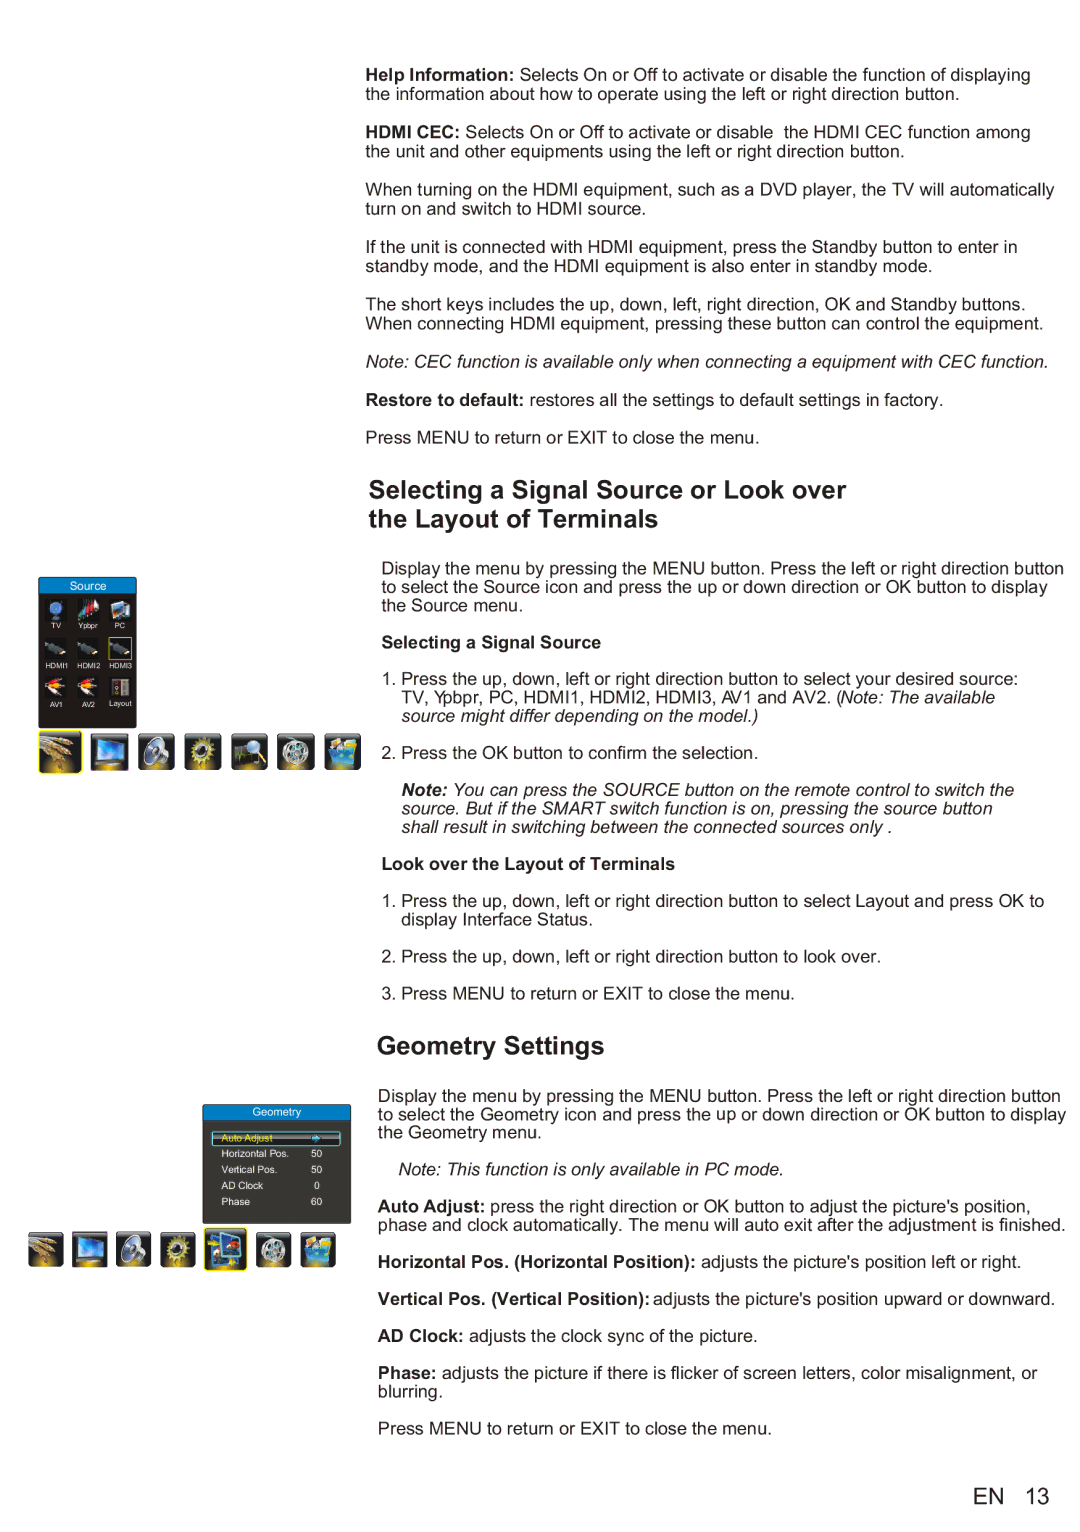
Source
TV Ypbpr PC
HDMI1 HDMI2 HDMI3
AV1 AV2 Layout
Geometry
Auto Adjust |
|
Horizontal Pos. | 50 |
Vertical Pos. | 50 |
AD Clock | 0 |
Phase | 60 |
Help Information: Selects On or Off to activate or disable the function of displaying the information about how to operate using the left or right direction button.
HDMI CEC: Selects On or Off to activate or disable the HDMI CEC function among the unit and other equipments using the left or right direction button.
When turning on the HDMI equipment, such as a DVD player, the TV will automatically turn on and switch to HDMI source.
If the unit is connected with HDMI equipment, press the Standby button to enter in standby mode, and the HDMI equipment is also enter in standby mode.
The short keys includes the up, down, left, right direction, OK and Standby buttons. When connecting HDMI equipment, pressing these button can control the equipment.
Note: CEC function is available only when connecting a equipment with CEC function.
Restore to default: restores all the settings to default settings in factory.
Press MENU to return or EXIT to close the menu.
Selecting a Signal Source or Look over the Layout of Terminals
Display the menu by pressing the MENU button. Press the left or right direction button to select the Source icon and press the up or down direction or OK button to display the Source menu.
Selecting a Signal Source
1.Press the up, down, left or right direction button to select your desired source: TV, Ypbpr, PC, HDMI1, HDMI2, HDMI3, AV1 and AV2. (Note: The available source might differ depending on the model.)
2.Press the OK button to confirm the selection.
Note: You can press the SOURCE button on the remote control to switch the source. But if the SMART switch function is on, pressing the source button shall result in switching between the connected sources only .
Look over the Layout of Terminals
1.Press the up, down, left or right direction button to select Layout and press OK to display Interface Status.
2.Press the up, down, left or right direction button to look over.
3.Press MENU to return or EXIT to close the menu.
Geometry Settings
Display the menu by pressing the MENU button. Press the left or right direction button to select the Geometry icon and press the up or down direction or OK button to display the Geometry menu.
Note: This function is only available in PC mode.
Auto Adjust: press the right direction or OK button to adjust the picture's position, phase and clock automatically. The menu will auto exit after the adjustment is finished.
Horizontal Pos. (Horizontal Position): adjusts the picture's position left or right.
Vertical Pos. (Vertical Position): adjusts the picture's position upward or downward.
AD Clock: adjusts the clock sync of the picture.
Phase: adjusts the picture if there is flicker of screen letters, color misalignment, or blurring.
Press MENU to return or EXIT to close the menu.
EN 13