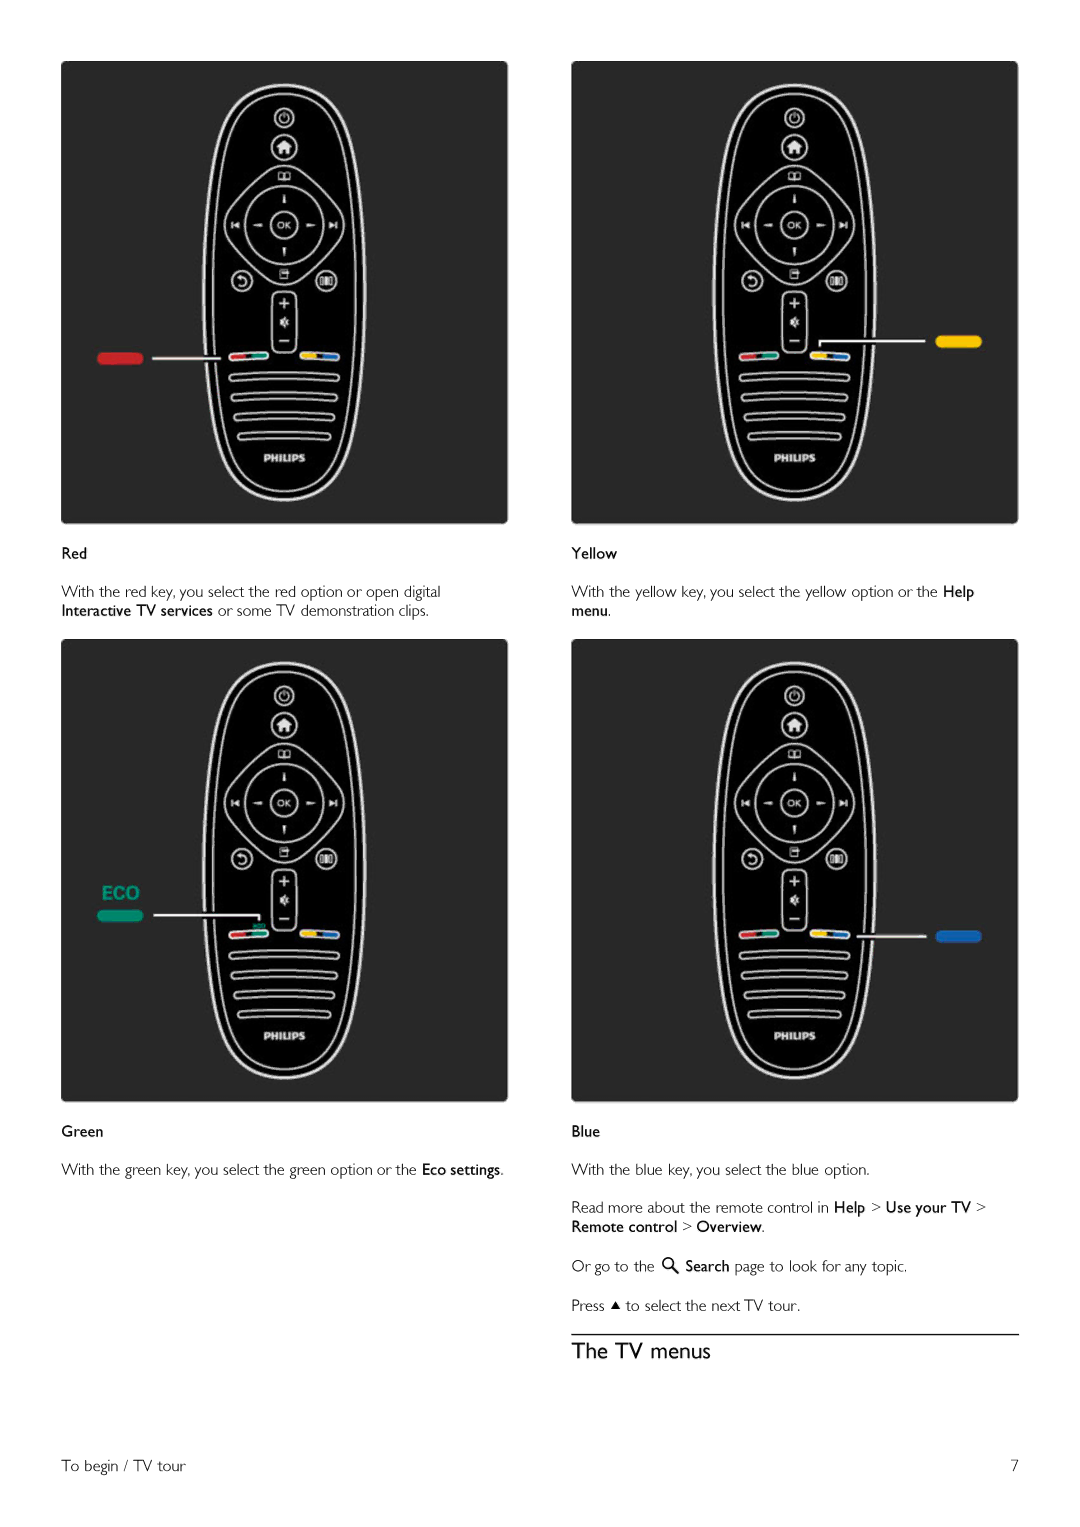
Contents
%/,012301#043/15641.,/13##0 /15
#$%&%#*+!,& 78 !#$%& 9:;<=>?@AH
01*$,/23#-*,/24%5#
#$%$&*+,*-$./+01$2+-34531$6787
##$%&
+,-.#-%*#/%
D=#0 DE?5+2#23*0/0>E0/>0#:*3%
Contents
Econova
The remote control
1 To begin
1.1TV tour
To open or close the Browse menu e
The TV menus
You can operate the TV with the 4 menus
Connecting devices
High Definition TV
Wall or stand mounting
1.2Setting up
Position the bottom plate on the bracket as shown
To begin / Setting up
VESA codes to purchase the bracket
VESA info
Positioning the TV
To begin / Setting up
Safety and care
To begin / Power switch
1.3Power switch
To begin / Register your TV
1.4Register your TV
Contact Philips
Using Help and Search
1.5Help and support
Online support
2 Use your TV
2.1Remote control
Overview
IR sensor
EasyLink Remote Control
Solar charger
Cleaning
hHome
2.2Menus
eBrowse
Find your content
oOptions
sAdjust
In the Adjust menu you can adjust the following
2.3Watch TV
Switch channels
Favourite channels
Programme guide
Smart picture and sound settings
———————————————————————
Picture format
Switch to standby
Use your TV / Watch TV
2.4Watch a connected device
Use the TV remote control
Select a device
Text options
3 More on
3.1Text
Text pages
Text setup
Benefits
3.2Interactive TV
Use iTV
Browse USB
3.3Multimedia
Scenea
Sleep timer
3.4Locks and timers
Child locks
Subtitles
3.5Subtitles and languages
Audio languages
Visually impaired
3.6Universal access
Switch on
Hearing impaired
4.1Picture and Sound
4 Setup
Smart settings
Eco settings
Auto switch off
Clock settings
Update channels
Reinstall
Manual installation — Analogue
Setup / Channels
Add a new device
EasyLink Remote control
4.3Devices
EasyLink HDMI-CEC
Pixel Plus link
Auto subtitle shift
Setup / Devices
4.4Software
Update with USB
Current version
Antenna cable
Power cable
5 Connections
5.1First connections
Y Pb Pr
5.2About cables
Cable quality
HDMI
Video
SoundBar
5.3Connect devices
Blu-rayDisc / DVD player
Connections / Connect devices
Home Theatre System with disc player
Recorder
Dig. receiver + Disc Recorder
Digital receiver / Sat
Dig. receiver + Disc-R+ Home Theatre
Then use an HDMI cable to connect the digital receiver to the TV
Use an HDMI cable to connect the device to the TV
Digital HD receiver
Connections / Connect devices
Photo camera
5.4Connect more devices
Game
HD Game
Camcorder
TV as PC monitor
Decoder
5.5Common Interface CAM
6.1Contact information
6 Troubleshooting
6.2TV and remote control
6.3TV channels
6.4Picture and sound
6.5Devices
6.6Multimedia
Open source software
7 Specifications
7.1Software
Software version
End of use
7.2Environmental
Eco-label
Energy saving
Power
7.3Power and reception
Reception
7.4Display and sound
7.5Display resolutions
Supported USB / memory device formats
7.6Multimedia
Specifications / Multimedia
Connections • USB
7.7Connectivity
Specifications / Dimensions and weights
7.8Dimensions and weights
UMv 3104 327 0043.2 -
Index
TUSSENDIEP 4, 9206 AD DRACHTEN, NETHERLANDS
EC DECLARATION OF CONFORMITY
Philips Consumer Lifestyle
We / Nous, PHILIPS CONSUMER LIFESTYLE BV
===>:6,*,:0>%
K#&%&+,#<-&,#