BDP3008 specifications
The Philips BDP3008 is a versatile Blu-ray player that offers an impressive range of features and technologies designed to enhance the home entertainment experience. As a part of Philips' commitment to delivering high-quality audio and visual performance, the BDP3008 integrates cutting-edge functionalities that cater to both casual viewers and home theater enthusiasts.One of the standout features of the Philips BDP3008 is its ability to play Blu-ray discs in stunning high definition. With support for 1080p resolution, users can enjoy movies with incredible clarity, vibrant colors, and sharp contrasts, which significantly elevate the viewing experience compared to standard DVDs. The player also supports various disc formats, including CD, DVD, and Blu-ray, providing users with a comprehensive media playback solution.
In addition to handling physical media, the BDP3008 offers a range of smart capabilities. It includes built-in Wi-Fi connectivity, enabling users to access popular streaming services such as Netflix, YouTube, and more directly from the device. This feature allows viewers to enjoy a vast library of digital content without the need for additional devices, making it a convenient all-in-one player for streaming and disc playback.
Furthermore, the BDP3008 incorporates advanced technologies such as Dolby TrueHD and DTS-HD Master Audio, ensuring that users receive an immersive audio experience that complements the stunning visuals. These high-definition audio formats deliver sound that replicates the cinematic experience, making users feel as if they are part of the action.
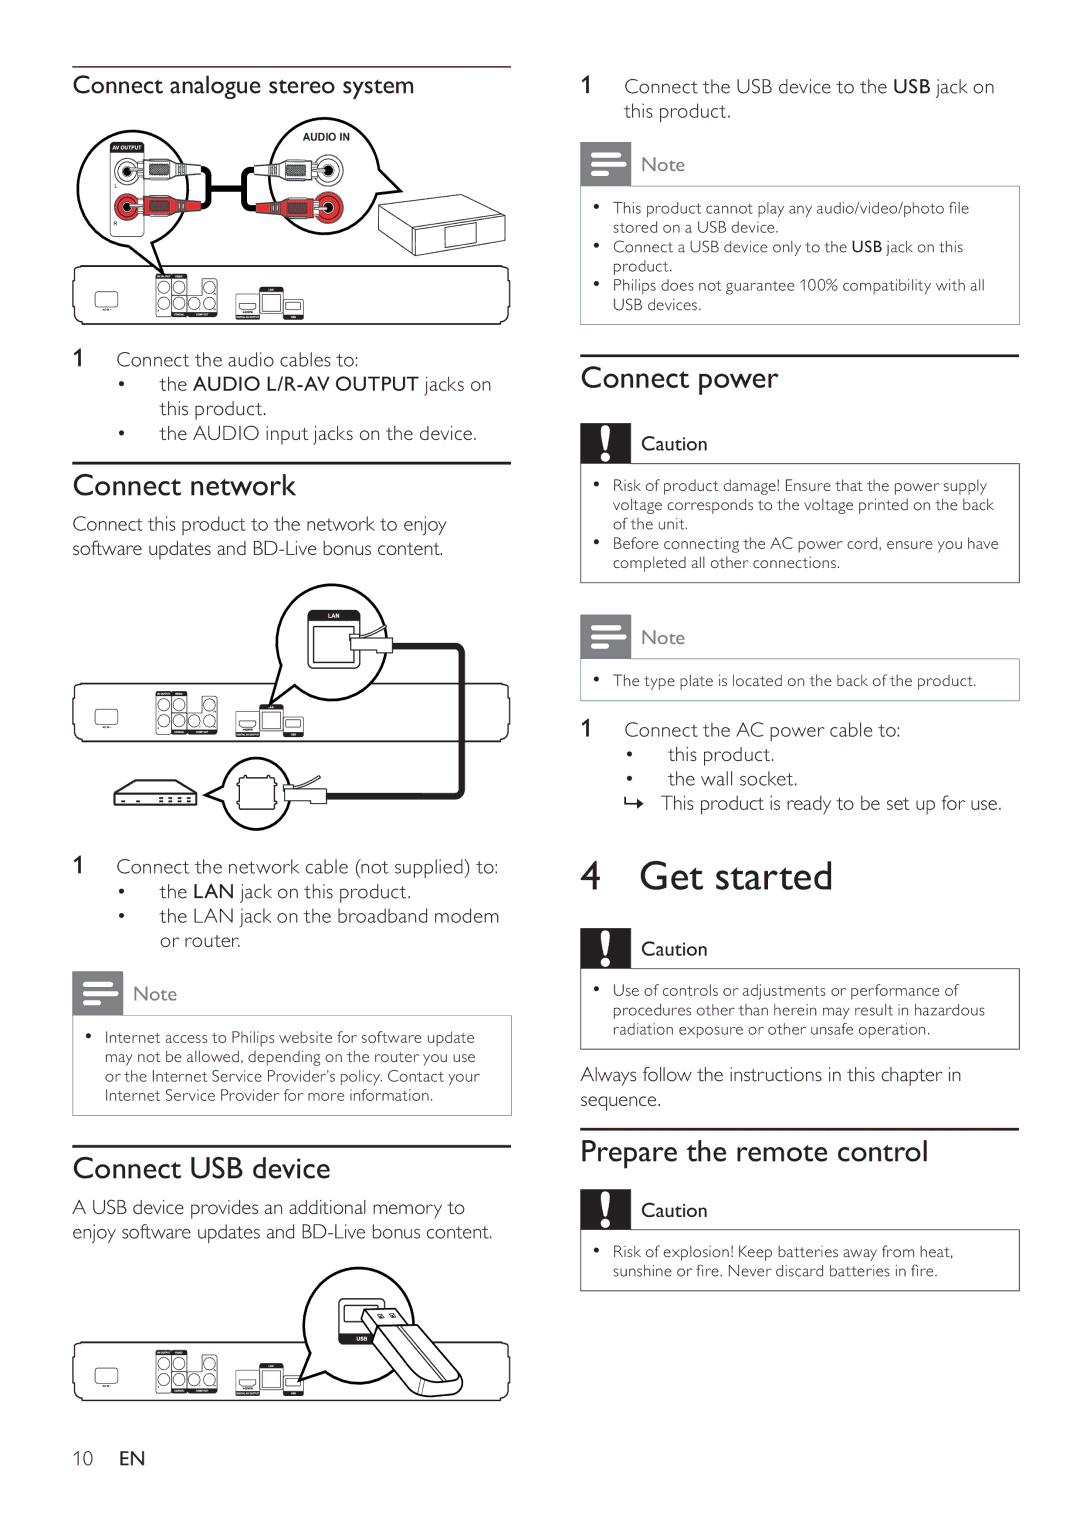
The player's user-friendly interface makes navigation easy, with a streamlined menu that allows users to quickly access their content. Additionally, the BDP3008 features USB connectivity, which enables playback of media files from USB drives, giving users even more options for enjoying their favorite movies, music, and photos.
The sleek design of the Philips BDP3008 also makes it an attractive addition to any home theater setup. Its compact footprint allows it to fit seamlessly with other electronics while ensuring that it does not take up too much space.
With its array of features, including high-definition playback, streaming capabilities, advanced audio technologies, and user-friendly design, the Philips BDP3008 stands out as a reliable and feature-rich Blu-ray player that enhances the overall home entertainment experience.

