3 Get started
![]() Caution
Caution
•• Ensure you have read the safety instructions in the “Important” section before you connect and install your handset.
![]() Warning
Warning
•• Check the battery polarity when inserting in the battery compartment. Incorrect polarity may damage the product.
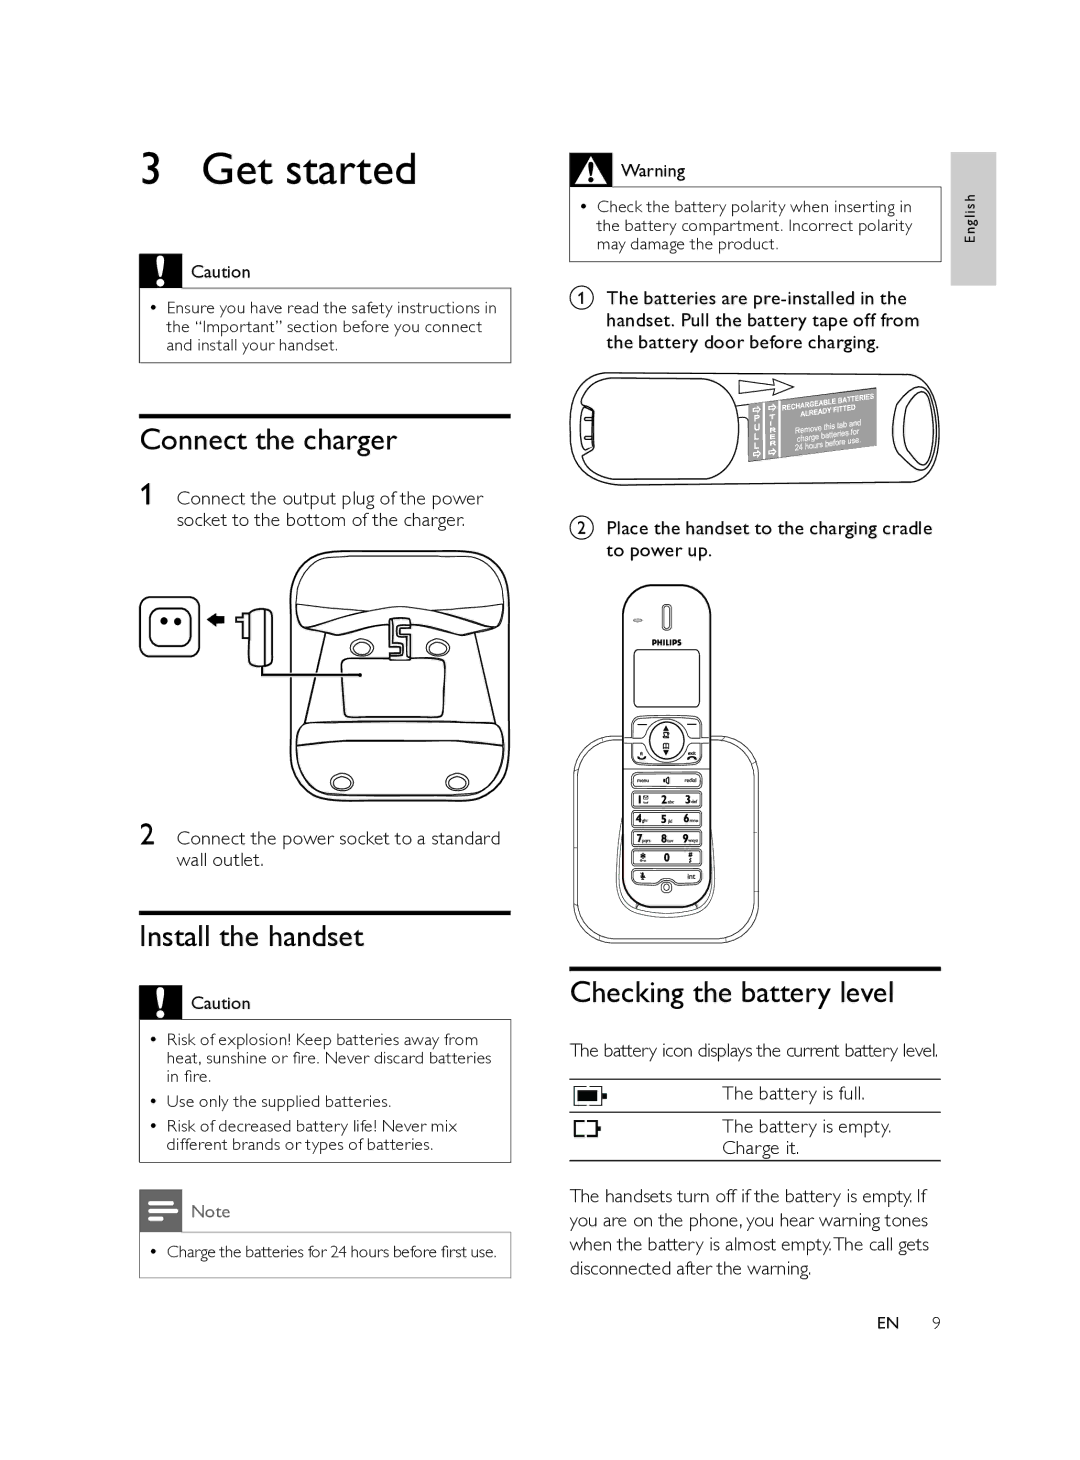
AThe batteries are
English
Connect the charger
1 Connect the output plug of the power socket to the bottom of the charger.
BPlace the handset to the charging cradle to power up.
2 Connect the power socket to a standard wall outlet.
Install the handset
![]() Caution
Caution
•• Risk of explosion! Keep batteries away from heat, sunshine or fire. Never discard batteries in fire.
•• Use only the supplied batteries.
•• Risk of decreased battery life! Never mix different brands or types of batteries.
![]() Note
Note
•• Charge the batteries for 24 hours before first use.
R
Checking the battery level
The battery icon displays the current battery level.
The battery is full.
The battery is empty.
Charge it.
The handsets turn off if the battery is empty. If you are on the phone, you hear warning tones when the battery is almost empty.The call gets disconnected after the warning.
EN 9