
CDR570/00 specifications
The Philips CDR570/00 is an innovative compact disc recorder that redefines the way users approach the recording and playback of their favorite music and audio content. This device serves as an ideal solution for audiophiles and casual listeners alike, combining user-friendly features with state-of-the-art technology.At the heart of the CDR570/00 is its ability to record directly onto CD-R and CD-RW discs, providing users the flexibility to create permanent audio recordings. This direct-to-disc recording capability eliminates the need for a computer, allowing for a straightforward and accessible way to compile song compilations, live recordings, and favorite playlists.
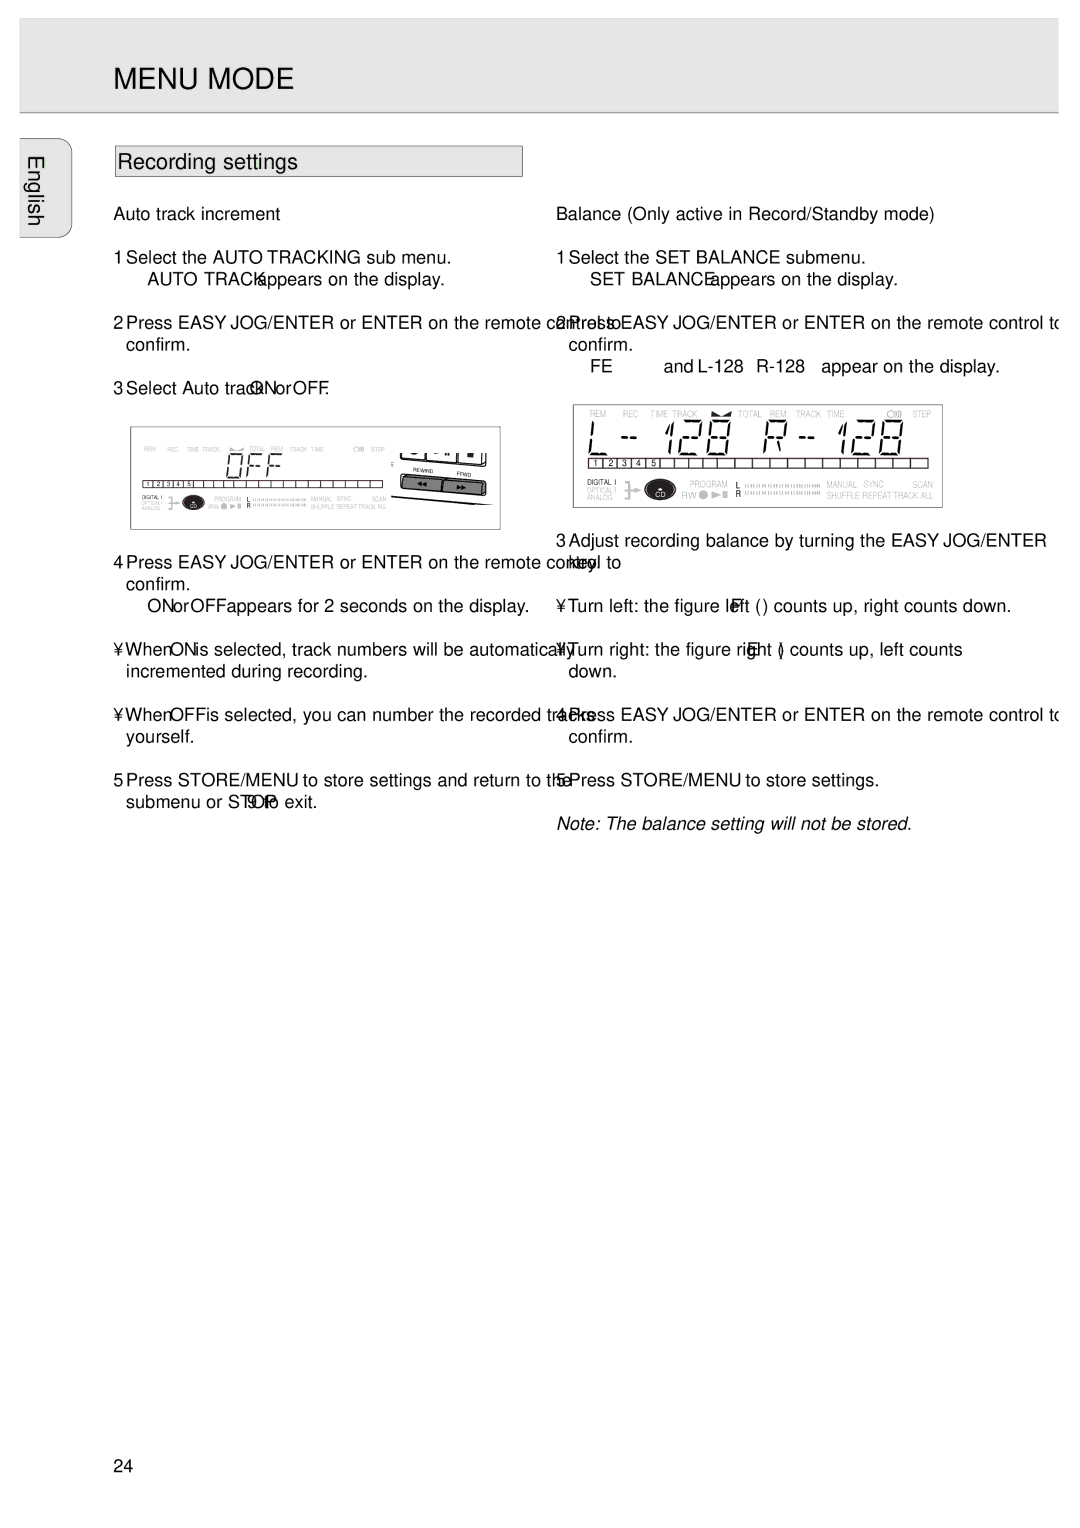
One of the standout features of the CDR570/00 is its integrated recording wizard, which guides users through the process of recording with ease. The system's intuitive interface simplifies the selection of tracks, fading options, and other customization settings, making it accessible for users with varying levels of technological proficiency.
The CDR570/00 also incorporates professional-grade audio technologies, ensuring high-quality recordings. With its analog and digital inputs, users can connect various audio sources, such as turntables, cassette players, and digital music players, creating a versatile recording setup. The built-in 24-bit digital-to-analog converter guarantees stunning audio clarity and fidelity, preserving the nuances of every recording.
In addition to recording, the Philips CDR570/00 doubles as a standard CD player, supporting CD, CD-R, and CD-RW formats. This feature allows users not only to play back their own custom recordings but also to enjoy a vast library of commercially available music.
Versatility and design are further enhanced by the CDR570/00's sleek aesthetics and compact form factor, making it a perfect fit for any audio setup, whether at home or in a small studio. Users can conveniently integrate the device with their existing audio equipment, enhancing their overall listening experience.
Overall, the Philips CDR570/00 combines practical usability, superior sound quality, and a stylish design, catering to both music enthusiasts and casual users. Whether preserving cherished audio memories or creating new music mixes, this compact disc recorder stands out as a remarkable addition to any audio collection. It showcases Philips' commitment to innovation in the realm of home audio solutions, offering a reliable and engaging way to enjoy music.