•[NTSC] - For
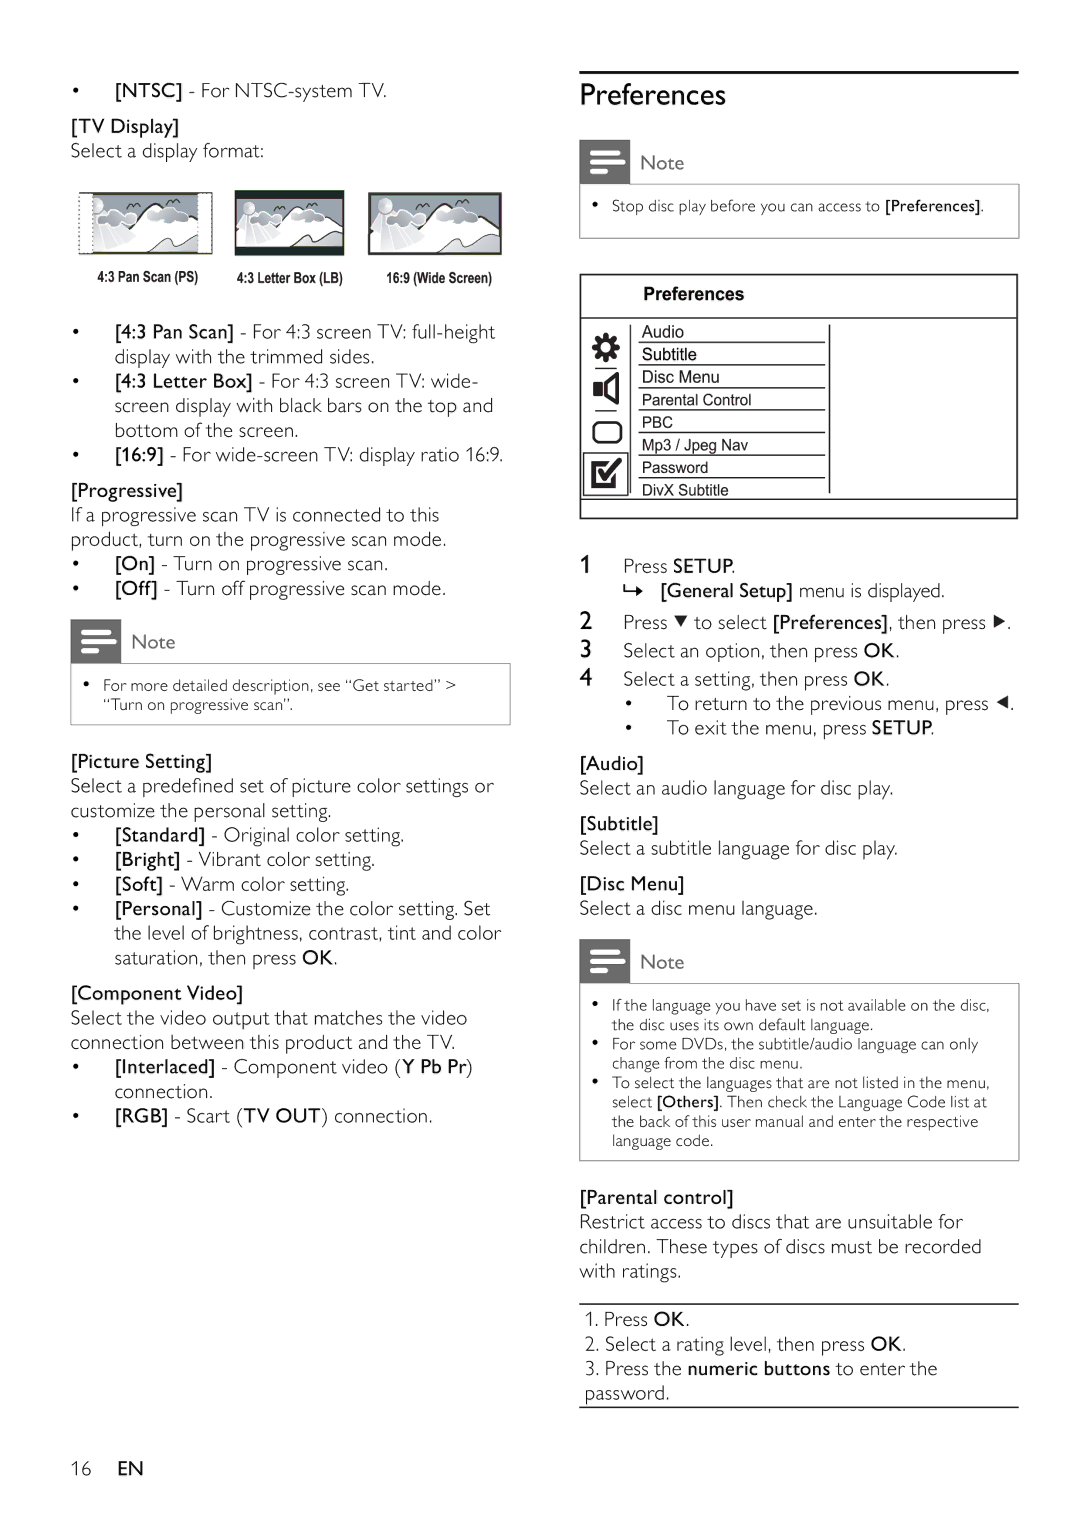
[TV Display]
Select a display format:
•[4:3 Pan Scan] - For 4:3 screen TV:
•[4:3 Letter Box] - For 4:3 screen TV: wide- screen display with black bars on the top and bottom of the screen.
•[16:9] - For
[Progressive]
If a progressive scan TV is connected to this product, turn on the progressive scan mode.
•[On] - Turn on progressive scan.
•[Off] - Turn off progressive scan mode.
![]() Note
Note
•For more detailed description, see “Get started” > “Turn on progressive scan”.
[Picture Setting]
Select a predefi ned set of picture color settings or customize the personal setting.
•[Standard] - Original color setting.
•[Bright] - Vibrant color setting.
•[Soft] - Warm color setting.
•[Personal] - Customize the color setting. Set the level of brightness, contrast, tint and color saturation, then press OK.
[Component Video]
Select the video output that matches the video connection between this product and the TV.
•[Interlaced] - Component video (Y Pb Pr) connection.
•[RGB] - Scart (TV OUT) connection.
Preferences
![]() Note
Note
•Stop disc play before you can access to [Preferences].
1Press SETUP.
» [General Setup] menu is displayed.
2Press ![]() to select [Preferences], then press
to select [Preferences], then press ![]() .
.
3Select an option, then press OK.
4Select a setting, then press OK.
•To return to the previous menu, press ![]() .
.
•To exit the menu, press SETUP.
[Audio]
Select an audio language for disc play.
[Subtitle]
Select a subtitle language for disc play.
[Disc Menu]
Select a disc menu language.
![]() Note
Note
•If the language you have set is not available on the disc, the disc uses its own default language.
•For some DVDs, the subtitle/audio language can only change from the disc menu.
•To select the languages that are not listed in the menu, select [Others]. Then check the Language Code list at the back of this user manual and enter the respective language code.
[Parental control]
Restrict access to discs that are unsuitable for children. These types of discs must be recorded with ratings.
1.Press OK.
2.Select a rating level, then press OK.
3.Press the numeric buttons to enter the password.
16EN
