[HDMI Setup]
When you connect this proudct and the TV with an HDMI cable, select the best HDMI setup that the TV can support.
•[Resolution] - Select a video resolution that is compatible with the TV display capability.
•[Auto] - Detect and select the best supported video resolution automatically.
•[480i],[480p], [576i], [576p],[720p], [1080i], [1080p] - Select a video resolution that is best supported by the TV. See the TV manual for details.
•[Wide Screen Format] - Defi ne the wide screen format for disc play.
•[Super Wide] - Center position of the screen is stretched less than the side (applicable only when the video resolution is set to 720p, 1080i or 1080p).
•[4:3 Pillar Box] - No stretching of picture. Black bars are displayed on both sides of the screen (applicable only when the video resolution is set to 720p, 1080i or 1080p).
•[Off] - Picture is displayed according to the disc format.
•[EasyLink Setup] - If this product is connected to HDMI CEC compliant TV/devices, all connected devices can respond to the following commands simultaneously.
•[EasyLink] - Turn on/off all EasyLink features.
•[One Touch Play] - Turn on or off the feature of
When EasyLink is enabled, press ![]() .
.
»This product turns on.
»TheTV (if theTV supports
»Disc play starts if there is a disc in this product.
•[One Touch Standby] - Turn on or off the feature of
When EasyLink is enabled, press and hold ![]() for at least three seconds.
for at least three seconds.
»All connected HDMI CEC compliant devices switch to standby mode.
![]() Note
Note
•You must turn on the HDMI CEC operations on the TV/ devices before you can enjoy the EasyLink controls. See the TV/devices manual for details.
•Philips does not guarantee 100% interoperability with all HDMI CEC compliant devices.
Preferences
Note | English |
|
•Stop disc play before you can access to [Preferences].
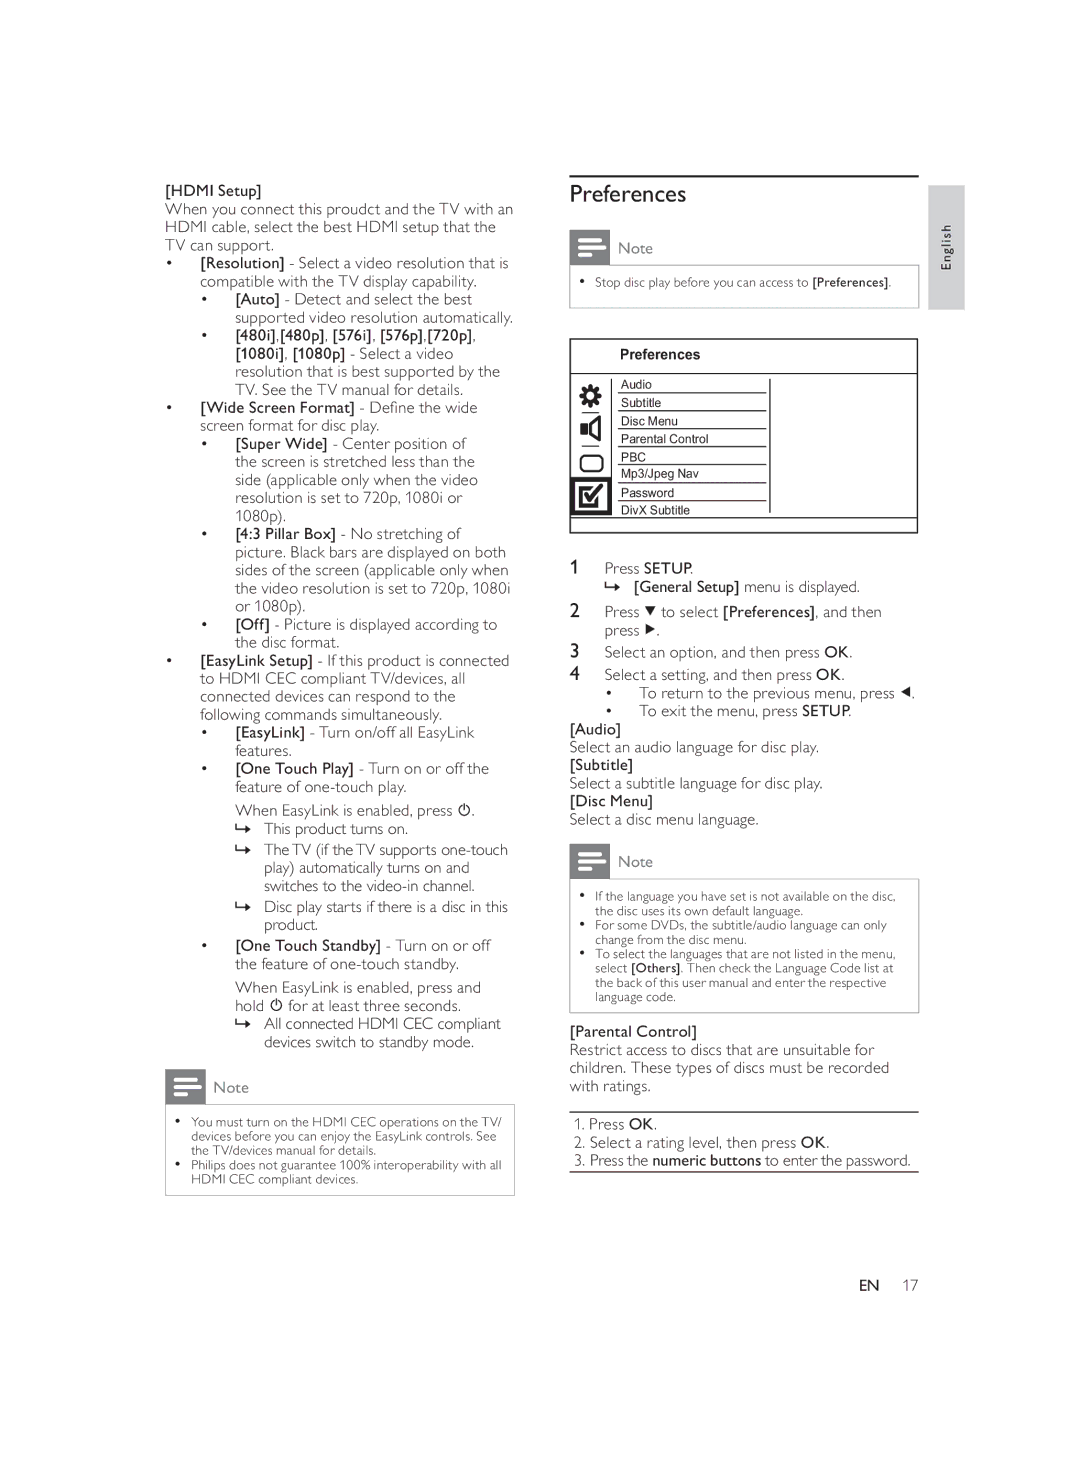
Preferences
Audio
Subtitle
Disc Menu
Parental Control
PBC
Mp3/Jpeg Nav
Password
DivX Subtitle
1Press SETUP.
» [General Setup] menu is displayed.
2 Press ![]() to select [Preferences], and then press
to select [Preferences], and then press ![]() .
.
3Select an option, and then press OK.
4Select a setting, and then press OK.
• To return to the previous menu, press ![]() .
.
•To exit the menu, press SETUP.
[Audio]
Select an audio language for disc play. [Subtitle]
Select a subtitle language for disc play. [Disc Menu]
Select a disc menu language.
![]() Note
Note
•If the language you have set is not available on the disc, the disc uses its own default language.
•For some DVDs, the subtitle/audio language can only change from the disc menu.
•To select the languages that are not listed in the menu, select [Others]. Then check the Language Code list at the back of this user manual and enter the respective language code.
[Parental Control]
Restrict access to discs that are unsuitable for children. These types of discs must be recorded with ratings.
1.Press OK.
2.Select a rating level, then press OK.
3.Press the numeric buttons to enter the password.
EN 17
