Clock/Timer |
English |
View clock
The clock (if it is set) will be shown in standby mode.
To view the clock in any source mode (VCD or TUNER for example)
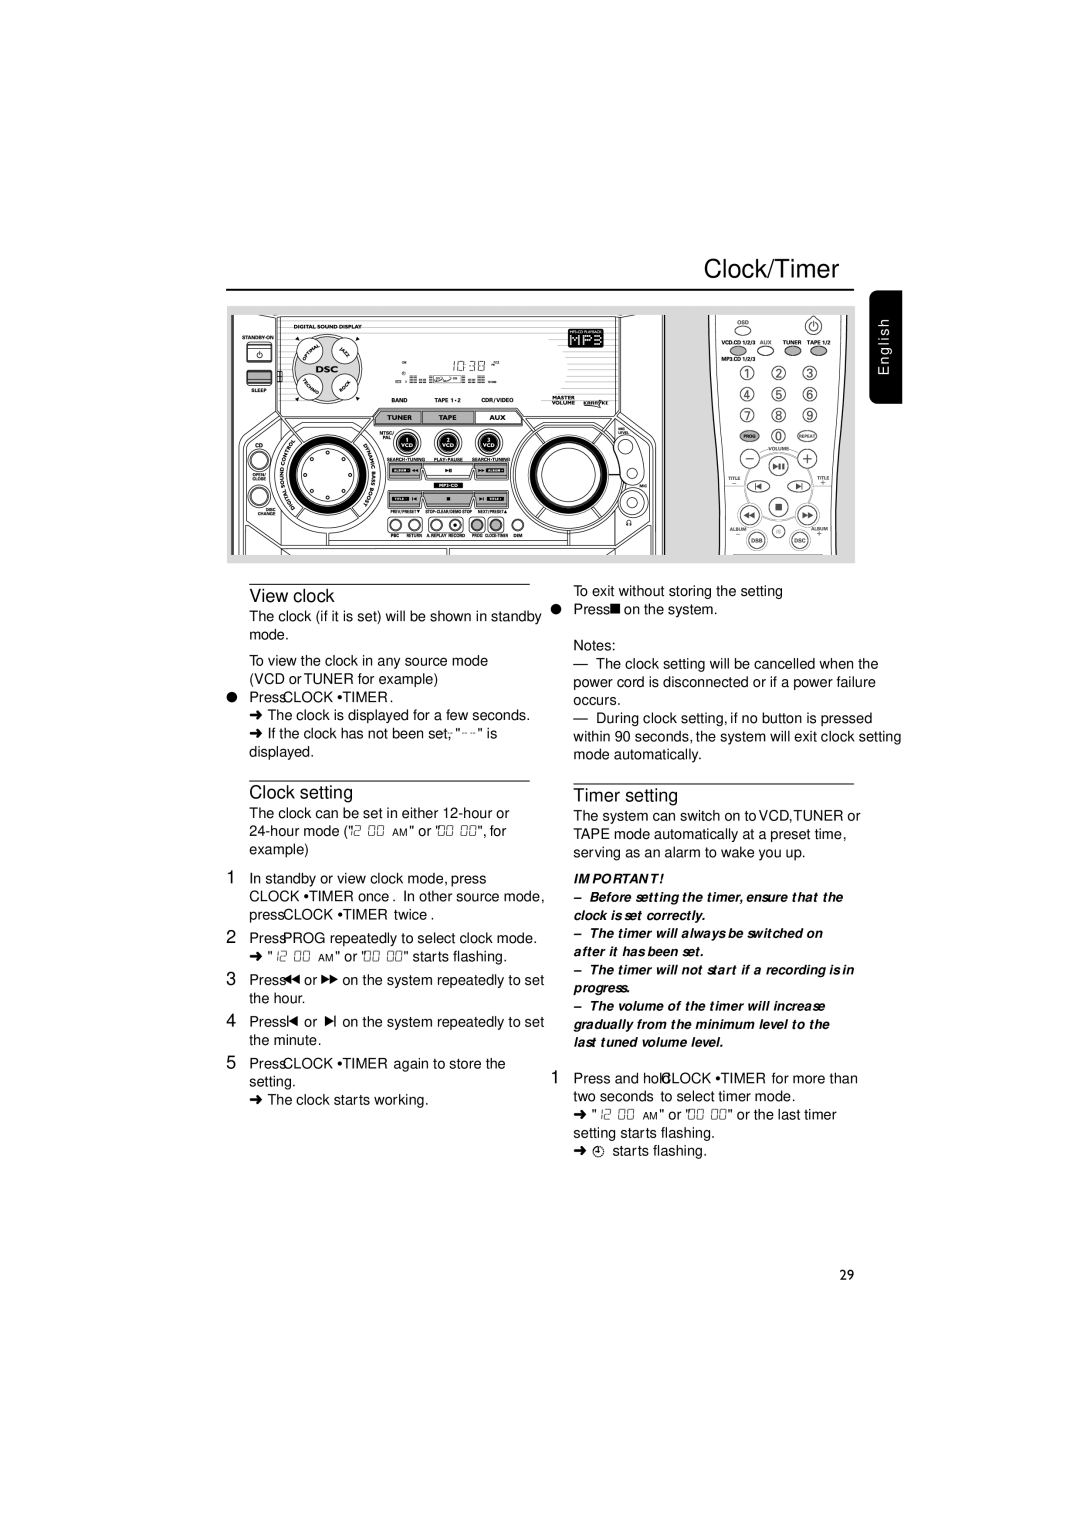
●Press CLOCK•TIMER.
➜The clock is displayed for a few seconds.
➜If the clock has not been set,
To exit without storing the setting
●Press Çon the system.
Notes:
–The clock setting will be cancelled when the power cord is disconnected or if a power failure occurs.
–During clock setting, if no button is pressed within 90 seconds, the system will exit clock setting mode automatically.
| Clock setting | Timer setting | |
| The clock can be set in either | The system can switch on to VCD,TUNER or | |
| TAPE mode automatically at a preset time, | ||
| example) | serving as an alarm to wake you up. | |
1 | In standby or view clock mode, press | IMPORTANT! | |
| CLOCK•TIMER once. In other source mode, | – Before setting the timer, ensure that the | |
| press CLOCK•TIMER twice. | clock is set correctly. | |
2 | Press PROG repeatedly to select clock mode. | – The timer will always be switched on | |
| ➜ "12:00 AM" or "00:00" starts flashing. | after it has been set. | |
| – The timer will not start if a recording is in | ||
3 | Press à or á on the system repeatedly to set | ||
progress. | |||
| the hour. | ||
| – The volume of the timer will increase | ||
4 | Press í or ë on the system repeatedly to set | ||
gradually from the minimum level to the | |||
| the minute. | last tuned volume level. |
5Press CLOCK•TIMER again to store the
setting. | 1 Press and hold CLOCK•TIMER for more than |
➜ The clock starts working. | two seconds to select timer mode. |
| ➜ "12:00 AM" or "00:00" or the last timer |
| setting starts flashing. |
| ➜ starts flashing. |
29
