E n g l i s h
1
2 Press 2 repeatedly to select { Video Setup Page }.
3Use 34keys to highlight { TV Type }, then press 2.
Video Setup Page
|
|
|
|
| TV Type | PAL |
|
| TV Display | NTSC | |
| Progressive | Multi | |
| Picture Setting |
|
|
| Component |
|
|
|
|
|
|
TV Display },
4:3 Pan Scan
4:3 Letter Box
16:9 Wide Screen
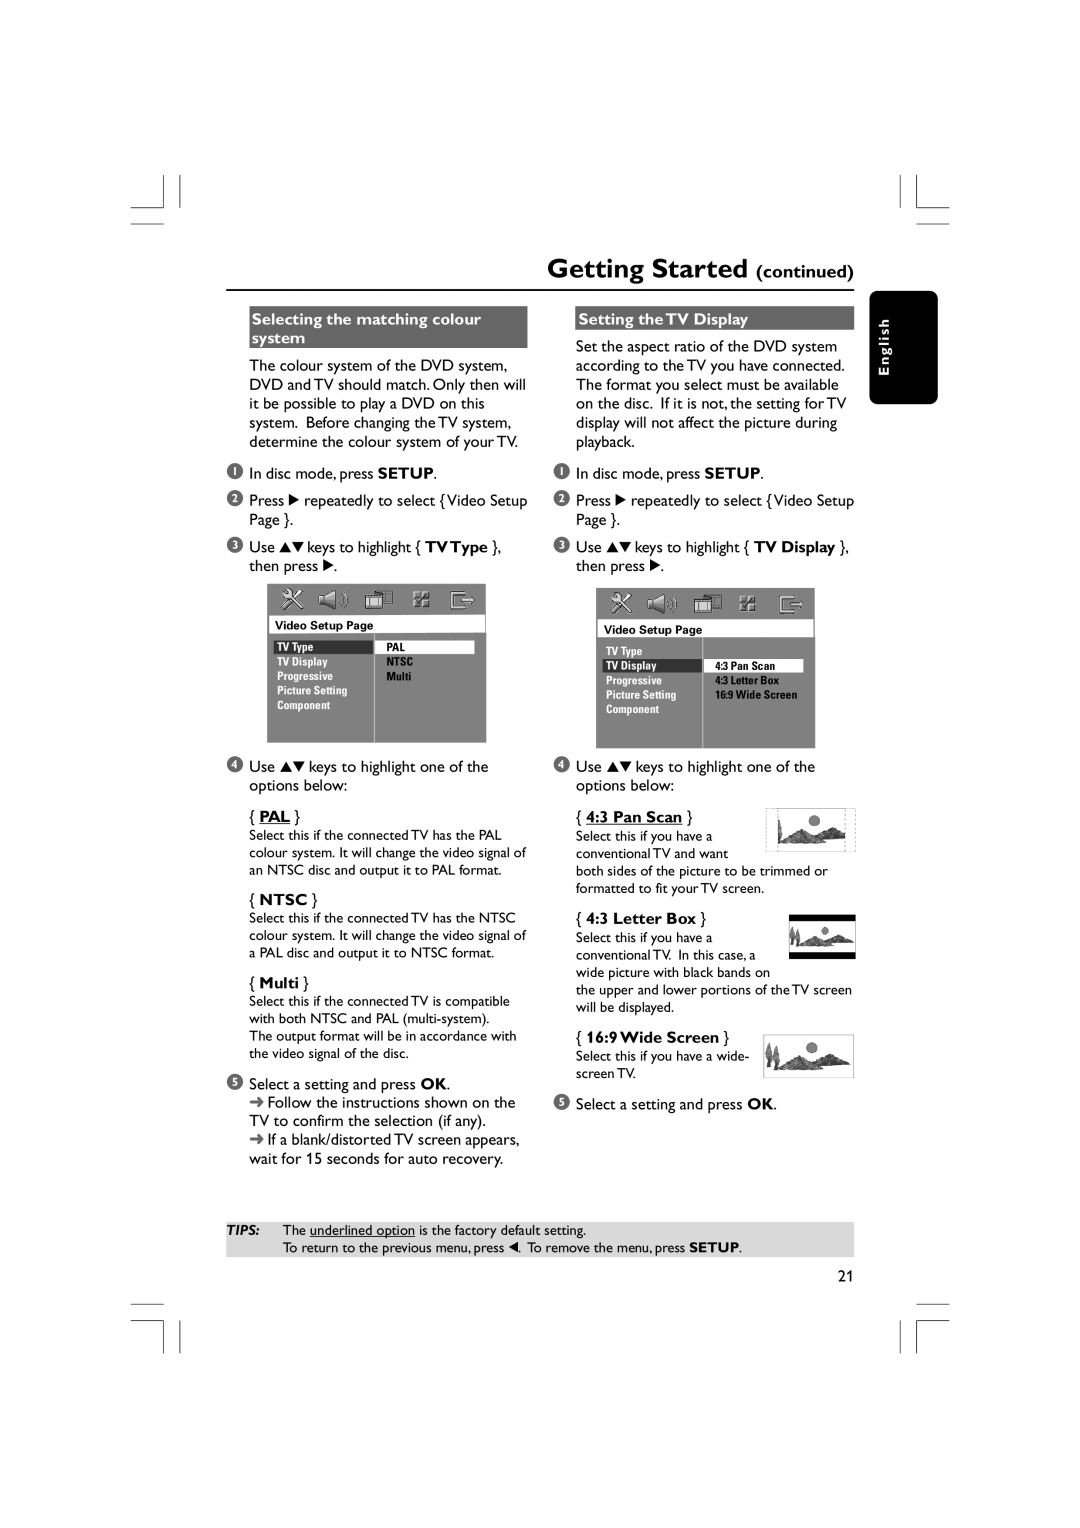
4Use 34 keys to highlight one of the options below:
{PAL }
Select this if the connected TV has the PAL colour system. It will change the video signal of an NTSC disc and output it to PAL format.
{NTSC }
Select this if the connected TV has the NTSC colour system. It will change the video signal of a PAL disc and output it to NTSC format.
{Multi }
Select this if the connected TV is compatible with both NTSC and PAL
5Select a setting and press OK.
➜Follow the instructions shown on the TV to confirm the selection (if any).
➜If a blank/distorted TV screen appears, wait for 15 seconds for auto recovery.
4Use 34 keys to highlight one of the options below:
{4:3 Pan Scan }
Select this if you have a conventional TV and want
both sides of the picture to be trimmed or formatted to fit your TV screen.
{4:3 Letter Box }
Select this if you have a conventional TV. In this case, a wide picture with black bands on
the upper and lower portions of the TV screen will be displayed.
{16:9 Wide Screen }
Select this if you have a wide- screen TV.
5Select a setting and press OK.
TIPS: The underlined option is the factory default setting.
To return to the previous menu, press 1. To remove the menu, press SETUP.
21
