Preparations
English
IMPORTANT!
–Make sure to complete the preparation procedures before operating the system.
Step 1: Inserting batteries into the remote control
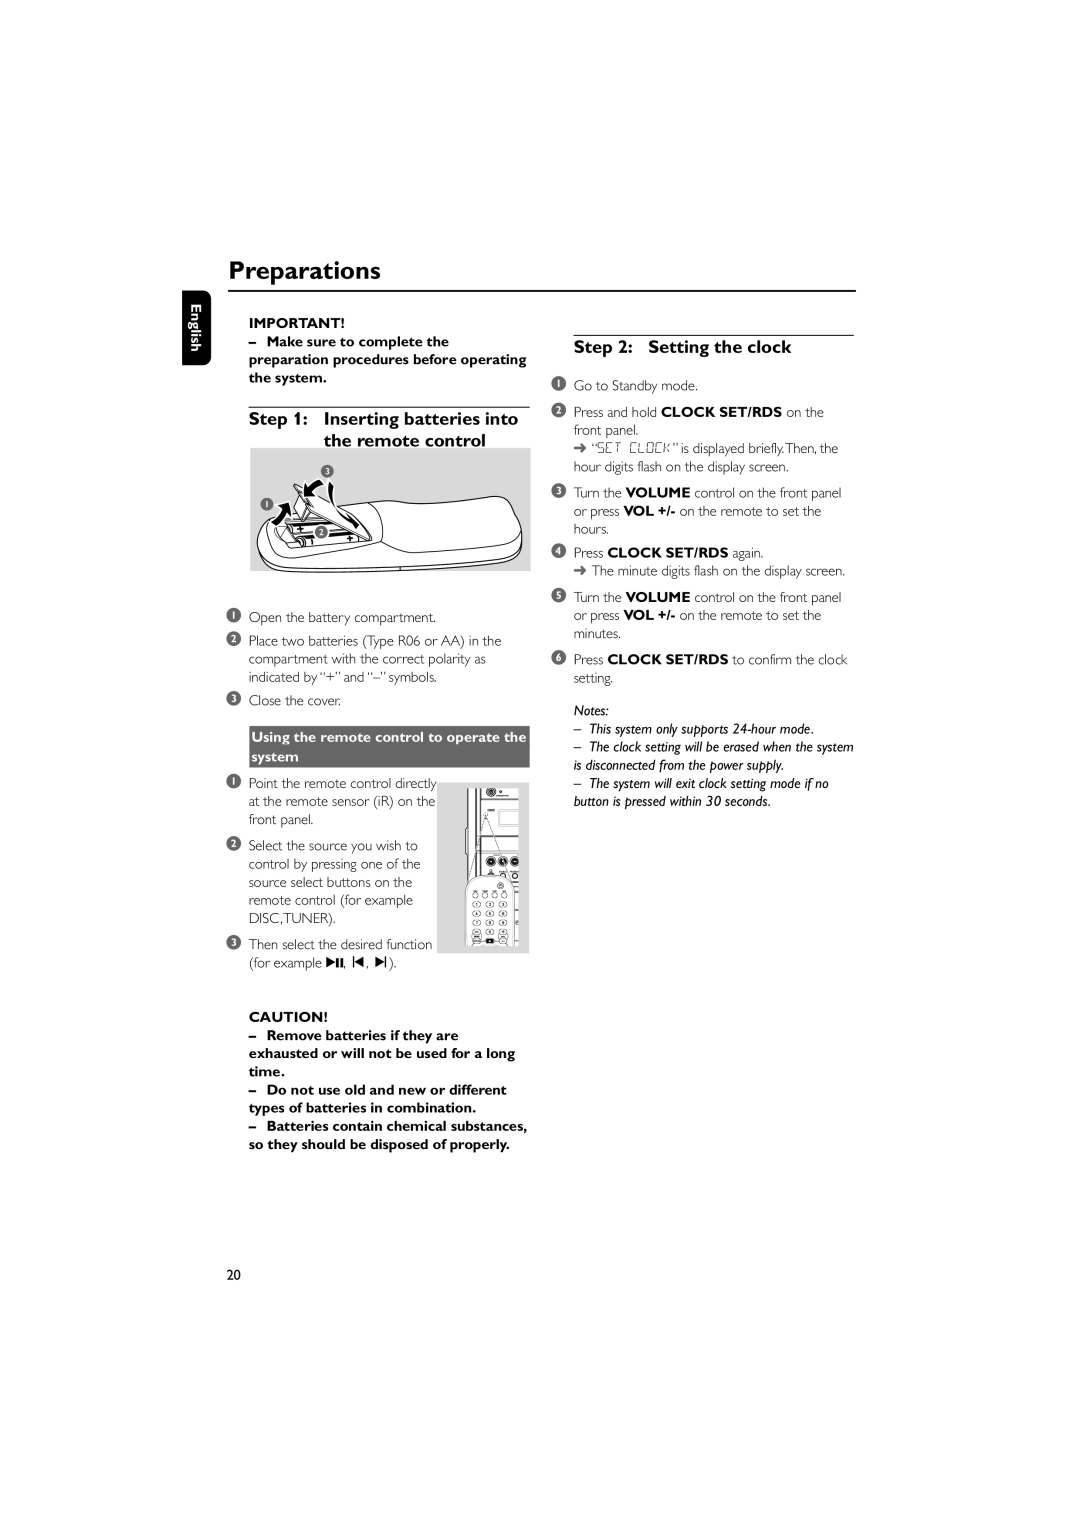
1Open the battery compartment.
2Place two batteries (Type R06 or AA) in the compartment with the correct polarity as indicated by “+” and
3Close the cover.
Using the remote control to operate the
system
1Go to Standby mode.
2Press and hold CLOCK SET/RDS on the front panel.
➜ “SET CLOCK” is displayed briefly.Then, the hour digits flash on the display screen.
3Turn the VOLUME control on the front panel or press VOL +/- on the remote to set the hours.
4Press CLOCK SET/RDS again.
➜ The minute digits flash on the display screen.
5Turn the VOLUME control on the front panel or press VOL +/- on the remote to set the minutes.
6 Press CLOCK SET/RDS to confirm the clock | |
setting. | |
Notes: | |
– | This system only supports |
– | The clock setting will be erased when the system |
is disconnected from the power supply. | |
1Point the remote control directly at the remote sensor (iR) on the front panel.
2Select the source you wish to control by pressing one of the source select buttons on the remote control (for example DISC,TUNER).
3Then select the desired function (for example 2;, í, ë).
PRESETT
– The system will exit clock setting mode if no |
button is pressed within 30 seconds. |
CAUTION!
–Remove batteries if they are exhausted or will not be used for a long time.
–Do not use old and new or different types of batteries in combination.
–Batteries contain chemical substances, so they should be disposed of properly.
20