Preparations
Step 3: Setting video preference
IMPORTANT!
–Make sure you have completed all the necessary connections. (See
Turn on the TV set and set it to the correct
➜You may go to channel 1 on your TV set, then press the channel button repeatedly until you see the Video In channel.
➜Or, you can use the TV remote control to select different video modes.
➜Or, set TV to channel 3 or 4 if you are using an RF modulator.
1 In stop mode or during playback, press
SYSTEM MENU.
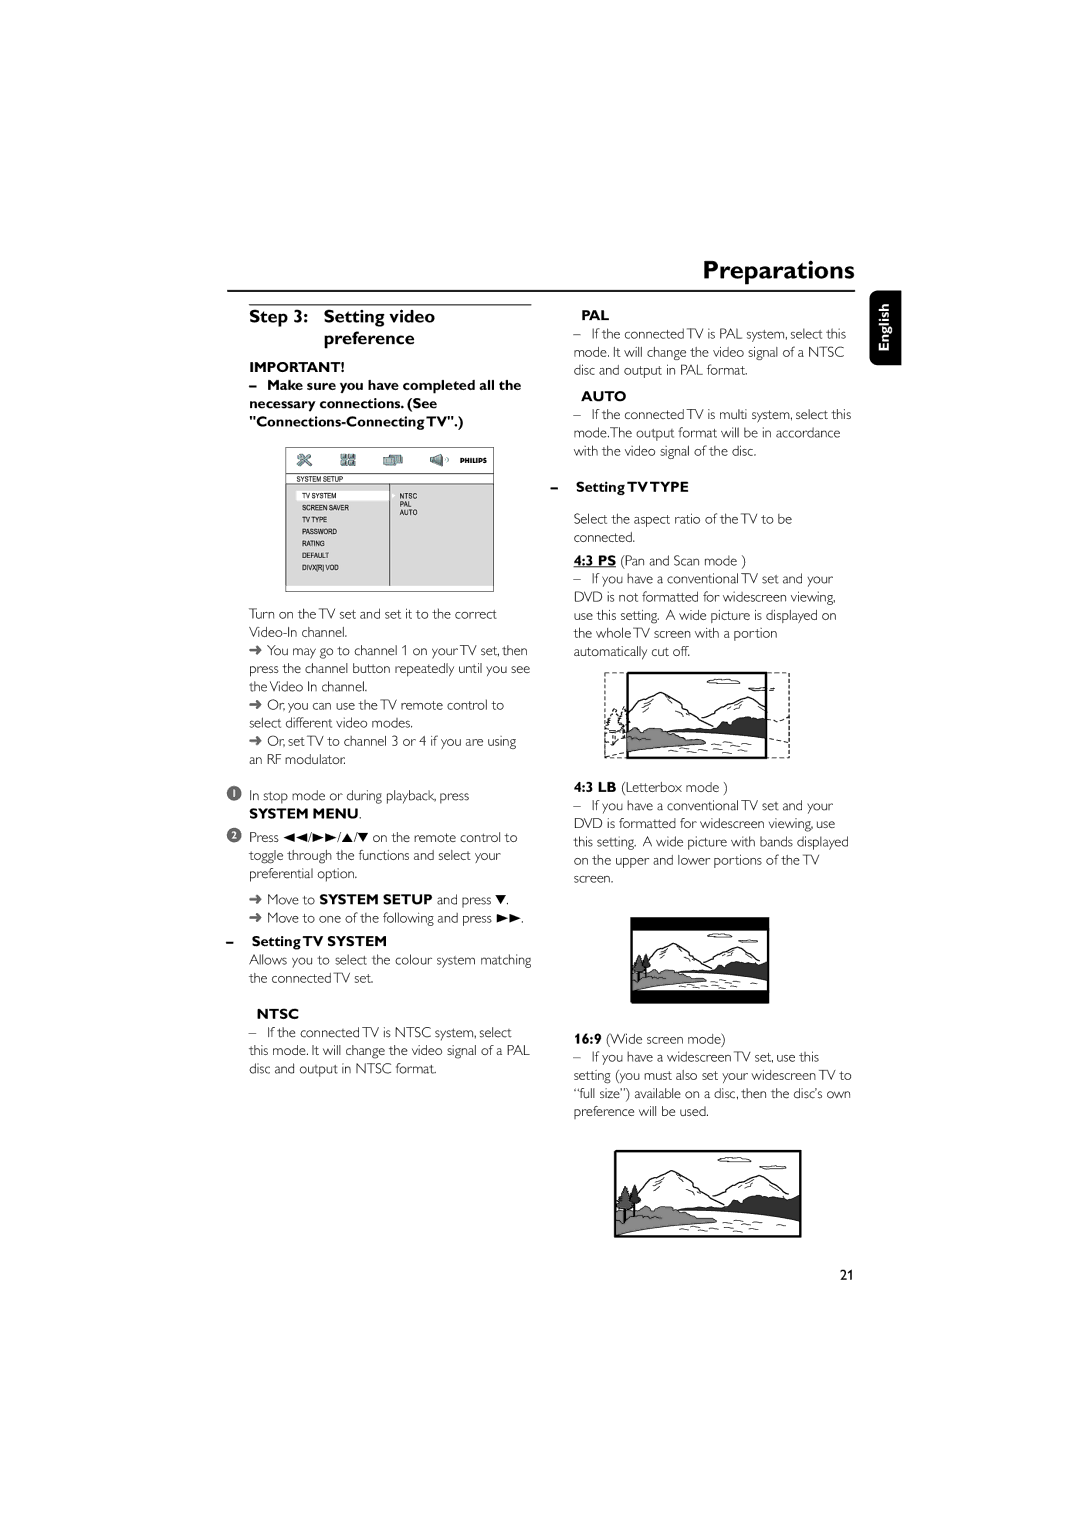
2Press 22/33/5/4 on the remote control to toggle through the functions and select your preferential option.
➜Move to SYSTEM SETUP and press 4.
➜Move to one of the following and press 33.
–Setting TV SYSTEM
Allows you to select the colour system matching the connected TV set.
NTSC
–If the connected TV is NTSC system, select
this mode. It will change the video signal of a PAL disc and output in NTSC format.
PAL
–If the connected TV is PAL system, select this mode. It will change the video signal of a NTSC disc and output in PAL format.
AUTO
–If the connected TV is multi system, select this mode.The output format will be in accordance with the video signal of the disc.
–Setting TV TYPE
Select the aspect ratio of the TV to be connected.
4:3 PS (Pan and Scan mode )
–If you have a conventional TV set and your DVD is not formatted for widescreen viewing, use this setting. A wide picture is displayed on the whole TV screen with a portion automatically cut off.
4:3 LB (Letterbox mode )
–If you have a conventional TV set and your DVD is formatted for widescreen viewing, use this setting. A wide picture with bands displayed on the upper and lower portions of the TV screen.
16:9 (Wide screen mode)
–If you have a widescreen TV set, use this setting (you must also set your widescreen TV to “full size”) available on a disc, then the disc’s own preference will be used.
English
21
