Clock/Timer

Troubleshooting

M I C R O S Y S T E M M C M 1 0 8

iR

AM

AUX-IN

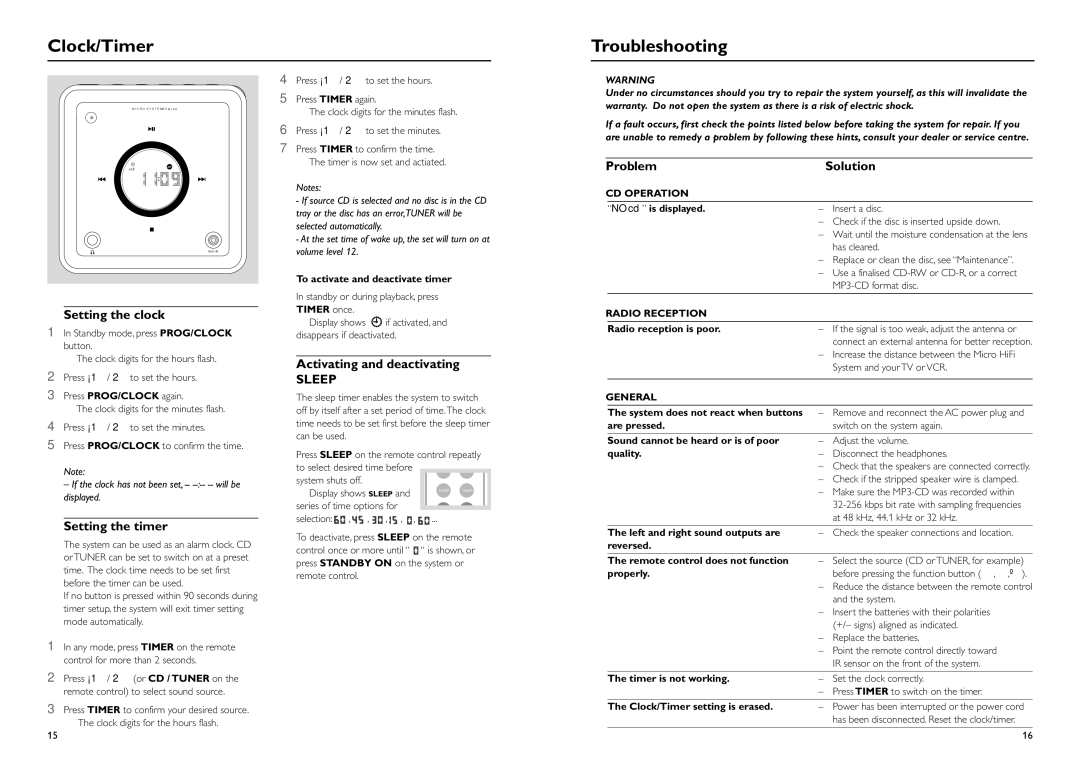
Setting the clock

1In Standby mode, press PROG/CLOCK button.

The clock digits for the hours flash.

2Press ¡1 / 2™ to set the hours.

3Press PROG/CLOCK again.

The clock digits for the minutes flash.

4Press ¡1 / 2™ to set the minutes.

5Press PROG/CLOCK to confirm the time.

Note:

– If the clock has not been set, -- --:-- -- will be displayed.

Setting the timer

The system can be used as an alarm clock. CD or TUNER can be set to switch on at a preset time. The clock time needs to be set first before the timer can be used.

If no button is pressed within 90 seconds during timer setup, the system will exit timer setting mode automatically.

1In any mode, press TIMER on the remote control for more than 2 seconds.

2Press ¡1 / 2™ (or CD / TUNER on the remote control) to select sound source.

3Press TIMER to confirm your desired source. The clock digits for the hours flash.

4Press ¡1 / 2™ to set the hours.

5Press TIMER again.

The clock digits for the minutes flash.

6Press ¡1 / 2™ to set the minutes.

7Press TIMER to confirm the time. The timer is now set and actiated.

Notes:

-If source CD is selected and no disc is in the CD tray or the disc has an error,TUNER will be selected automatically.

-At the set time of wake up, the set will turn on at volume level 12.

To activate and deactivate timer

In standby or during playback, press

TIMER once.

Display shows if activated, and disappears if deactivated.

Activating and deactivating

SLEEP

The sleep timer enables the system to switch off by itself after a set period of time.The clock time needs to be set first before the sleep timer can be used.

Press SLEEP on the remote control repeatly to select desired time before

system shuts off.

Display shows SLEEP and

SLEEP TIMER


series of time options for


selection:

,

,

, , ,

...

To deactivate, press SLEEP on the remote control once or more until “ “ is shown, or press STANDBY ON on the system or remote control.

WARNING

Under no circumstances should you try to repair the system yourself, as this will invalidate the warranty. Do not open the system as there is a risk of electric shock.

If a fault occurs, first check the points listed below before taking the system for repair. If you are unable to remedy a problem by following these hints, consult your dealer or service centre.

Problem


Solution

CD OPERATION


NO cdis displayed.

Insert a disc.


– Check if the disc is inserted upside down.


– Wait until the moisture condensation at the lens


has cleared.


– Replace or clean the disc, see “Maintenance”.


– Use a finalised CD-RW or CD-R, or a correct


MP3-CD format disc.

RADIO RECEPTION


Radio reception is poor.

If the signal is too weak, adjust the antenna or


connect an external antenna for better reception.


– Increase the distance between the Micro HiFi


System and your TV or VCR.


GENERAL


The system does not react when buttons

Remove and reconnect the AC power plug and


are pressed.


switch on the system again.


Sound cannot be heard or is of poor

Adjust the volume.


quality.

Disconnect the headphones.


– Check that the speakers are connected correctly.


– Check if the stripped speaker wire is clamped.


– Make sure the MP3-CD was recorded within


32-256 kbps bit rate with sampling frequencies


at 48 kHz, 44.1 kHz or 32 kHz.


The left and right sound outputs are

Check the speaker connections and location.


reversed.


The remote control does not function

Select the source (CD or TUNER, for example)


properly.


before pressing the function button (É,í,ë).


– Reduce the distance between the remote control


and the system.


– Insert the batteries with their polarities


(+/– signs) aligned as indicated.


Replace the batteries.


– Point the remote control directly toward


IR sensor on the front of the system.


The timer is not working.

Set the clock correctly.


– Press TIMER to switch on the timer.


The Clock/Timer setting is erased.

Power has been interrupted or the power cord


has been disconnected. Reset the clock/timer.


15

16

Page 9
Image 9
Philips MCM108C, MCM108B Clock/Timer Troubleshooting, Setting the clock, Setting the timer, Activating and deactivating

MCM108B, MCM108, MCM108C specifications

The Philips MCM108 and MCM108C are compact audio systems designed to deliver an impressive sound experience while maintaining a sleek appearance. These systems are ideal for those who appreciate quality audio in a small footprint, making them perfect for home use, small gatherings, or even as portable sound systems.

One of the standout features of the MCM108 and MCM108C is their powerful sound output. Equipped with high-performance speakers, they produce clear and dynamic audio across a range of frequencies, ensuring that users can enjoy their favorite music genres without compromising on quality. The bass response is particularly noteworthy, thanks to the dedicated bass enhancement technology which helps to deliver a rich audio experience even in compact settings.

In terms of connectivity, both models offer versatile options. They come with an integrated CD player that supports standard disc formats, allowing users to enjoy their favorite albums with ease. Furthermore, the systems are equipped with USB ports, enabling users to play music directly from their flash drives. This feature is particularly convenient for those who have vast digital music collections. Additionally, the MCM108 and MCM108C models are compatible with various audio inputs, making it easy to connect smartphones, tablets, or other audio devices.

The sleek design of the MCM108 and MCM108C enhances their appeal, featuring a modern aesthetic that fits well with any décor. The user-friendly interface simplifies operation, allowing users to navigate through their music effortlessly. The systems also come with a remote control for added convenience, enabling users to adjust settings from a distance.

Both models boast energy-efficient technology, which not only helps in reducing power consumption but also contributes to a more eco-friendly environment. The compact design does not compromise on sound quality, making these systems an excellent choice for limited spaces.

In summary, the Philips MCM108 and MCM108C are impressive audio solutions that combine excellent sound quality, versatile connectivity, and an aesthetically pleasing design. Whether you're a casual listener or an audiophile, these compact systems deliver a stellar performance, proving that great sound can come in small packages.