
PPX2450 specifications
The Philips PPX2450 is a compact and portable pico projector that has garnered attention for its impressive performance and versatility. Designed for users who require a mobile projection solution, it packs a wealth of features into a small, lightweight package, making it ideal for both personal and professional use.One of the standout features of the PPX2450 is its impressive brightness. With a projection light output of up to 300 lumens, it ensures that presentations and videos remain clear and vivid, even in less-than-ideal lighting conditions. This makes it suitable for a variety of environments, from dimly lit conference rooms to cozy home settings.
The projector boasts a native resolution of 720p (1280 x 720 pixels), which provides sharp and detailed images. As a DLP (Digital Light Processing) projector, it employs advanced technology that delivers high-quality visuals with excellent color depth. This is crucial for users who want to maintain the integrity of their content, whether it be business presentations, educational materials, or movies.
Connectivity is another area where the PPX2450 excels. It is equipped with multiple input options, including HDMI, USB-C, and a built-in media player, allowing users to easily connect their laptops, smartphones, tablets, or USB drives. Wireless connectivity is also supported, enabling seamless streaming from compatible devices without the need for cumbersome cables.
In terms of usability, the Philips PPX2450 features an intuitive interface and a user-friendly remote control. This ensures that navigating through menus and selecting content is straightforward, making it accessible even for those who may not be tech-savvy. The projector also supports screen mirroring, allowing users to project their mobile device displays directly onto larger screens effortlessly.
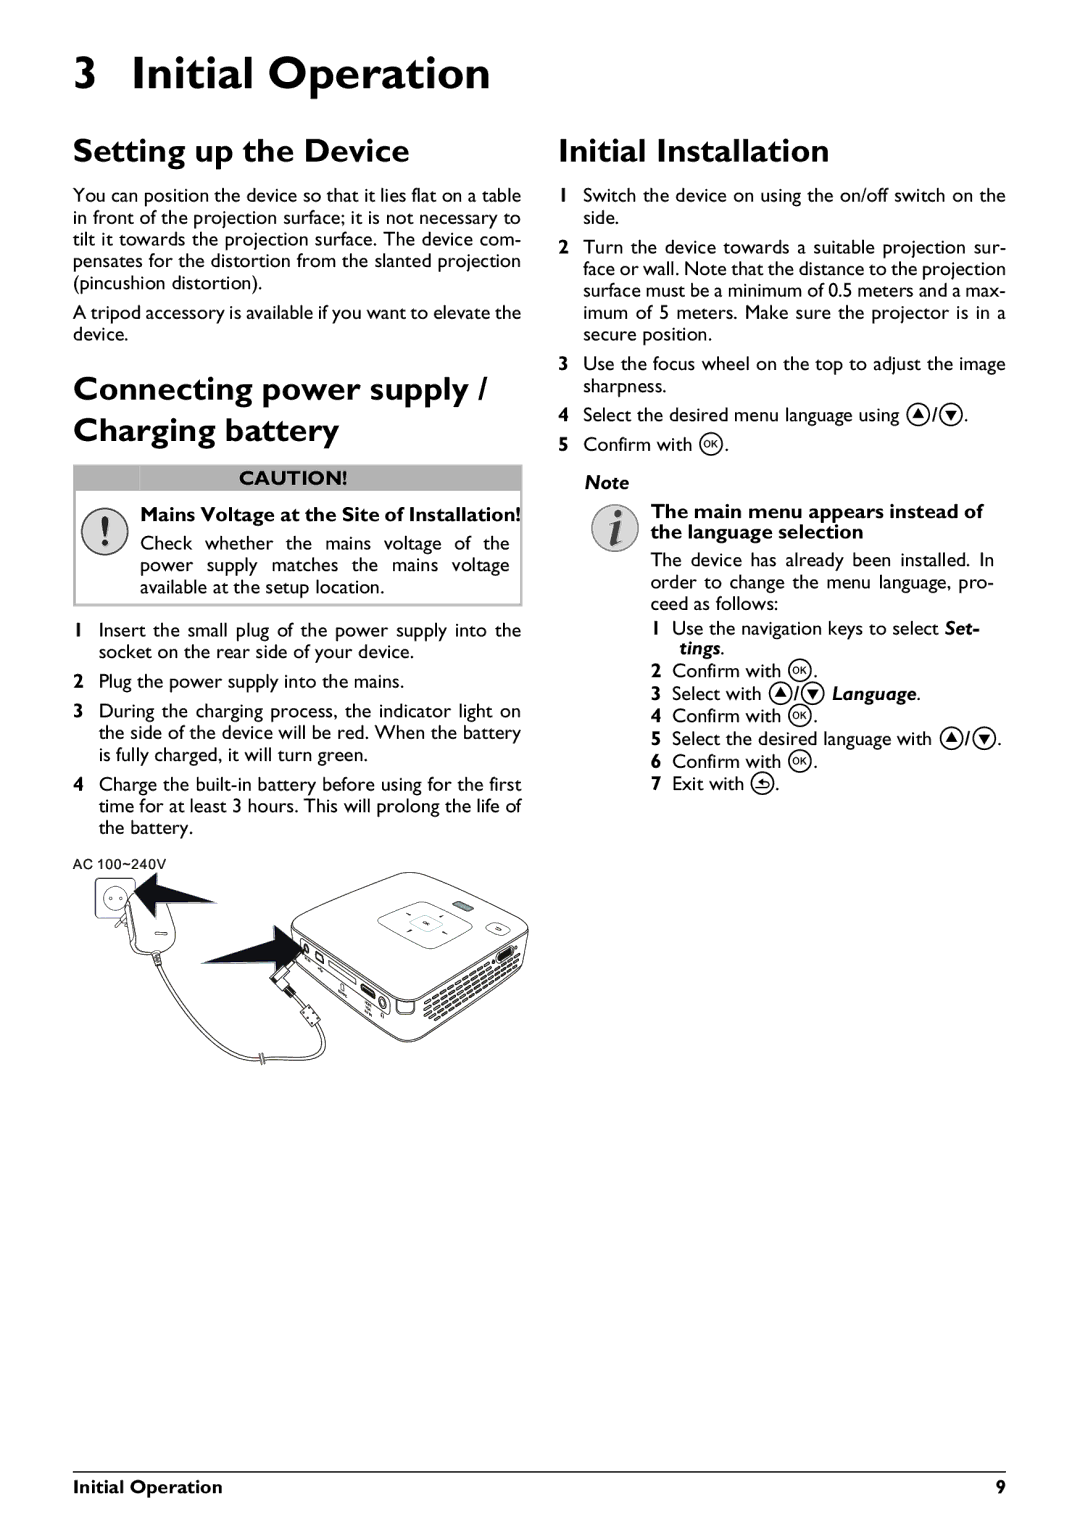
Another significant feature of the PPX2450 is its built-in battery, which provides up to 3 hours of playback time on a single charge. This makes it perfect for situations where power outlets are scarce, such as outdoor movie nights or presentations on the go.
Overall, the Philips PPX2450 represents a perfect blend of portability, performance, and technological advancement. Whether for business or entertainment, it offers a powerful projection solution that is both practical and easy to use, appealing to users seeking flexibility in their visual presentations.