7 Settings

1Switch the device on using the on/off switch on the side.

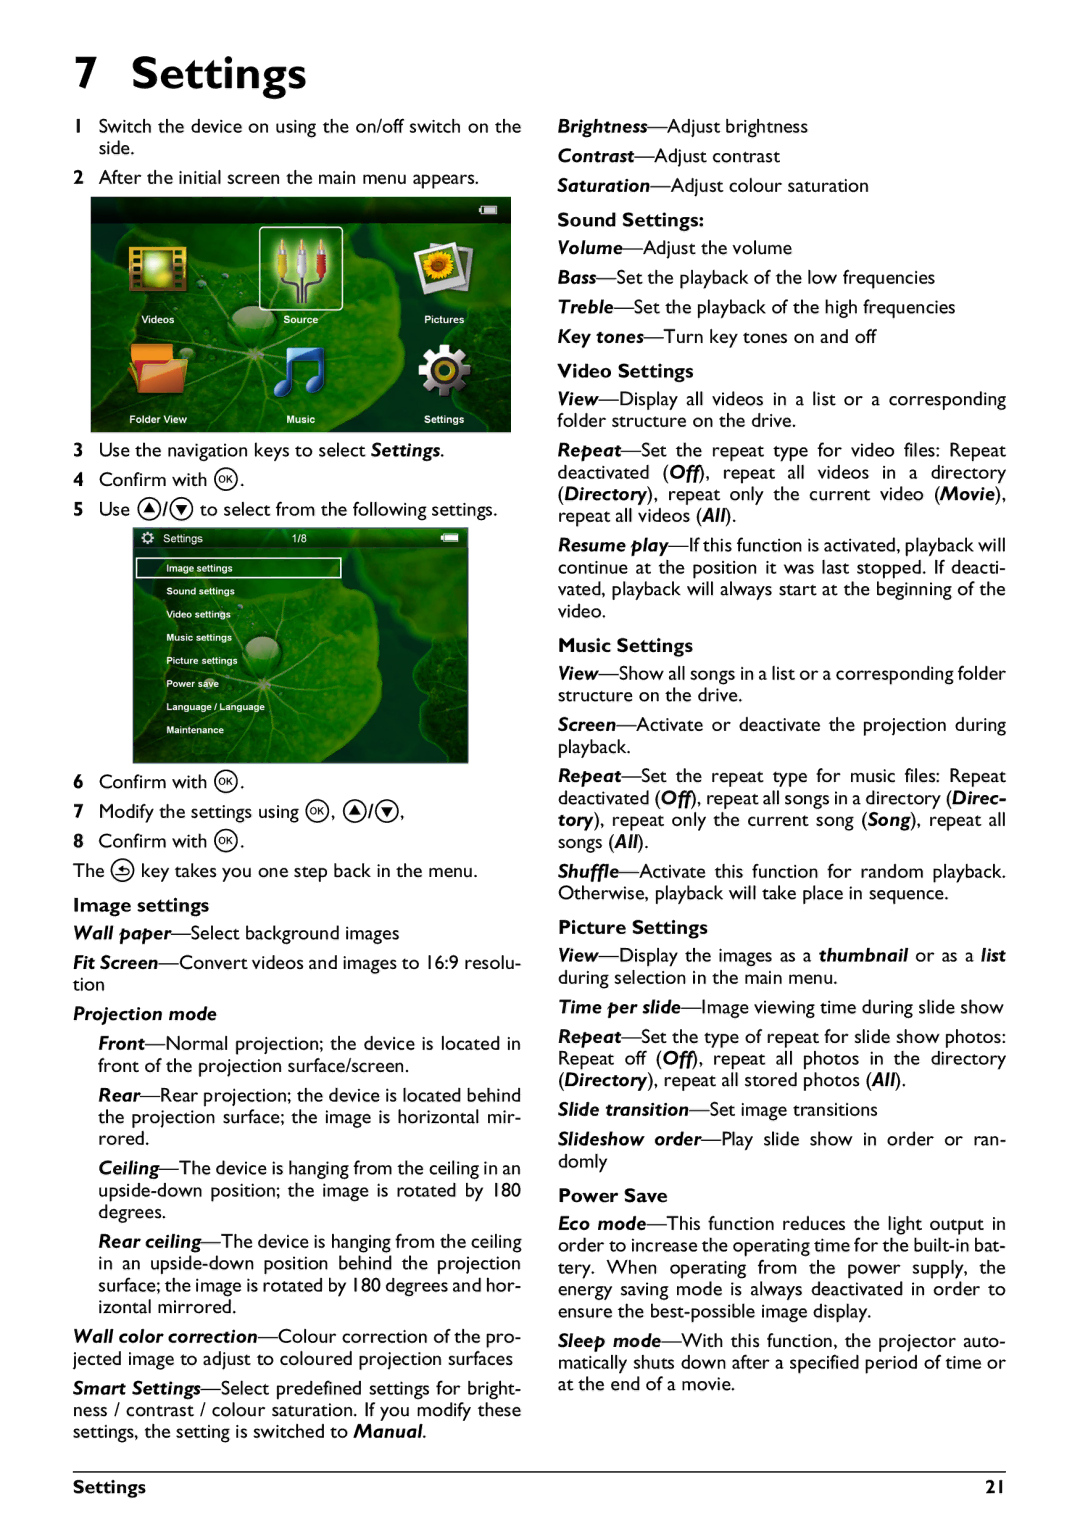
2After the initial screen the main menu appears.

3Use the navigation keys to select Settings.

4Confirm with à.

5Use ¡/¢ to select from the following settings.

6Confirm with à.

7Modify the settings using à, ¡/¢,

8Confirm with à.

The ¿ key takes you one step back in the menu.

Image settings

Wall paper—Select background images

Fit Screen—Convert videos and images to 16:9 resolu- tion

Projection mode

Front—Normal projection; the device is located in front of the projection surface/screen.

Rear—Rear projection; the device is located behind the projection surface; the image is horizontal mir- rored.

Ceiling—The device is hanging from the ceiling in an upside-down position; the image is rotated by 180 degrees.

Rear ceiling—The device is hanging from the ceiling in an upside-down position behind the projection surface; the image is rotated by 180 degrees and hor- izontal mirrored.

Wall color correction—Colour correction of the pro- jected image to adjust to coloured projection surfaces

Smart Settings—Select predefined settings for bright- ness / contrast / colour saturation. If you modify these settings, the setting is switched to Manual.

Brightness—Adjust brightness

Contrast—Adjust contrast

Saturation—Adjust colour saturation

Sound Settings:

Volume—Adjust the volume

Bass—Set the playback of the low frequencies Treble—Set the playback of the high frequencies Key tones—Turn key tones on and off

Video Settings

View—Display all videos in a list or a corresponding folder structure on the drive.

Repeat—Set the repeat type for video files: Repeat deactivated (Off), repeat all videos in a directory (Directory), repeat only the current video (Movie), repeat all videos (All).

Resume play—If this function is activated, playback will continue at the position it was last stopped. If deacti- vated, playback will always start at the beginning of the video.

Music Settings

View—Show all songs in a list or a corresponding folder structure on the drive.

Screen—Activate or deactivate the projection during playback.

Repeat—Set the repeat type for music files: Repeat deactivated (Off), repeat all songs in a directory (Direc- tory), repeat only the current song (Song), repeat all songs (All).

Shuffle—Activate this function for random playback. Otherwise, playback will take place in sequence.

Picture Settings

View—Display the images as a thumbnail or as a list during selection in the main menu.

Time per slide—Image viewing time during slide show

Repeat—Set the type of repeat for slide show photos: Repeat off (Off), repeat all photos in the directory (Directory), repeat all stored photos (All).

Slide transition—Set image transitions

Slideshow order—Play slide show in order or ran- domly

Power Save

Eco mode—This function reduces the light output in order to increase the operating time for the built-in bat- tery. When operating from the power supply, the energy saving mode is always deactivated in order to ensure the best-possible image display.

Sleep mode—With this function, the projector auto- matically shuts down after a specified period of time or at the end of a movie.

Settings

21

Page 21
Image 21
Philips PPX2450 user manual Settings, Image settings

PPX2450 specifications

The Philips PPX2450 is a compact and portable pico projector that has garnered attention for its impressive performance and versatility. Designed for users who require a mobile projection solution, it packs a wealth of features into a small, lightweight package, making it ideal for both personal and professional use.

One of the standout features of the PPX2450 is its impressive brightness. With a projection light output of up to 300 lumens, it ensures that presentations and videos remain clear and vivid, even in less-than-ideal lighting conditions. This makes it suitable for a variety of environments, from dimly lit conference rooms to cozy home settings.

The projector boasts a native resolution of 720p (1280 x 720 pixels), which provides sharp and detailed images. As a DLP (Digital Light Processing) projector, it employs advanced technology that delivers high-quality visuals with excellent color depth. This is crucial for users who want to maintain the integrity of their content, whether it be business presentations, educational materials, or movies.

Connectivity is another area where the PPX2450 excels. It is equipped with multiple input options, including HDMI, USB-C, and a built-in media player, allowing users to easily connect their laptops, smartphones, tablets, or USB drives. Wireless connectivity is also supported, enabling seamless streaming from compatible devices without the need for cumbersome cables.

In terms of usability, the Philips PPX2450 features an intuitive interface and a user-friendly remote control. This ensures that navigating through menus and selecting content is straightforward, making it accessible even for those who may not be tech-savvy. The projector also supports screen mirroring, allowing users to project their mobile device displays directly onto larger screens effortlessly.

Another significant feature of the PPX2450 is its built-in battery, which provides up to 3 hours of playback time on a single charge. This makes it perfect for situations where power outlets are scarce, such as outdoor movie nights or presentations on the go.

Overall, the Philips PPX2450 represents a perfect blend of portability, performance, and technological advancement. Whether for business or entertainment, it offers a powerful projection solution that is both practical and easy to use, appealing to users seeking flexibility in their visual presentations.