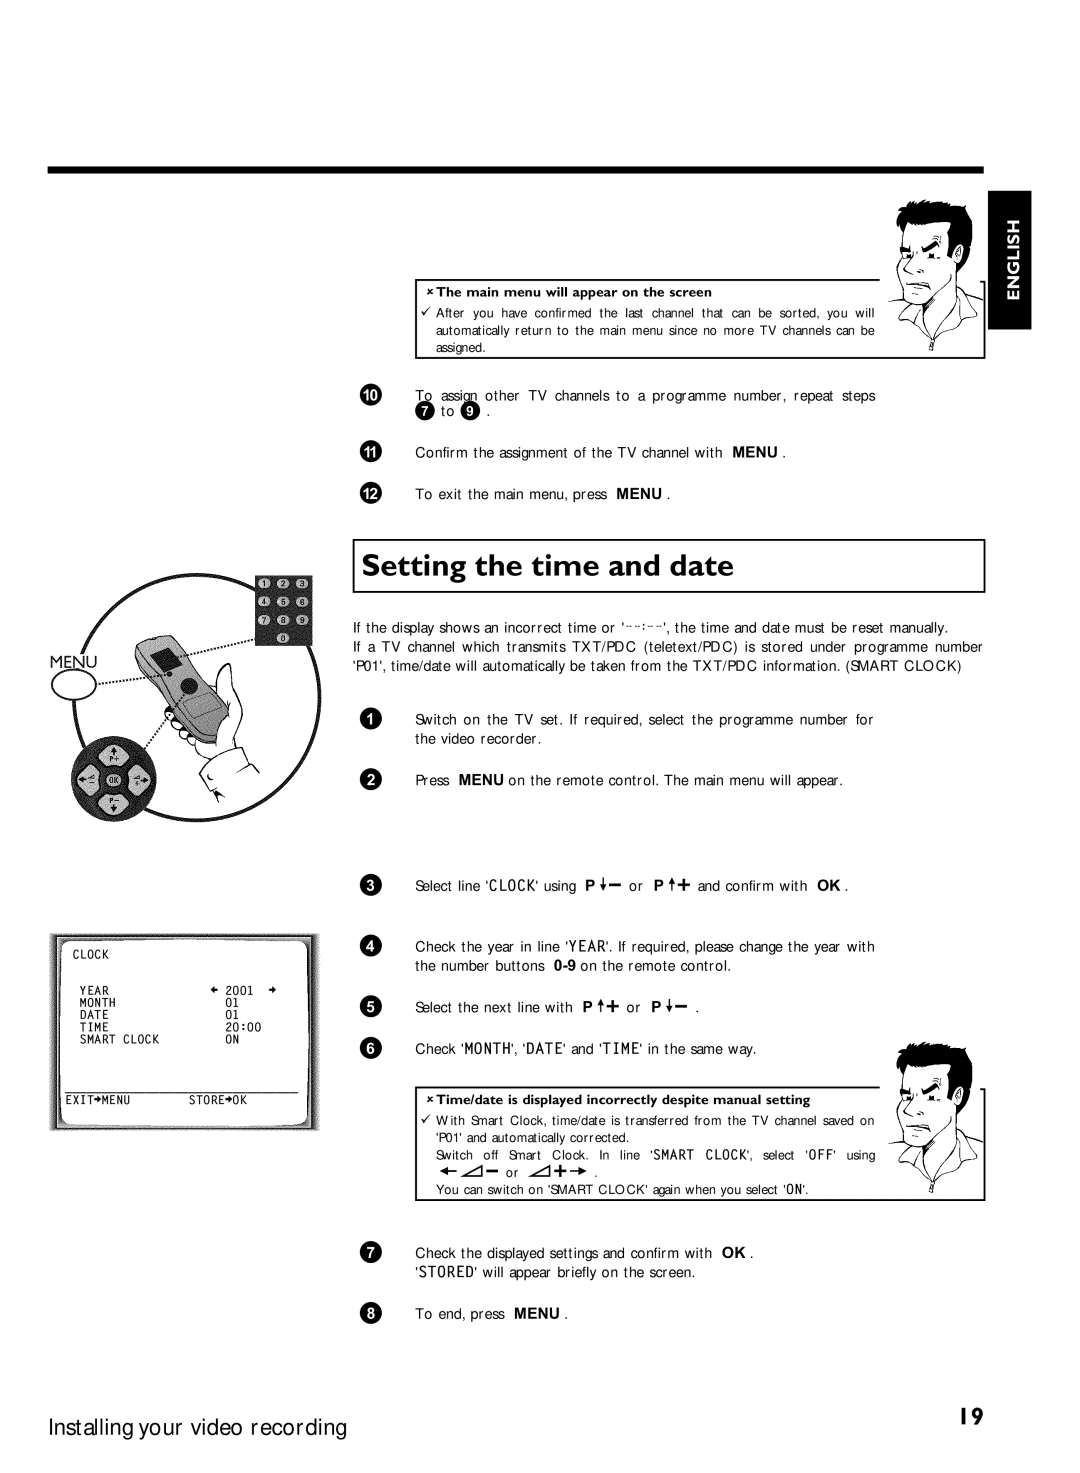
CLOCK |
|
YEAR | è 2001 p |
MONTH | 01 |
DATE | 01 |
TIME | 20:00 |
SMART CLOCK | ON |
________________________________
EXITpMENUSTOREpOK
|
|
| ENGLISH |
The main menu will appear on the screen |
|
|
After you have confirmed the last channel that can be sorted, you will automatically return to the main menu since no more TV channels can be assigned.
0To assign other TV channels to a programme number, repeat steps 7 to 9 .
AConfirm the assignment of the TV channel with MENU .
BTo exit the main menu, press MENU .
Setting the time and date
If the display shows an incorrect time or
If a TV channel which transmits TXT/PDC (teletext/PDC) is stored under programme number 'P01', time/date will automatically be taken from the TXT/PDC information. (SMART CLOCK)
1Switch on the TV set. If required, select the programme number for the video recorder.
2Press MENU on the remote control. The main menu will appear.
3 Select line 'CLOCK' using P | or P | and confirm with OK . |
4Check the year in line 'YEAR'. If required, please change the year with the number buttons
5 Select the next line with P | or P | . |
6Check 'MONTH', 'DATE' and 'TIME' in the same way.
Time/date is displayed incorrectly despite manual setting
With Smart Clock, time/date is transferred from the TV channel saved on 'P01' and automatically corrected.
Switch off Smart Clock. | In line 'SMART CLOCK', select 'OFF' using |
or | . |
You can switch on 'SMART CLOCK' again when you select 'ON'.
7Check the displayed settings and confirm with OK . 'STORED' will appear briefly on the screen.
8 To end, press MENU .
Installing your video recording | 19 |
|
