Using the tuner

Chapter 7:

Using the tuner

Listening to the radio

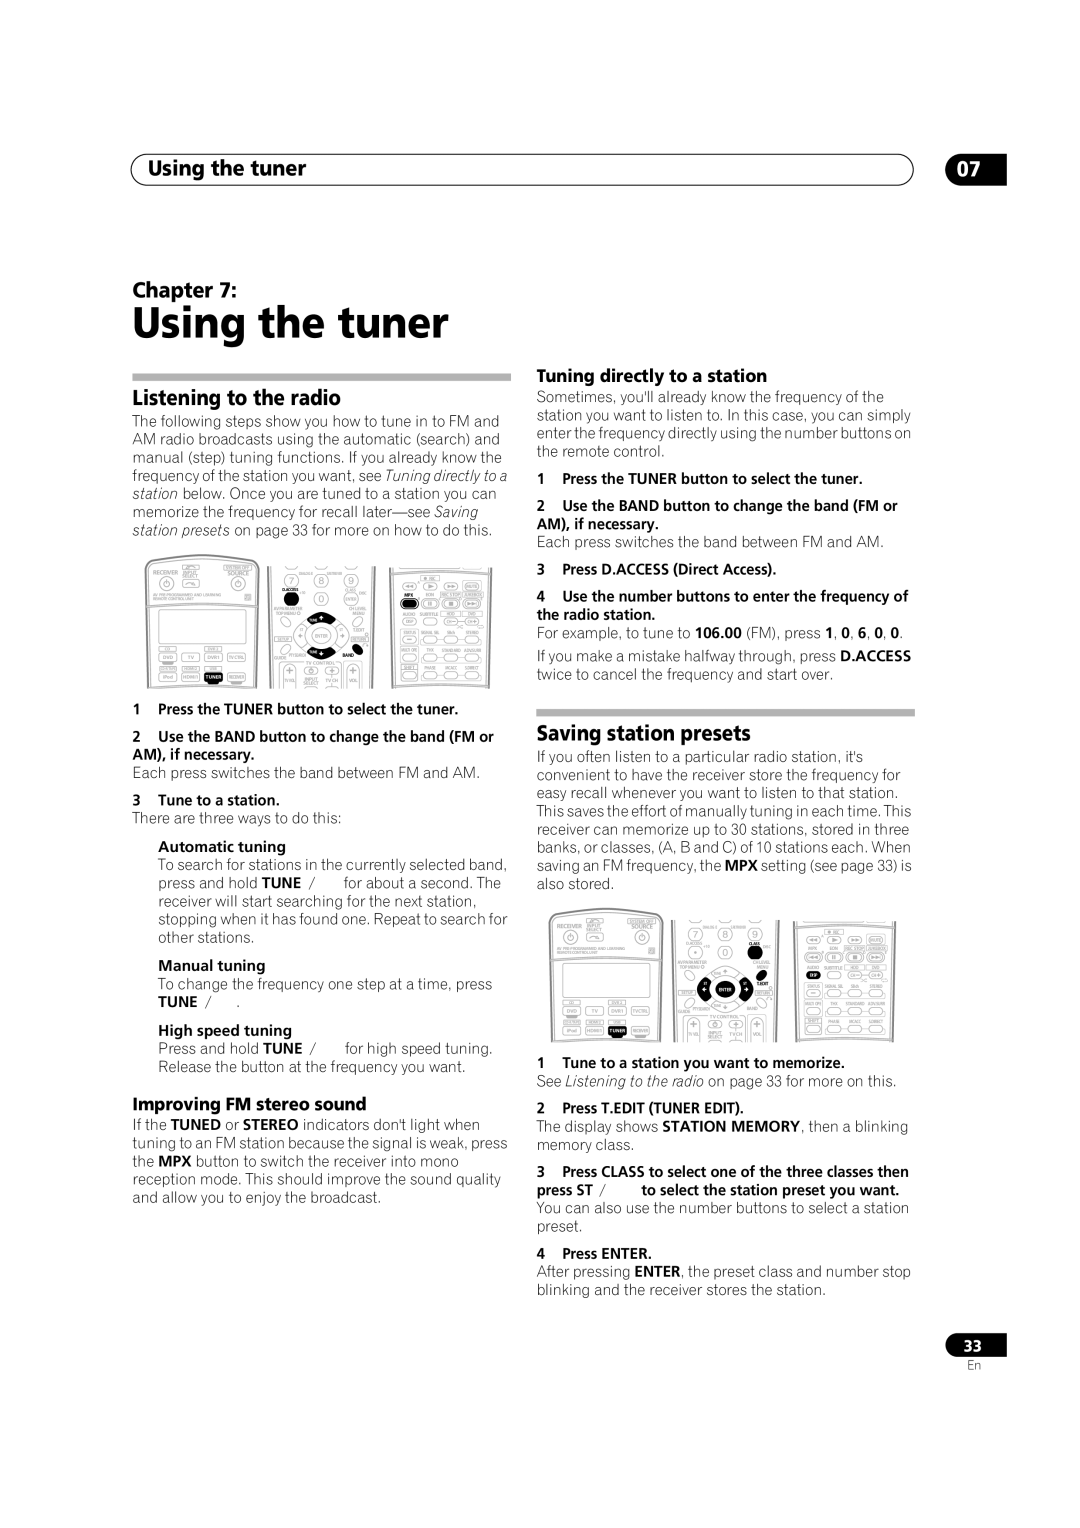
The following steps show you how to tune in to FM and AM radio broadcasts using the automatic (search) and manual (step) tuning functions. If you already know the frequency of the station you want, see Tuning directly to a station below. Once you are tuned to a station you can memorize the frequency for recall later—see Saving station presets on page 33 for more on how to do this.

SYSTEM OFF

RECEIVER

INPUT


SOURCE


DIALOG E

S.RETRIEVER


SELECT


REC


A


MUTE


D.ACCESS


CLASS DISC


AV PRE-PROGRAMMED AND LEARNING


+10


MPX


EON

REC STOP

JUKEBOX

REMOTE CONTROL UNIT


ENTER


B

C

D

E


AV PARAMETER


CH LEVEL


TOP MENU


MENU

AUDIO

SUBTITLE

HDD

DVD


TUNE


DISP


CH

CH


ST

ST

T.EDIT

STATUS


SIGNAL SEL

SBch

STEREO


ENTER


SETUP

RETURN


CD


DVR 2


TUNE


MULTI OPE


THX

STANDARD

ADV.SURR

DVD

TV

DVR1

TV CTRL

GUIDE PTYSEARCH

BAND


TV CONTROL


SHIFT


PHASE

MCACC

S.DIRECT

CD-R/TAPE

HDMI2

USB


iPod

HDMI1

TUNER

RECEIVER

TV VOL

INPUT

TV CH

VOL


SELECT


1Press the TUNER button to select the tuner.

2Use the BAND button to change the band (FM or AM), if necessary.

Each press switches the band between FM and AM.

3Tune to a station.

There are three ways to do this:

Automatic tuning

To search for stations in the currently selected band,

press and hold TUNE for about a second. The receiver will start searching for the next station, stopping when it has found one. Repeat to search for other stations.

Manual tuning

To change the frequency one step at a time, press

TUNE .

High speed tuning

Press and hold TUNE for high speed tuning. Release the button at the frequency you want.

Improving FM stereo sound

If the TUNED or STEREO indicators don't light when tuning to an FM station because the signal is weak, press the MPX button to switch the receiver into mono reception mode. This should improve the sound quality and allow you to enjoy the broadcast.

07

Tuning directly to a station

Sometimes, you'll already know the frequency of the station you want to listen to. In this case, you can simply enter the frequency directly using the number buttons on the remote control.

1Press the TUNER button to select the tuner.

2Use the BAND button to change the band (FM or AM), if necessary.

Each press switches the band between FM and AM.

3Press D.ACCESS (Direct Access).

4Use the number buttons to enter the frequency of the radio station.

For example, to tune to 106.00 (FM), press 1, 0, 6, 0, 0.

If you make a mistake halfway through, press D.ACCESS twice to cancel the frequency and start over.

Saving station presets

If you often listen to a particular radio station, it's convenient to have the receiver store the frequency for easy recall whenever you want to listen to that station. This saves the effort of manually tuning in each time. This receiver can memorize up to 30 stations, stored in three banks, or classes, (A, B and C) of 10 stations each. When saving an FM frequency, the MPX setting (see page 33) is also stored.

SYSTEM OFF

RECEIVER

INPUT


SOURCE


DIALOG E

S.RETRIEVER


SELECT


REC


A


MUTE


D.ACCESS


CLASS DISC


AV PRE-PROGRAMMED AND LEARNING


+10


MPX


EON

REC STOP

JUKEBOX

REMOTE CONTROL UNIT


ENTER


B

C

D

E


AV PARAMETER


CH LEVEL


TOP MENU


MENU

AUDIO

SUBTITLE

HDD

DVD


TUNE


DISP


CH

CH


ST

ST

T.EDIT

STATUS


SIGNAL SEL

SBch

STEREO


ENTER


SETUP

RETURN


CD


DVR 2


TUNE


MULTI OPE


THX

STANDARD

ADV.SURR


BAND


DVD

TV

DVR1

TV CTRL

GUIDE PTYSEARCH


TV CONTROL


SHIFT


PHASE

MCACC

S.DIRECT

CD-R/TAPE

HDMI2

USB


iPod

HDMI1

TUNER

RECEIVER

TV VOL

INPUT

TV CH

VOL


SELECT


1 Tune to a station you want to memorize.

See Listening to the radio on page 33 for more on this.

2 Press T.EDIT (TUNER EDIT).

The display shows STATION MEMORY, then a blinking memory class.

3 Press CLASS to select one of the three classes then

press ST

to select the station preset you want.

You can also use the number buttons to select a station preset.

4 Press ENTER.

After pressing ENTER, the preset class and number stop blinking and the receiver stores the station.

33

En

Page 33
Image 33
Pioneer VSX-2016AV operating instructions Using the tuner Chapter, Listening to the radio, Saving station presets

VSX-2016AV specifications

The Pioneer VSX-2016AV is a versatile and feature-rich AV receiver that has garnered attention for its ability to deliver a cinematic experience in the home. With a focus on sound quality and user-friendly features, the VSX-2016AV stands out as a strong option for both casual listeners and serious home theater enthusiasts.

One of the primary attractions of the VSX-2016AV is its robust audio performance. It supports Dolby TrueHD and DTS-HD Master Audio, ensuring that users can enjoy high-resolution soundtracks from their Blu-ray discs. The receiver also features Pioneer's proprietary Sound Retriever technology that enhances compressed audio files, allowing for a more engaging listening experience, regardless of the source.

The VSX-2016AV does not skimp on connectivity options, offering multiple HDMI inputs and outputs to accommodate a range of devices. This includes support for 4K pass-through, making it future-proof for users with advanced video sources. In addition to HDMI, the receiver also provides options for component video, composite video, and analog audio connections, catering to a variety of setups.

Another standout feature is the integrated MCACC (Multi-Channel Acoustic Calibration System) technology. This system automatically calibrates the receiver to the acoustics of the room, ensuring that users experience optimal sound performance based on their specific environment. The result is a well-balanced audio output that enhances the overall listening experience.

With six channels of amplification, the VSX-2016AV is capable of powering a full surround sound system. The receiver provides a total power output of 100 watts per channel, which is ample for most home theater setups. It also includes various sound modes, allowing users to customize the audio output for movies, music, and gaming.

A user-friendly interface and remote control system make it easy to navigate through the various settings and options. The front panel features a clear display that provides vital information about input selection, volume levels, and audio formats. Additionally, Pioneer's iControlAV app enables smartphone control, allowing users to manage their audio settings seamlessly.

In conclusion, the Pioneer VSX-2016AV combines advanced audio technologies with a robust feature set, making it an excellent choice for home entertainment enthusiasts. Its emphasis on sound quality, along with the convenience of connectivity options and user-friendly controls, ensures that it can meet the needs of a diverse range of users. Whether for movie nights or music listening, this AV receiver stands ready to elevate the home audio experience.