How to Interpret the Graphs (Continued)
Displaying reverb characteristics after calibration
To display the graph of your listening area’s reverb characteristics with the equalization performed by this receiver (after calibration), you’ll need to select the “EQ ON” option from the “Reverb Measurement” menu. Using this graph, you can confirm the effects of MCACC calibration for your listening area.
1
2 Make sure you have completed the “Auto MCACC” setup from the receiver’s “System Setup” menu.
Use either the “ALL” or “ALL (Keep SPsetting)” Auto Mode option (“Aco Cal EQ Pro.” calibration is also performed in this case).
3 Select “Reverb Output PC” from the receiver’s “EQ Professional” menu.
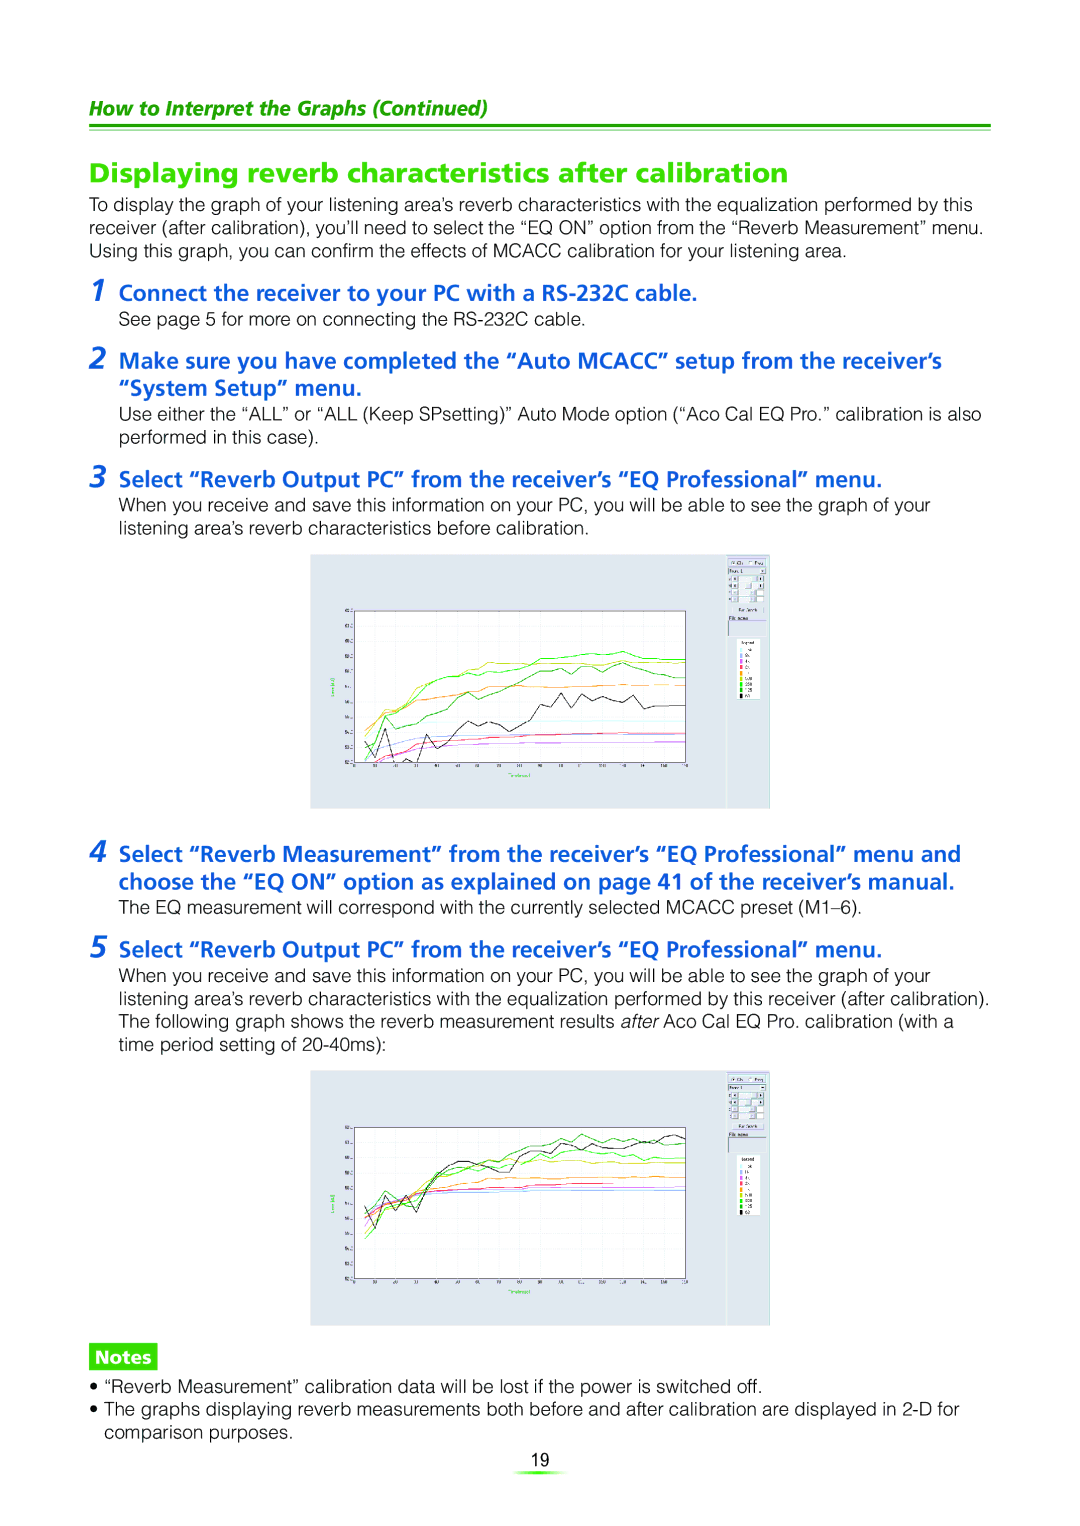
When you receive and save this information on your PC, you will be able to see the graph of your listening area’s reverb characteristics before calibration.
4 Select “Reverb Measurement” from the receiver’s “EQ Professional” menu and choose the “EQ ON” option as explained on page 41 of the receiver’s manual.
The EQ measurement will correspond with the currently selected MCACC preset
5 Select “Reverb Output PC” from the receiver’s “EQ Professional” menu.
When you receive and save this information on your PC, you will be able to see the graph of your listening area’s reverb characteristics with the equalization performed by this receiver (after calibration). The following graph shows the reverb measurement results after Aco Cal EQ Pro. calibration (with a time period setting of
Notes
•“Reverb Measurement” calibration data will be lost if the power is switched off.
•The graphs displaying reverb measurements both before and after calibration are displayed in
19
