AddressRight® DA400 Printer | Installation Instructions |
|
|
Assembling the Printer
Once you've placed the printer in a suitable location, assemble the printer com- ponents in the following order:
NOTE: Do not plug the printer into the power source until you've completed steps
1.Installing the Bin Extension
2.Installing the Wire Frame Assembly
3.Installing the Sliding Fence
4.Connecting the Parallel or USB Cable
5.Connecting the Power Cord and Turning the Printer ON
6.Installing the Print Cartridge(s)
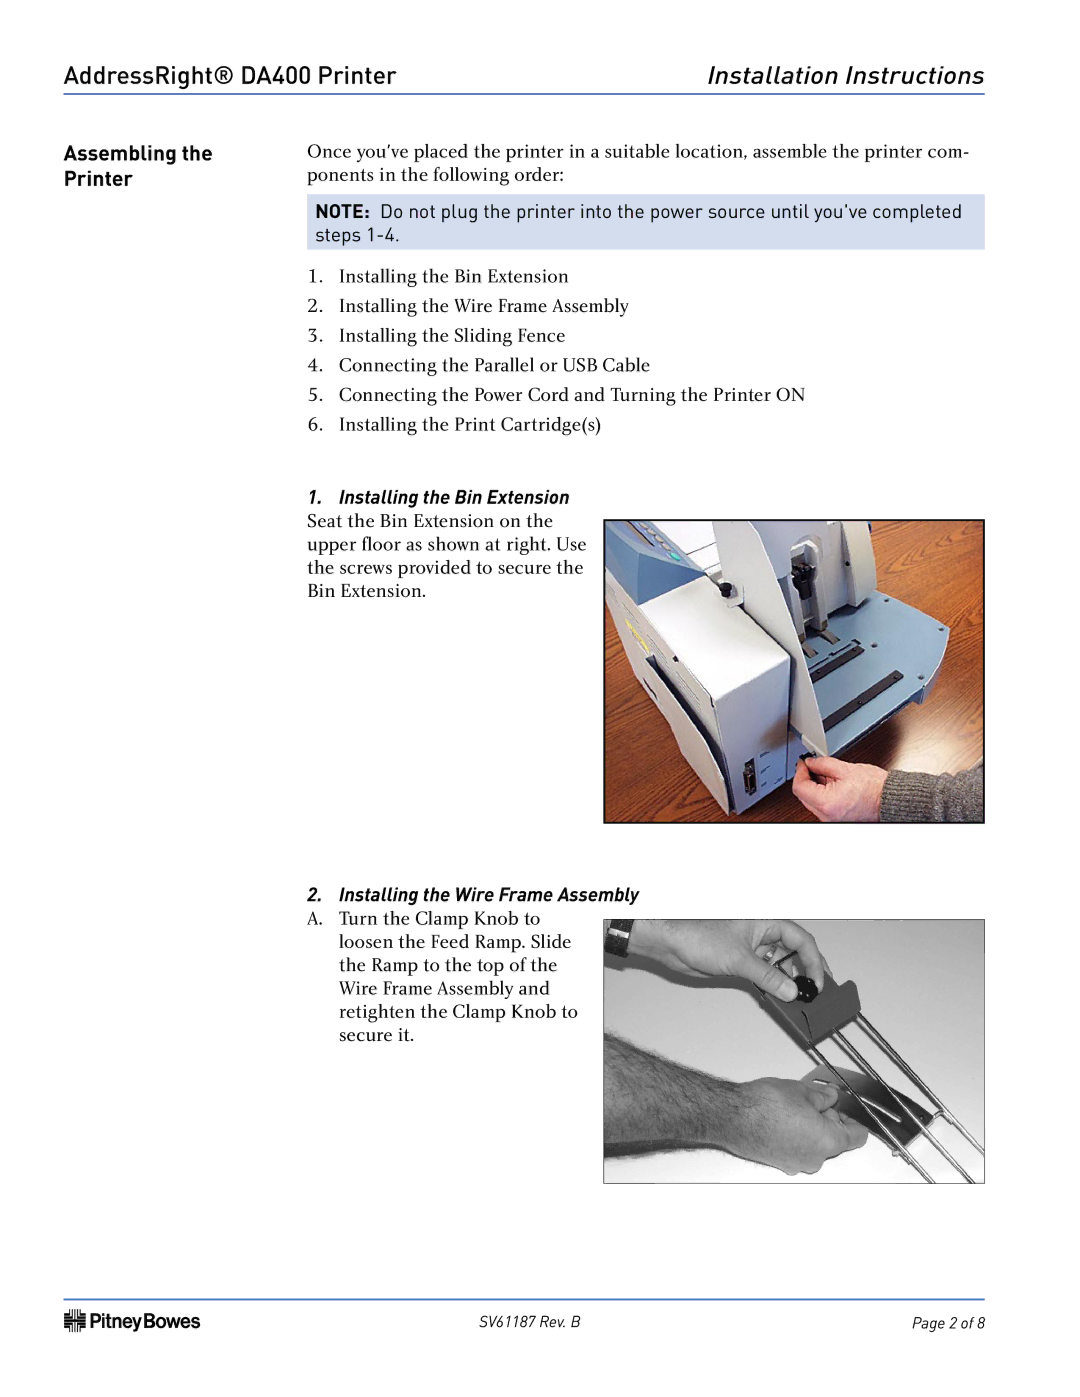
1.Installing the Bin Extension Seat the Bin Extension on the upper floor as shown at right. Use the screws provided to secure the Bin Extension.
2. Installing the Wire Frame Assembly
A.Turn the Clamp Knob to loosen the Feed Ramp. Slide the Ramp to the top of the Wire Frame Assembly and retighten the Clamp Knob to secure it.
SV61187 Rev. B | Page 2 of 8 |