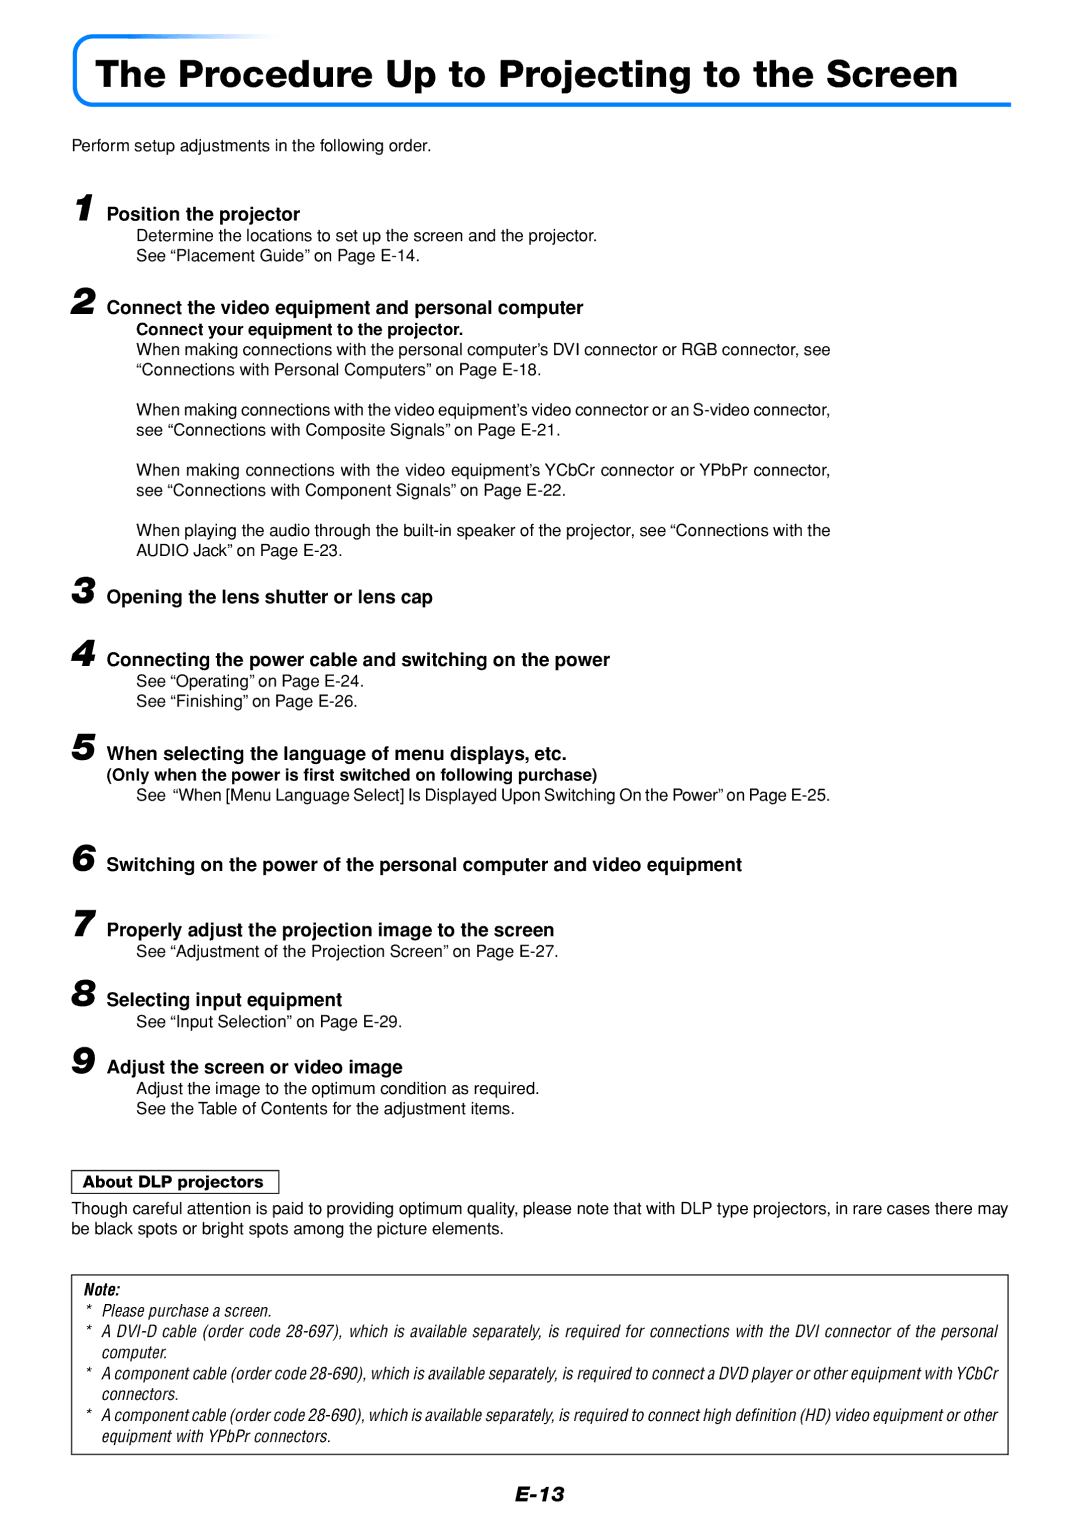
U4-112, U4-111, U4-136 specifications
PLUS Vision has consistently pushed the boundaries of visual presentation technology, and their U4 series is a testament to their commitment to innovation and quality. Among the standout models in this series are the U4-111, U4-136, and U4-112. Each of these models brings a unique set of features and capabilities that cater to the evolving demands of modern visual communication.The PLUS Vision U4-111 is designed for versatility and efficiency. Equipped with a high-resolution display, it ensures sharp and clear visuals, making it ideal for both educational and corporate environments. The U4-111 boasts an intuitive interface, allowing users to easily navigate through various functions, such as screen sharing and collaboration tools. Its lightweight and portable design mean it can be seamlessly transported between locations while maintaining durability.
Meanwhile, the U4-136 takes interactivity to the next level. This model is enhanced with advanced touch technology, allowing multiple users to engage simultaneously. This feature is particularly beneficial in collaborative settings, where brainstorming and group discussions are key. The U4-136 also includes connectivity options that support various devices, making it a strong choice for any tech-savvy environment. With its vibrant color reproduction and adjustable display settings, it enhances the overall viewing experience.
The U4-112, on the other hand, focuses on integration and smart features. This model supports wireless connectivity, enabling users to connect effortlessly to laptops, tablets, and smartphones. The U4-112 also includes built-in software for annotation and document sharing, streamlining presentations and meetings. Its sleek design makes it aesthetically pleasing while ensuring functionality remains at the forefront.
All three models in the PLUS Vision U4 series share common characteristics that highlight their quality and reliability. They feature robust construction, ensuring longevity even in high-use environments. The U4 series also prioritizes energy efficiency, reducing power consumption without compromising performance.
In conclusion, the PLUS Vision U4-111, U4-136, and U4-112 exemplify the brand's commitment to delivering high-quality visual solutions. With their diverse features and innovative technologies, these models cater to various user needs, making them ideal choices for educational institutions, corporate environments, and collaborative spaces. Each model brings forth unique capabilities designed to enhance learning and communication in today's fast-paced world.

