Chapter 3 Using the LCD TV
Customizing the VIDEO Settings
Press the 
 button to turn the LCD TV on.
Press the MENU button on the remote control to display the Main menu, and use the ▲▼ buttons to select the VIDEO, then press OK to enter the VIDEO option.
Use the ▲▼ buttons to highlight an individual VIDEO option, use the ◄► buttons changes the setting, and press the EXIT exits the menu.
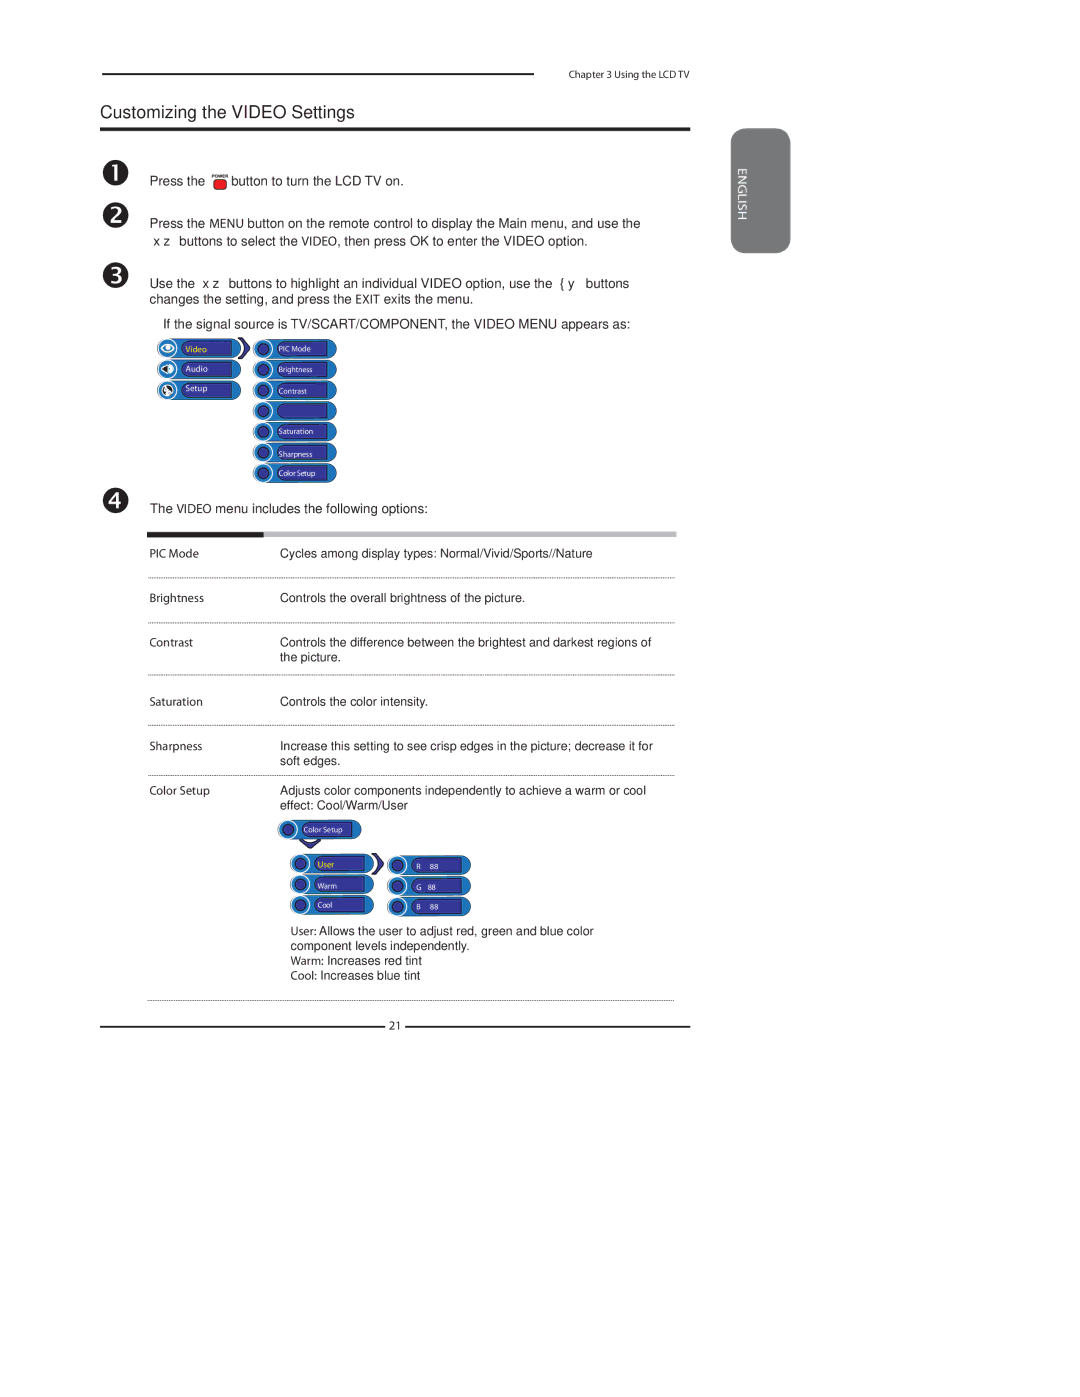
▪If the signal source is TV/SCART/COMPONENT, the VIDEO MENU appears as:
Video | PIC Mode |
AudioBrightness
SetupContrast
Saturation
Sharpness
Color Setup
The VIDEO menu includes the following options:
PIC Mode | Cycles among display types: Normal/Vivid/Sports//Nature |
Brightness | Controls the overall brightness of the picture. |
Contrast | Controls the difference between the brightest and darkest regions of |
| the picture. |
Saturation | Controls the color intensity. |
Sharpness | Increase this setting to see crisp edges in the picture; decrease it for |
| soft edges. |
Color Setup | Adjusts color components independently to achieve a warm or cool |
| effect: Cool/Warm/User |
Color Setup
User | R | 88 |
Warm | G | 88 |
Cool | B | 88 |
▪User: Allows the user to adjust red, green and blue color component levels independently.
▪Warm: Increases red tint
▪Cool: Increases blue tint
21