
65SDI specifications
Polk Audio has long been a trusted name in the world of high-performance audio equipment, and their 65SDI in-wall speaker exemplifies the brand's commitment to quality and innovation. The 65SDI is designed to deliver an immersive listening experience while maintaining a sleek and unobtrusive presence in any home environment.One of the standout features of the 65SDI is its dynamic balance technology, which optimizes the speaker's overall sound. This technology is engineered to minimize distortion and produce a more natural sound across all frequencies. As a result, you can expect clear vocals and vibrant instrumentals, making it an excellent choice for music lovers and movie enthusiasts alike.
The 65SDI features a 6.5-inch dynamic balance bass driver that delivers deep, powerful bass response. Coupled with a 1-inch soft dome tweeter, this speaker produces a full range of sound that fills any room. The tweeter's design helps to provide a smooth high-frequency response, ensuring that every note is accurately rendered without harshness.
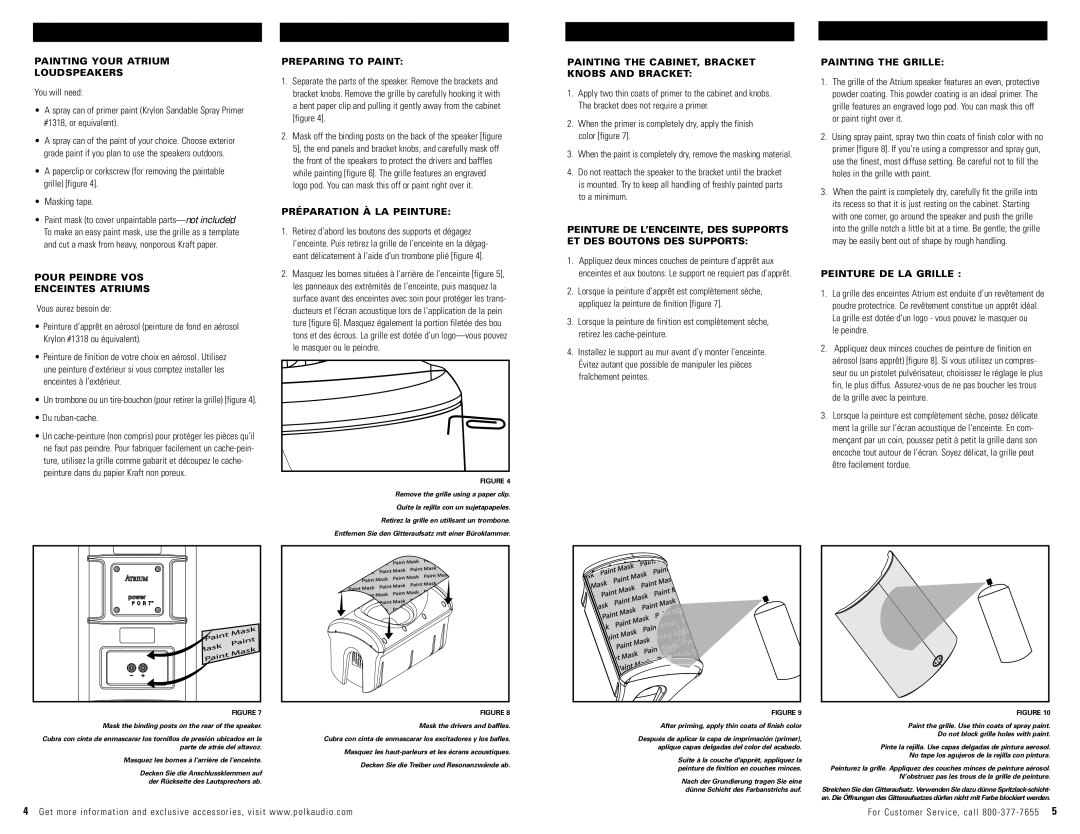
Installation is hassle-free thanks to the speaker's simple mounting system and low-profile design. The 65SDI can be seamlessly integrated into your walls without compromising aesthetic appeal. With a paintable grill, homeowners can match the speaker to their wall color, making it virtually invisible in your living space.
Another notable feature of the 65SDI is its ability to handle up to 100 watts of power, allowing for a robust performance whether you are hosting a party or enjoying a quiet evening at home. The speaker is also compatible with a range of amplifiers and receivers, offering flexibility in configuration based on your audio setup.
Durability is a key consideration in the design of the 65SDI, which is built with high-quality materials to ensure longevity. The speaker's construction helps to resist moisture, making it an excellent option for use in various environments, including kitchens and bathrooms.
In summary, the Polk Audio 65SDI in-wall speaker combines advanced technology, robust performance, and aesthetic versatility. Whether you're utilizing it in a dedicated home theater setup or as part of a multi-room audio system, the 65SDI promises a captivating audio experience that is second to none. This speaker not only enhances sound quality but also blends seamlessly into your home décor, embodying both functionality and style.