RIP GUIDE
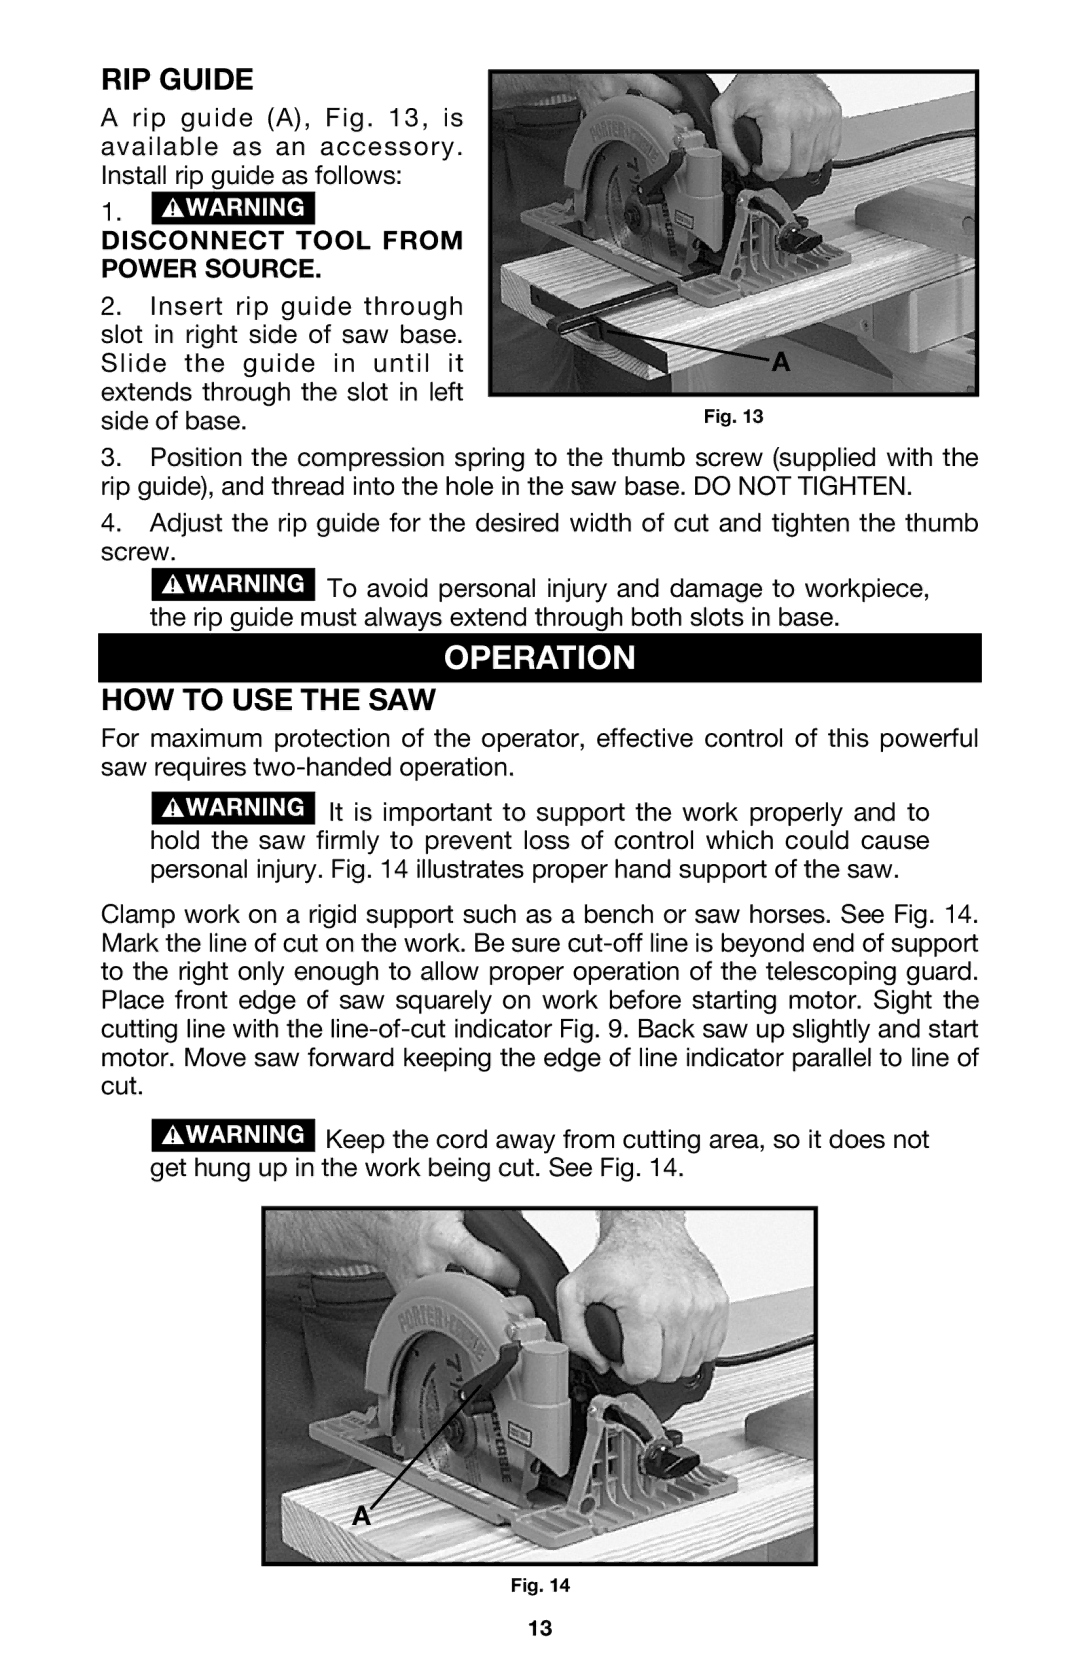
A rip guide (A), Fig. 13, is available as an accessory. Install rip guide as follows:
1.![]()
DISCONNECT TOOL FROM POWER SOURCE.
2.Insert rip guide through slot in right side of saw base. Slide the guide in until it extends through the slot in left side of base.
A
Fig. 13
3.Position the compression spring to the thumb screw (supplied with the rip guide), and thread into the hole in the saw base. DO NOT TIGHTEN.
4.Adjust the rip guide for the desired width of cut and tighten the thumb screw.
![]() To avoid personal injury and damage to workpiece, the rip guide must always extend through both slots in base.
To avoid personal injury and damage to workpiece, the rip guide must always extend through both slots in base.
OPERATION
HOW TO USE THE SAW
For maximum protection of the operator, effective control of this powerful saw requires
![]() It is important to support the work properly and to hold the saw firmly to prevent loss of control which could cause personal injury. Fig. 14 illustrates proper hand support of the saw.
It is important to support the work properly and to hold the saw firmly to prevent loss of control which could cause personal injury. Fig. 14 illustrates proper hand support of the saw.
Clamp work on a rigid support such as a bench or saw horses. See Fig. 14. Mark the line of cut on the work. Be sure
![]() Keep the cord away from cutting area, so it does not get hung up in the work being cut. See Fig. 14.
Keep the cord away from cutting area, so it does not get hung up in the work being cut. See Fig. 14.
A
Fig. 14
13
