90550099 PC1800DS Crdl Sander REVISED 4/1/09 1:52 PM Page 4
![]()
![]()
![]()
![]()
![]()
![]()
![]()
![]() : Some dust created by power sanding, sawing, grinding, drilling, and other construction activities contains chemicals known to the state of California to cause cancer, birth defects or other reproductive harm. Some examples of these chemicals are:
: Some dust created by power sanding, sawing, grinding, drilling, and other construction activities contains chemicals known to the state of California to cause cancer, birth defects or other reproductive harm. Some examples of these chemicals are:
•lead from
•crystalline silica from bricks and cement and other masonry products, and
•arsenic and chromium from
Your risk from these exposures varies, depending on how often you do this type of work. To reduce your exposure to these chemicals: work in a well ventilated area, and work with approved safety equipment, such as those dust masks that are specially designed to filter out microscopic particles.
•Avoid prolonged contact with dust from power sanding, sawing, grinding, drilling, and other construction activities. Wear protective clothing and wash exposed areas with soap and water. Allowing dust to get into your mouth, eyes, or lay on the skin may promote absorption of harmful chemicals.
![]()
![]()
![]()
![]()
![]()
![]()
![]()
![]() : Use of this tool can generate and/or disperse dust, which may cause serious and permanent respiratory or other injury. Always use NOSH/OSHA approved respiratory protection appropriate for the dust exposure. Direct particles away from face and body.
: Use of this tool can generate and/or disperse dust, which may cause serious and permanent respiratory or other injury. Always use NOSH/OSHA approved respiratory protection appropriate for the dust exposure. Direct particles away from face and body.
SAFETY GUIDELINES - DEFINITIONS
It is important for you to read and understand this manual. The information it contains relates to protecting YOUR SAFETY and PREVENTING PROBLEMS. The symbols below are used to help you recognize this information.
![]()
![]()
![]()
![]()
![]()
![]()
![]() : Indicates an imminently hazardous situation which, if not avoided, will result in death or serious injury.
: Indicates an imminently hazardous situation which, if not avoided, will result in death or serious injury.
![]()
![]()
![]()
![]()
![]()
![]()
![]()
![]() : Indicates a potentially hazardous situation which, if not avoided, could result in death or serious injury.
: Indicates a potentially hazardous situation which, if not avoided, could result in death or serious injury.
![]()
![]()
![]()
![]()
![]()
![]()
![]()
![]() : Indicates a potentially hazardous situation which, if not avoided, may result in minor or moderate injury.
: Indicates a potentially hazardous situation which, if not avoided, may result in minor or moderate injury.
![]()
![]()
![]()
![]()
![]()
![]()
![]() : Used without the safety alert symbol indicates a potentially hazardous situation which, if not avoided, may result in property damage.
: Used without the safety alert symbol indicates a potentially hazardous situation which, if not avoided, may result in property damage.
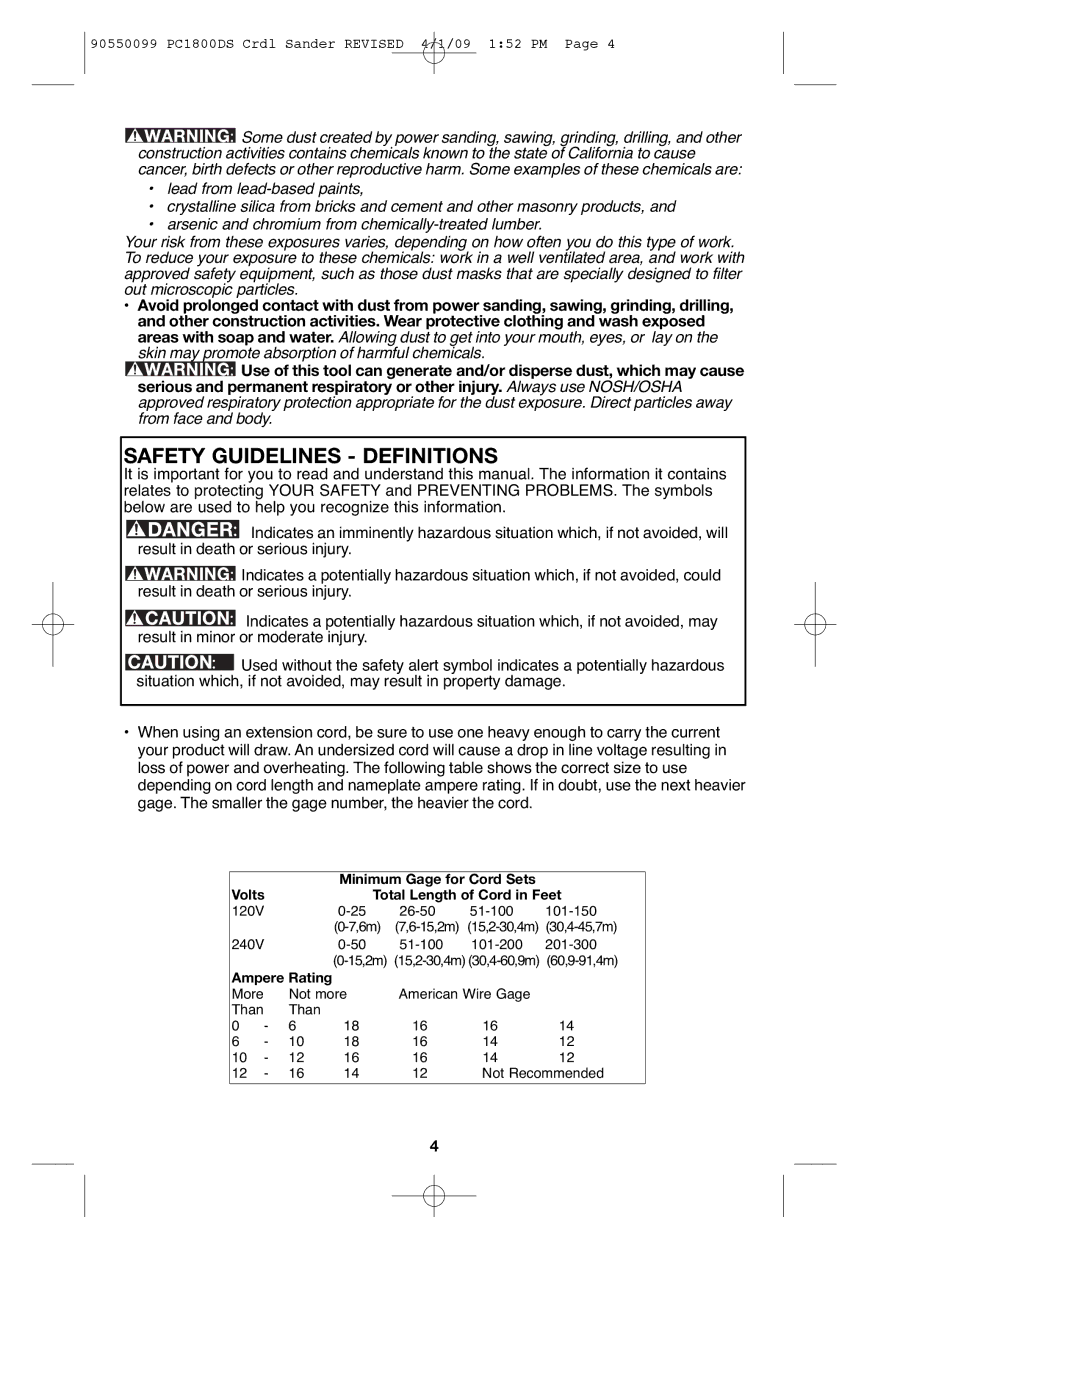
•When using an extension cord, be sure to use one heavy enough to carry the current your product will draw. An undersized cord will cause a drop in line voltage resulting in loss of power and overheating. The following table shows the correct size to use depending on cord length and nameplate ampere rating. If in doubt, use the next heavier gage. The smaller the gage number, the heavier the cord.
|
|
| Minimum Gage for Cord Sets |
| ||
Volts |
| Total Length of Cord in Feet | ||||
120V |
| |||||
|
|
| ||||
240V |
| |||||
|
|
| ||||
Ampere Rating |
|
|
|
| ||
More |
| Not more | American Wire Gage |
| ||
Than |
| Than |
|
|
|
|
0 | - | 6 | 18 | 16 | 16 | 14 |
6 | - | 10 | 18 | 16 | 14 | 12 |
10 | - | 12 | 16 | 16 | 14 | 12 |
12 | - | 16 | 14 | 12 | Not Recommended | |
|
|
|
|
|
|
|
4
