2
3 ![]()
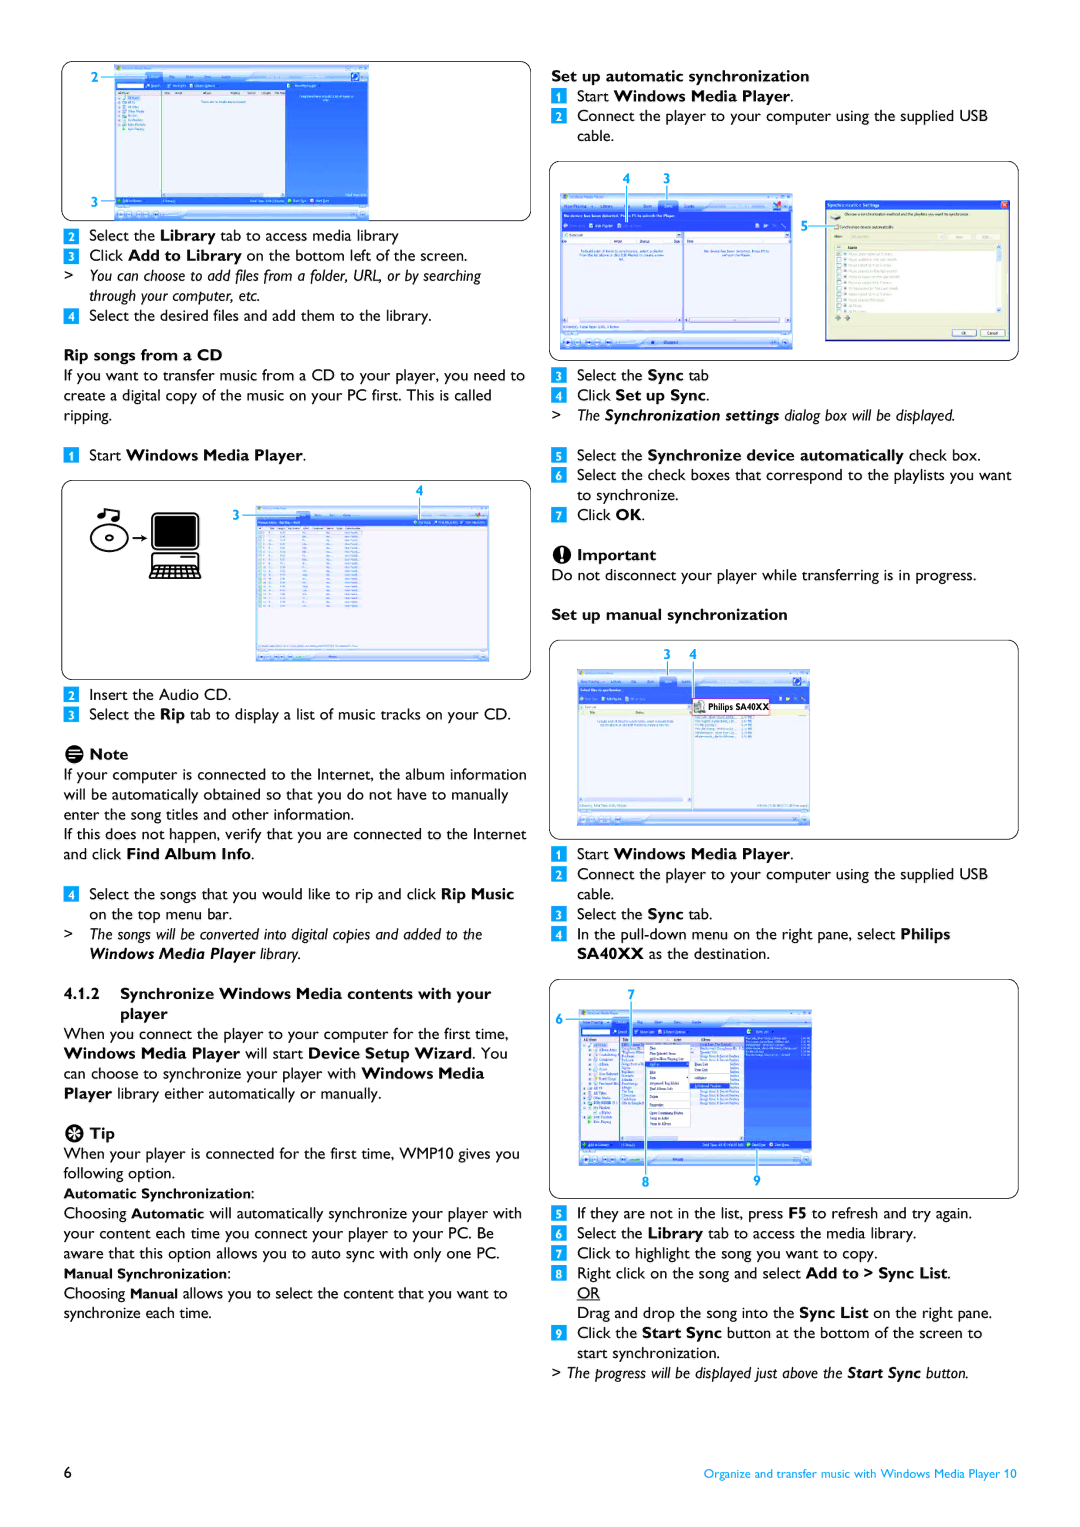
2Select the Library tab to access media library
3Click Add to Library on the bottom left of the screen.
>You can choose to add files from a folder, URL, or by searching through your computer, etc.
4Select the desired files and add them to the library.
Rip songs from a CD
If you want to transfer music from a CD to your player, you need to create a digital copy of the music on your PC first. This is called ripping.
1Start Windows Media Player.
4
3
2Insert the Audio CD.
3Select the Rip tab to display a list of music tracks on your CD.
![]() Note
Note
If your computer is connected to the Internet, the album information will be automatically obtained so that you do not have to manually enter the song titles and other information.
If this does not happen, verify that you are connected to the Internet and click Find Album Info.
4Select the songs that you would like to rip and click Rip Music on the top menu bar.
>The songs will be converted into digital copies and added to the Windows Media Player library.
4.1.2Synchronize Windows Media contents with your player
When you connect the player to your computer for the first time, Windows Media Player will start Device Setup Wizard. You can choose to synchronize your player with Windows Media Player library either automatically or manually.
 Tip
Tip
When your player is connected for the first time, WMP10 gives you following option.
Automatic Synchronization:
Choosing Automatic will automatically synchronize your player with your content each time you connect your player to your PC. Be aware that this option allows you to auto sync with only one PC. Manual Synchronization:
Choosing Manual allows you to select the content that you want to synchronize each time.
Set up automatic synchronization
1Start Windows Media Player.
2Connect the player to your computer using the supplied USB cable.
4 3
5
3Select the Sync tab
4Click Set up Sync.
>The Synchronization settings dialog box will be displayed.
5Select the Synchronize device automatically check box.
6Select the check boxes that correspond to the playlists you want to synchronize.
7Click OK.
![]() Important
Important
Do not disconnect your player while transferring is in progress.
Set up manual synchronization
3 4
Philips SA40XX
1Start Windows Media Player.
2Connect the player to your computer using the supplied USB cable.
3Select the Sync tab.
4In the
7
6
89
5If they are not in the list, press F5 to refresh and try again.
6Select the Library tab to access the media library.
7Click to highlight the song you want to copy.
8Right click on the song and select Add to > Sync List.
OR
Drag and drop the song into the Sync List on the right pane.
9Click the Start Sync button at the bottom of the screen to start synchronization.
>The progress will be displayed just above the Start Sync button.
6 | Organize and transfer music with Windows Media Player 10 |