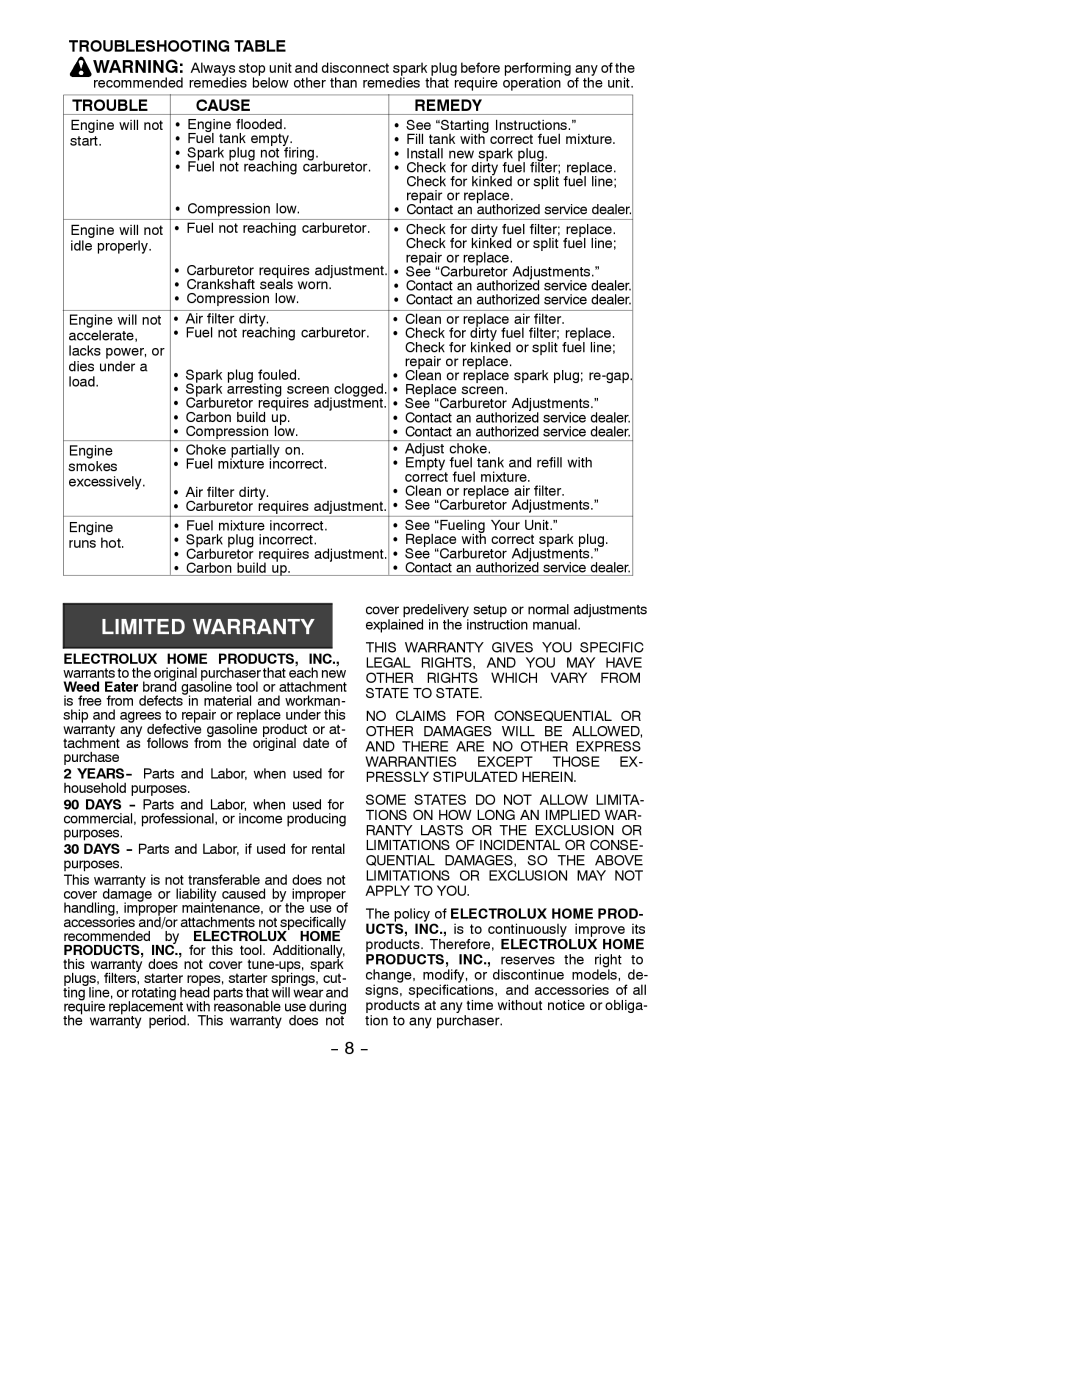
TROUBLESHOOTING TABLE
WARNING: Always stop unit and disconnect spark plug before performing any of the recommended remedies below other than remedies that require operation of the unit.
TROUBLE |
| CAUSE |
| REMEDY | ||
Engine will not | S | Engine flooded. | S | See “Starting Instructions.” | ||
start. | S | Fuel tank empty. | S | Fill tank with correct fuel mixture. | ||
| S | Spark plug not firing. | S | Install new spark plug. | ||
| S | Fuel not reaching carburetor. | S | Check for dirty fuel filter; replace. | ||
|
|
|
| Check for kinked or split fuel line; | ||
|
| Compression low. |
| repair or replace. | ||
| S | S | Contact an authorized service dealer. | |||
Engine will not | S | Fuel not reaching carburetor. | S | Check for dirty fuel filter; replace. | ||
idle properly. |
|
|
| Check for kinked or split fuel line; | ||
|
| Carburetor requires adjustment. |
| repair or replace. | ||
| S | S | See “Carburetor Adjustments.” | |||
| S | Crankshaft seals worn. | S | Contact an authorized service dealer. | ||
| S | Compression low. | S | Contact an authorized service dealer. | ||
Engine will not | S | Air filter dirty. | S | Clean or replace air filter. |
| |
accelerate, | S | Fuel not reaching carburetor. | S | Check for dirty fuel filter; replace. | ||
lacks power, or |
|
|
| Check for kinked or split fuel line; | ||
dies under a |
| Spark plug fouled. |
| repair or replace. | ||
S | S | Clean or replace spark plug; | ||||
load. | ||||||
S | Spark arresting screen clogged. | S | Replace screen. | |||
| ||||||
| S | Carburetor requires adjustment. | S | See “Carburetor Adjustments.” | ||
| S | Carbon build up. | S | Contact an authorized service dealer. | ||
| S | Compression low. | S | Contact an authorized service dealer. | ||
Engine | S | Choke partially on. | S | Adjust choke. | ||
smokes | S | Fuel mixture incorrect. | S | Empty fuel tank and refill with | ||
excessively. |
|
|
| correct fuel mixture. | ||
S | Air filter dirty. | S | Clean or replace air filter. | |||
| ||||||
| S | Carburetor requires adjustment. | S | See “Carburetor Adjustments.” | ||
Engine | S | Fuel mixture incorrect. | S | See “Fueling Your Unit.” | ||
runs hot. | S | Spark plug incorrect. | S | Replace with correct spark plug. | ||
| S | Carburetor requires adjustment. | S | See “Carburetor Adjustments.” | ||
| S | Carbon build up. | S | Contact an authorized service dealer. | ||
ELECTROLUX HOME PRODUCTS, INC.,
warrants to the original purchaser that each new Weed Eater brand gasoline tool or attachment is free from defects in material and workman- ship and agrees to repair or replace under this warranty any defective gasoline product or at- tachment as follows from the original date of purchase
2 YEARS- Parts and Labor, when used for household purposes.
90 DAYS - Parts and Labor, when used for commercial, professional, or income producing purposes.
30 DAYS - Parts and Labor, if used for rental purposes.
This warranty is not transferable and does not cover damage or liability caused by improper handling, improper maintenance, or the use of accessories and/or attachments not specifically recommended by ELECTROLUX HOME PRODUCTS, INC., for this tool. Additionally, this warranty does not cover
cover predelivery setup or normal adjustments explained in the instruction manual.
THIS WARRANTY GIVES YOU SPECIFIC LEGAL RIGHTS, AND YOU MAY HAVE OTHER RIGHTS WHICH VARY FROM STATE TO STATE.
NO CLAIMS FOR CONSEQUENTIAL OR OTHER DAMAGES WILL BE ALLOWED, AND THERE ARE NO OTHER EXPRESS WARRANTIES EXCEPT THOSE EX- PRESSLY STIPULATED HEREIN.
SOME STATES DO NOT ALLOW LIMITA- TIONS ON HOW LONG AN IMPLIED WAR- RANTY LASTS OR THE EXCLUSION OR LIMITATIONS OF INCIDENTAL OR CONSE- QUENTIAL DAMAGES, SO THE ABOVE LIMITATIONS OR EXCLUSION MAY NOT APPLY TO YOU.
The policy of ELECTROLUX HOME PROD-
UCTS, INC., is to continuously improve its products. Therefore, ELECTROLUX HOME PRODUCTS, INC., reserves the right to change, modify, or discontinue models, de- signs, specifications, and accessories of all products at any time without notice or obliga- tion to any purchaser.
