
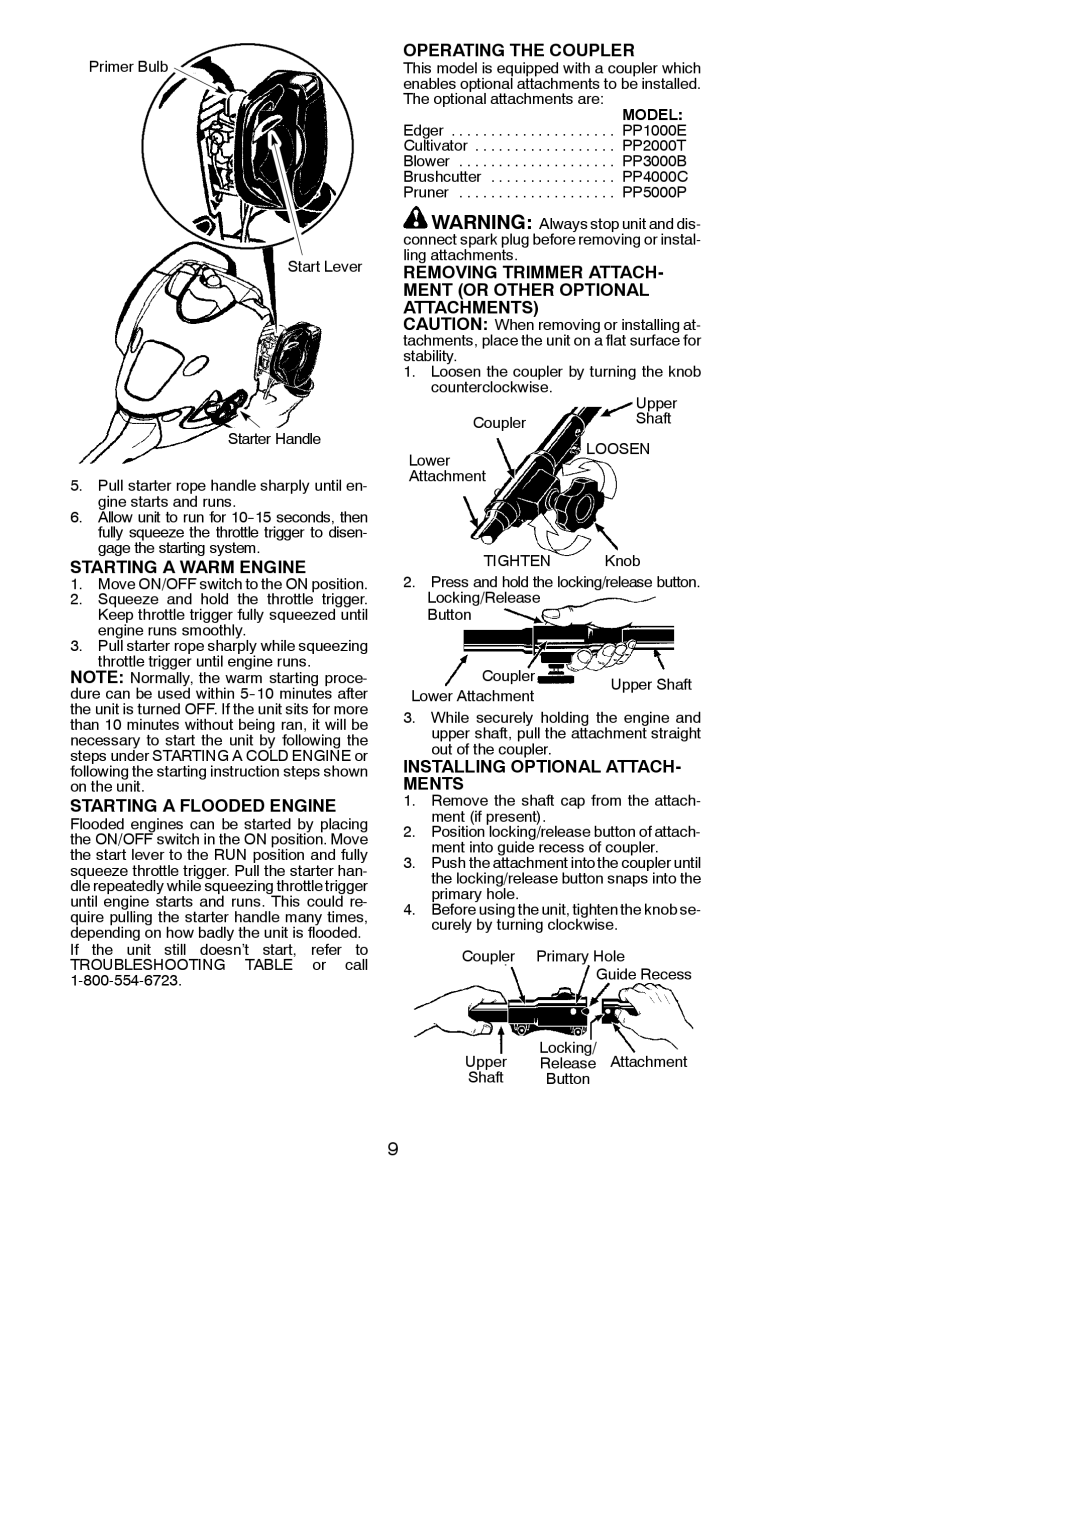
PP125 specifications
The Poulan PP125 is a lightweight and powerful gas-powered chainsaw designed for both homeowners and professionals looking to tackle various cutting tasks, including pruning, trimming, and light to medium-duty logging. Known for its reliability and efficiency, the PP125 has become a popular choice among users who seek a combination of performance, durability, and ease of use.One of the standout features of the Poulan PP125 is its robust 25cc two-stroke engine. This engine delivers ample power for cutting through wood while maintaining fuel efficiency. The automatic oiler system ensures that the chain and bar receive continuous lubrication, extending their lifespan and improving cutting performance. The PP125 also comes equipped with a 12-inch bar and chain, ideal for handling smaller projects without sacrificing cutting capability.
The design of the Poulan PP125 emphasizes user comfort and control. Its lightweight build, weighing in at around 8 pounds, makes it easy to maneuver and reduces operator fatigue during extended use. Additionally, the chainsaw features an ergonomic handlebar and a wrap-around front handle, allowing for multiple grip positions and better handling during cutting tasks. Safety features like a chain brake provide added peace of mind by stopping the chain in the event of kickback.
An important technology integrated into the PP125 is the Easy Start system, designed to minimize the effort required to start the engine. This feature reduces the likelihood of flooding and helps ensure quick, reliable starts even in colder weather. The tool-less chain tensioning system allows users to make adjustments easily, ensuring optimal chain tension without the need for additional tools.
The Poulan PP125 is also designed with maintenance in mind. The air filter is easily accessible, facilitating simple cleaning and replacement, which helps keep the engine running smoothly. The chainsaw’s durable construction ensures it can withstand the rigors of outdoor use, making it a dependable choice for both light and moderate cutting tasks.
In summary, the Poulan PP125 offers a well-rounded package for users seeking a dependable chainsaw. Its lightweight design, powerful engine, user-friendly features, and attention to safety make it an excellent option for anyone looking to effectively manage their outdoor cutting needs. Whether you're a seasoned professional or a casual user, the PP125 stands out as a reliable tool in any toolkit.