AM250
Securing and Leveling the Display
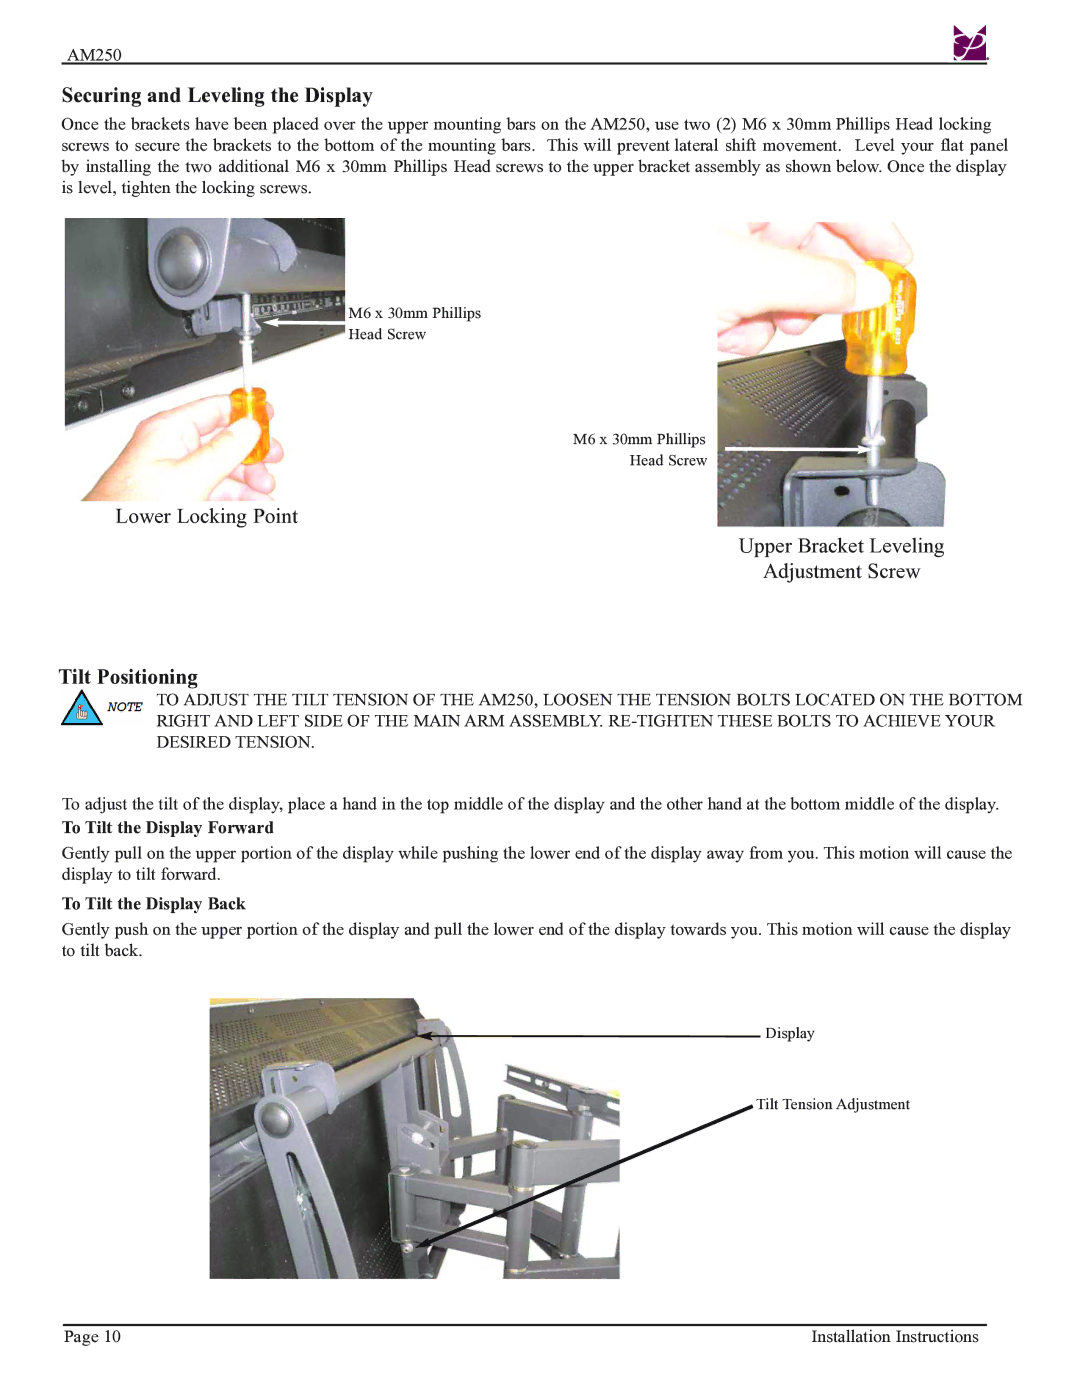
Once the brackets have been placed over the upper mounting bars on the AM250, use two (2) M6 x 30mm Phillips Head locking screws to secure the brackets to the bottom of the mounting bars. This will prevent lateral shift movement. Level your flat panel by installing the two additional M6 x 30mm Phillips Head screws to the upper bracket assembly as shown below. Once the display is level, tighten the locking screws.
M6 x 30mm Phillips
Head Screw
M6 x 30mm Phillips
Head Screw
Lower Locking Point
Upper Bracket Leveling
Adjustment Screw
Tilt Positioning
TO ADJUST THE TILT TENSION OF THE AM250, LOOSEN THE TENSION BOLTS LOCATED ON THE BOTTOM RIGHT AND LEFT SIDE OF THE MAIN ARM ASSEMBLY.
To adjust the tilt of the display, place a hand in the top middle of the display and the other hand at the bottom middle of the display.
To Tilt the Display Forward
Gently pull on the upper portion of the display while pushing the lower end of the display away from you. This motion will cause the display to tilt forward.
To Tilt the Display Back
Gently push on the upper portion of the display and pull the lower end of the display towards you. This motion will cause the display to tilt back.
![]() Display
Display
Tilt Tension Adjustment
Page 10 | Installation Instructions |