
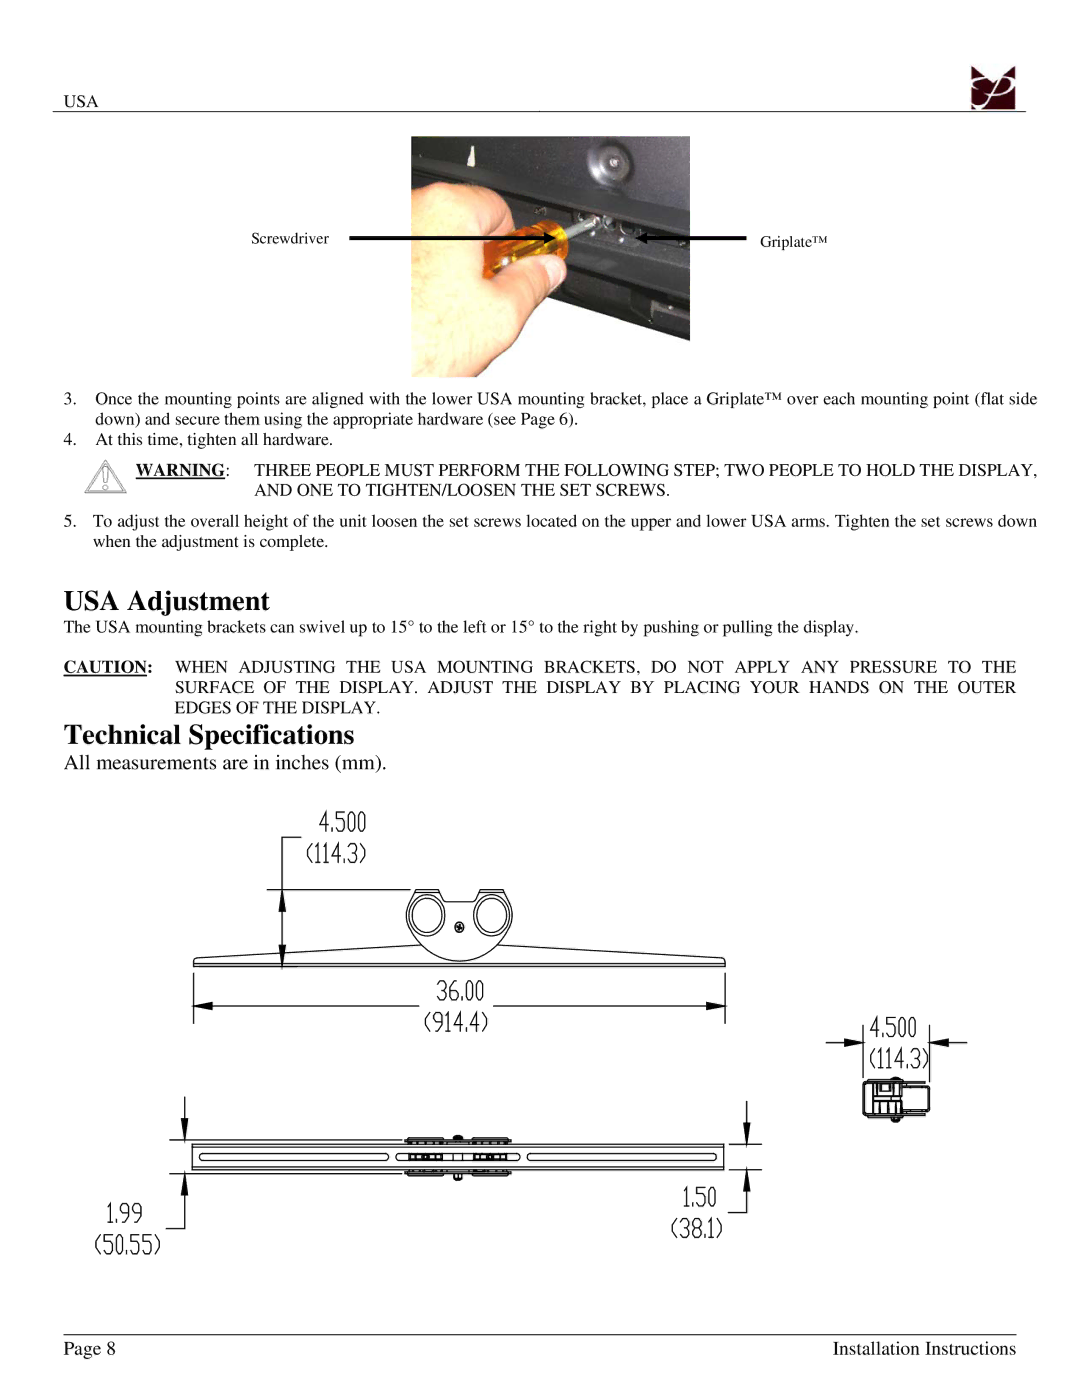
USA specifications
Premier Mounts USA is a leading manufacturer in the audiovisual mounting solutions industry, known for its innovative designs and commitment to quality. Established with the goal of enhancing the presentation of digital content, Premier Mounts provides a comprehensive range of products, ensuring that displays and screens are securely and efficiently installed in various environments, from classrooms to corporate offices and public spaces.One of the main features of Premier Mounts is its extensive product lineup, which includes mounts for flat panel displays, projectors, and videowalls. The company's mounts are designed to cater to a diverse array of needs, whether it be fixed, tilting, or full-motion capabilities. This versatility allows businesses and individuals to customize their display setups to suit specific applications, enhancing the overall viewing experience.
A hallmark of Premier Mounts is their dedication to advanced technology. The company employs state-of-the-art engineering techniques to ensure that each mounting solution is not only sturdy but also user-friendly. For instance, their unique mounting systems include features like integrated cable management, which helps maintain a clean and professional appearance by concealing wires and cables. This thoughtful design detail minimizes clutter and distractions, making the display more engaging and aesthetically pleasing.
Additionally, Premier Mounts places a strong emphasis on installation ease. Many of their products are equipped with quick-release mechanisms and adjustable features, allowing for hassle-free setup and adjustments. This focus on user convenience extends to their detailed installation guides and customer support, ensuring that users can confidently install and make the most of their mounts.
Durability and reliability are also core characteristics of Premier Mounts’ offerings. The company uses high-quality materials and adheres to rigorous manufacturing standards, which ensures that their products can withstand the demands of different settings. This commitment to longevity is essential for clients seeking a long-term investment in their audiovisual infrastructure.
In conclusion, Premier Mounts USA stands out in the mounting solutions industry with its broad product range, innovative technologies, ease of installation, and commitment to durability. Whether you are enhancing a home theater system or installing displays in a professional environment, Premier Mounts provides reliable solutions tailored to a multitude of audiovisual needs. Their focus on quality and user satisfaction has solidified their reputation as a trusted partner in the world of digital display solutions.