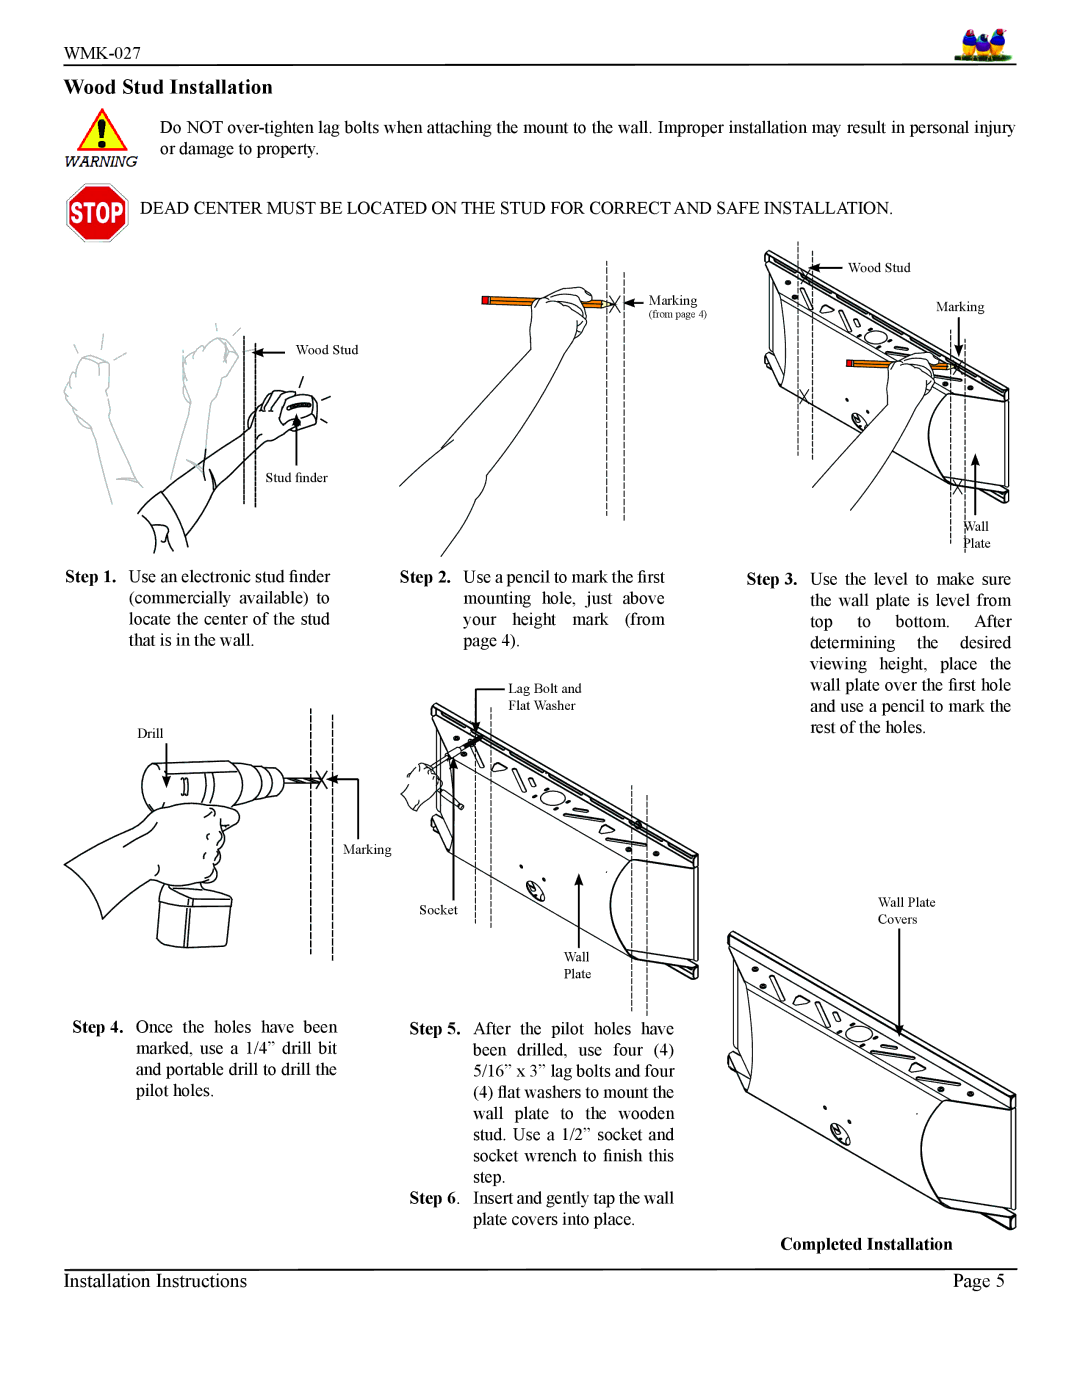
Wood Stud Installation
Do NOT
DEAD CENTER MUST BE LOCATED ON THE STUD FOR CORRECT AND SAFE INSTALLATION.
Marking
(from page 4)
Wood Stud
Stud finder
Step 1. Use an electronic stud finder | Step 2. Use a pencil to mark the first | |
(commercially available) to | mounting hole, just | above |
locate the center of the stud | your height mark | (from |
that is in the wall. | page 4). |
|
![]() Wood Stud
Wood Stud
Marking
Wall
Plate
Step 3. Use the level to make sure the wall plate is level from top to bottom. After determining the desired viewing height, place the
Drill
Marking
Socket
Lag Bolt and Flat Washer
Wall
Plate
wall plate over the first hole and use a pencil to mark the rest of the holes.
Wall Plate
Covers
Step 4. Once the holes have been marked, use a 1/4” drill bit and portable drill to drill the pilot holes.
Step 5. After the pilot holes have been drilled, use four (4) 5/16” x 3” lag bolts and four
(4)flat washers to mount the wall plate to the wooden stud. Use a 1/2” socket and socket wrench to finish this step.
Step 6. Insert and gently tap the wall plate covers into place.
Completed Installation
Installation Instructions | Page 5 |