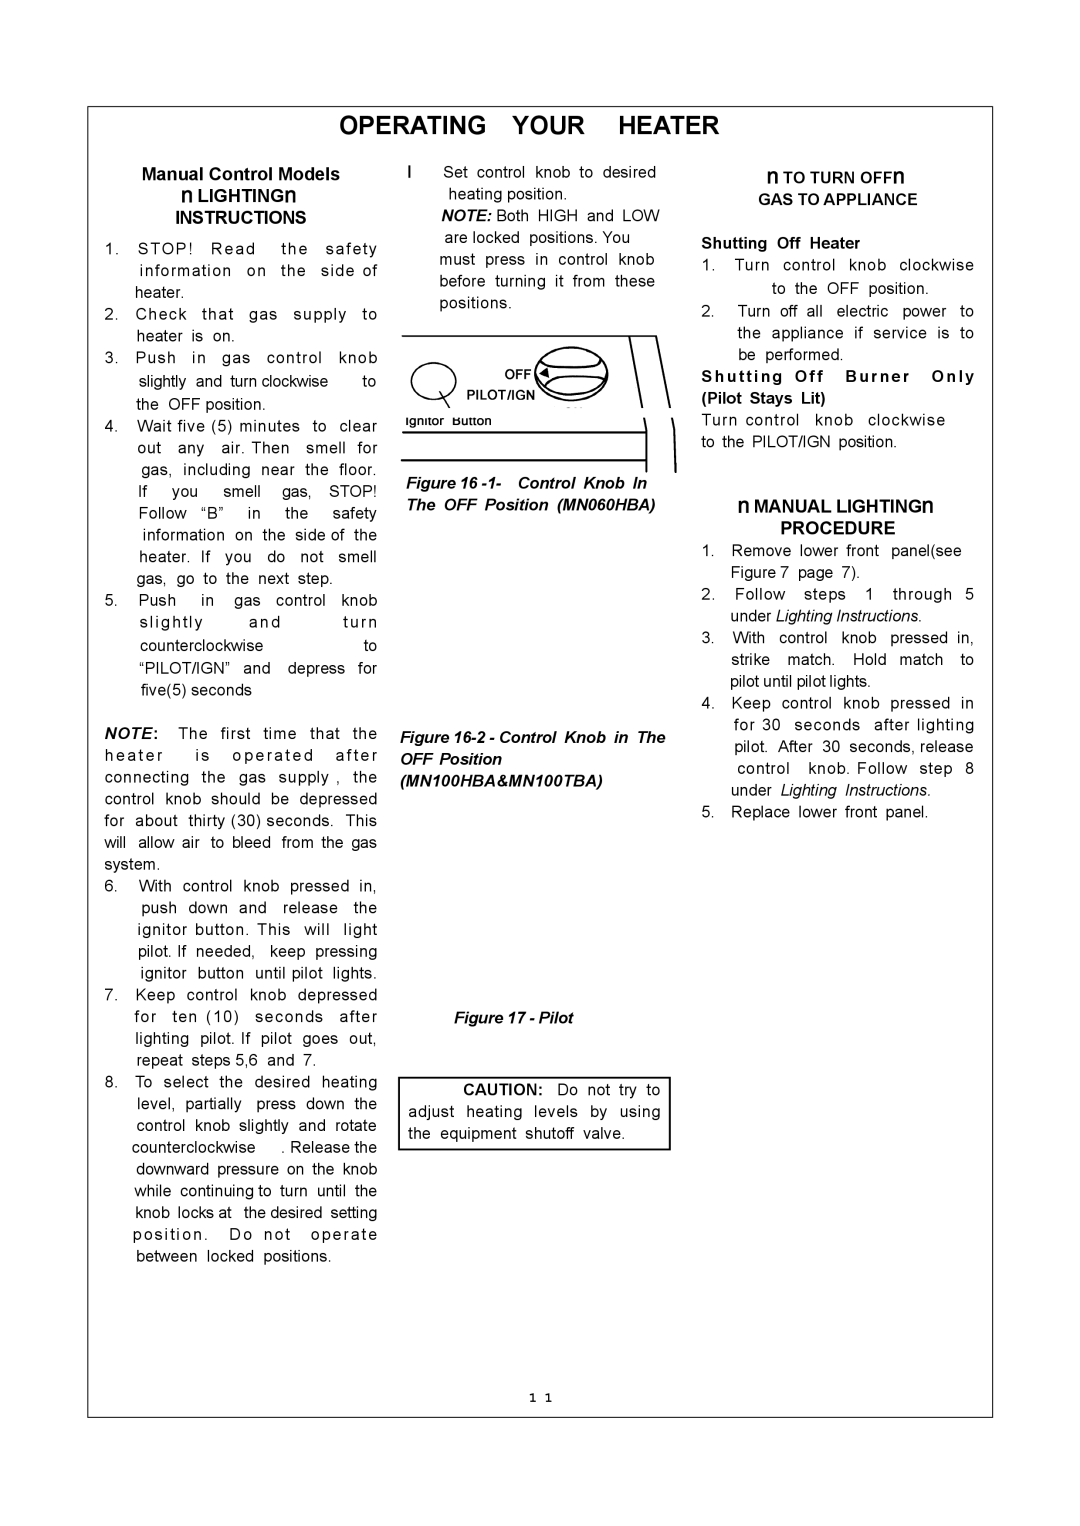
MN100TBA, MN060HBA, MN100HBA specifications
Procom has made a significant mark in the world of communications technology with its line of radio communication equipment, including the MN060HBA, MN100TBA, and MN100HBA models. These devices are designed to enhance communication capabilities across various sectors, offering advanced features and technologies that cater to both professional and industrial needs.The Procom MN060HBA is a highly versatile handheld radio that operates within the 6 MHz bandwidth. Known for its robust build quality, the MN060HBA supports multiple frequency ranges, enabling users to communicate across a broad spectrum. It's equipped with a powerful battery that ensures extended operational time, making it suitable for long-term use in demanding environments. Additional features include a user-friendly interface, programmable channels, and encryption capabilities, providing secure communication for mission-critical applications.
Next, the MN100TBA model stands out with its unique tri-band frequency capabilities, allowing seamless communication across different bands. This model is particularly beneficial for users who require flexibility in their communication methods. The MN100TBA incorporates advanced noise-canceling technology, ensuring clear audio even in noisy surroundings. Its rugged design adheres to IP standards, offering resistance against dust and moisture, making it ideal for outdoor operations. Moreover, the device is equipped with a high-resolution display, allowing users to access information and settings quickly.
On the other hand, the MN100HBA is engineered for high-performance applications, featuring dual-band operation that strikes a perfect balance between range and clarity. This model is tailored for professional use, boasting superior audio quality and a comprehensive suite of features, including GPS for location tracking and emergency alerts. The MN100HBA also supports various modulation schemes, delivering flexibility depending on operational needs. With a rechargeable battery and efficient power management system, users can depend on this model for extended periods, even during intensive use.
In summary, Procom’s MN060HBA, MN100TBA, and MN100HBA represent the forefront of radio communication technology. Each model offers unique features tailored to specific user requirements, including durability, multi-band operation, and advanced audio quality. These devices are designed to stand the test of time, offering reliable performance in challenging environments, thereby making them essential tools for professionals in diverse industries.