520 specifications
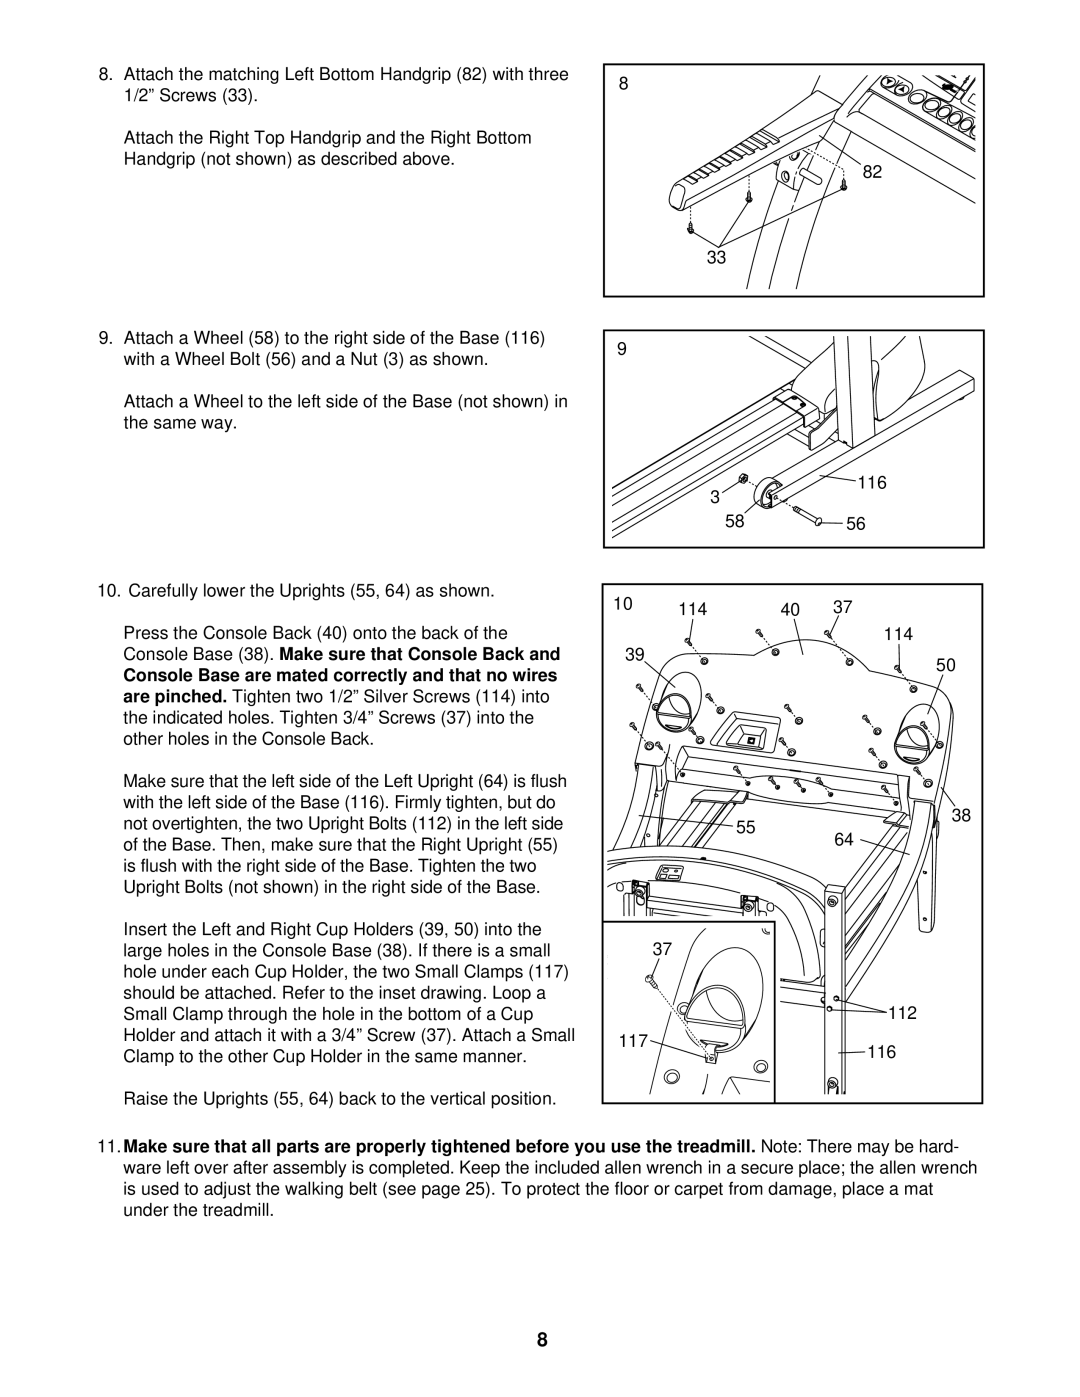
The ProForm 520 is a versatile and highly regarded piece of fitness equipment designed to cater to a wide range of workout enthusiasts, from beginners to seasoned athletes. This innovative treadmill combines performance, durability, and advanced technology to facilitate an effective and enjoyable workout experience.One of the standout features of the ProForm 520 is its powerful motor. Equipped with a robust 2.5 HP motor, the treadmill offers smooth and consistent performance, allowing users to reach speeds of up to 10 mph. This makes it suitable for various workout types, including walking, jogging, and intense running sessions. The motor is also designed for long-lasting endurance, ensuring that the machine can withstand heavy use over time.
The ProForm 520 boasts a spacious running surface, measuring 20 inches wide and 55 inches long. This ample space enhances comfort and stability during exercise, catering to users of all sizes. The cushioned deck technology is another impressive feature, which provides optimal shock absorption, reducing the impact on joints and enhancing overall workout comfort.
Integrated with technology, the ProForm 520 offers an interactive workout experience. The treadmill comes equipped with a 5-inch LCD display that tracks essential metrics such as speed, distance, time, and calories burned. Additionally, it is iFit-enabled, allowing users to access a vast library of on-demand workouts led by professional trainers. This connectivity can transform a standard run into an engaging journey through beautiful landscapes or simulated outdoor terrains.
For those who prefer a personalized approach to training, the ProForm 520 includes adjustable incline settings. Users can adjust the incline up to 10%, which not only increases workout intensity but also helps target different muscle groups, enhancing the effectiveness of sessions.
The ProForm 520 also features convenient built-in speakers, allowing users to connect their music devices or streaming services for motivation throughout their workouts. This feature is complemented by a tablet holder, making it easy to enjoy entertainment or follow workouts seamlessly.
In conclusion, the ProForm 520 offers a comprehensive solution for individuals seeking a reliable treadmill with a selection of modern features and technologies aimed at elevating their fitness journey. Its powerful motor, spacious running surface, iFit compatibility, and adjustable incline work in synergy to create a dynamic workout environment. Whether users are aiming for weight loss, improved endurance, or enhanced athletic performance, the ProForm 520 can help them achieve their fitness goals effectively.

