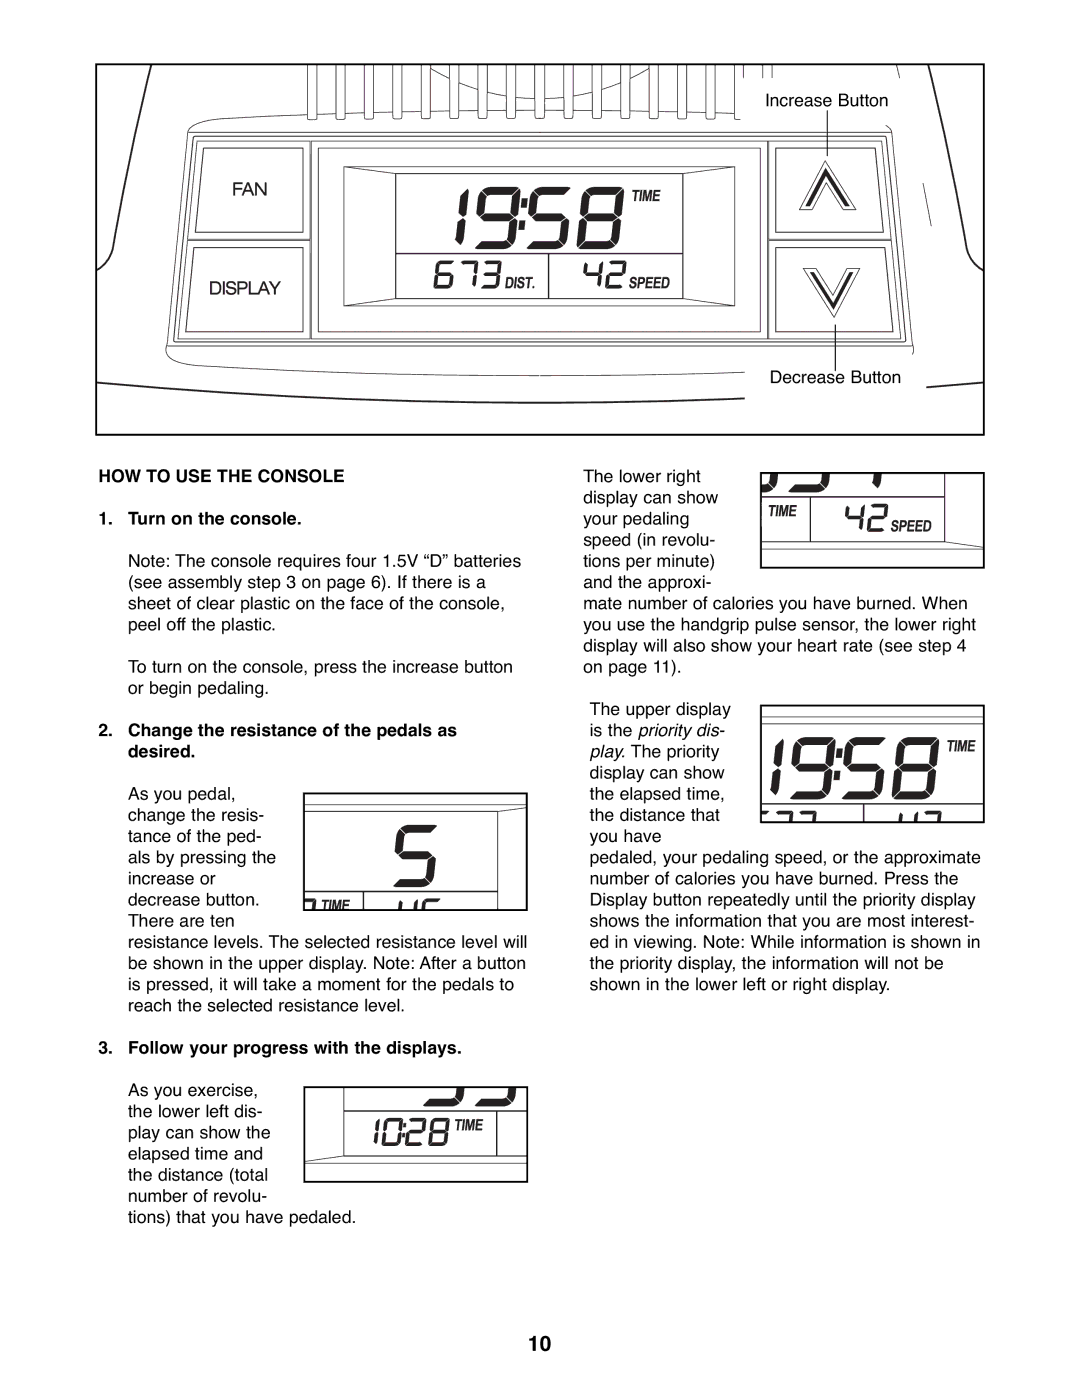
Increase Button |
Decrease Button |
HOW TO USE THE CONSOLE
1.Turn on the console.
Note: The console requires four 1.5V “D” batteries (see assembly step 3 on page 6). If there is a sheet of clear plastic on the face of the console, peel off the plastic.
To turn on the console, press the increase button or begin pedaling.
2.Change the resistance of the pedals as desired.
As you pedal, change the resis- tance of the ped-
als by pressing the increase or decrease button. There are ten
resistance levels. The selected resistance level will be shown in the upper display. Note: After a button is pressed, it will take a moment for the pedals to reach the selected resistance level.
3. Follow your progress with the displays.
As you exercise, the lower left dis-
play can show the elapsed time and
the distance (total number of revolu-
tions) that you have pedaled.
The lower right display can show
your pedaling speed (in revolu-
tions per minute) and the approxi-
mate number of calories you have burned. When you use the handgrip pulse sensor, the lower right display will also show your heart rate (see step 4 on page 11).
The upper display is the priority dis-
play. The priority display can show the elapsed time,
the distance that you have
pedaled, your pedaling speed, or the approximate number of calories you have burned. Press the Display button repeatedly until the priority display shows the information that you are most interest- ed in viewing. Note: While information is shown in the priority display, the information will not be shown in the lower left or right display.
10
