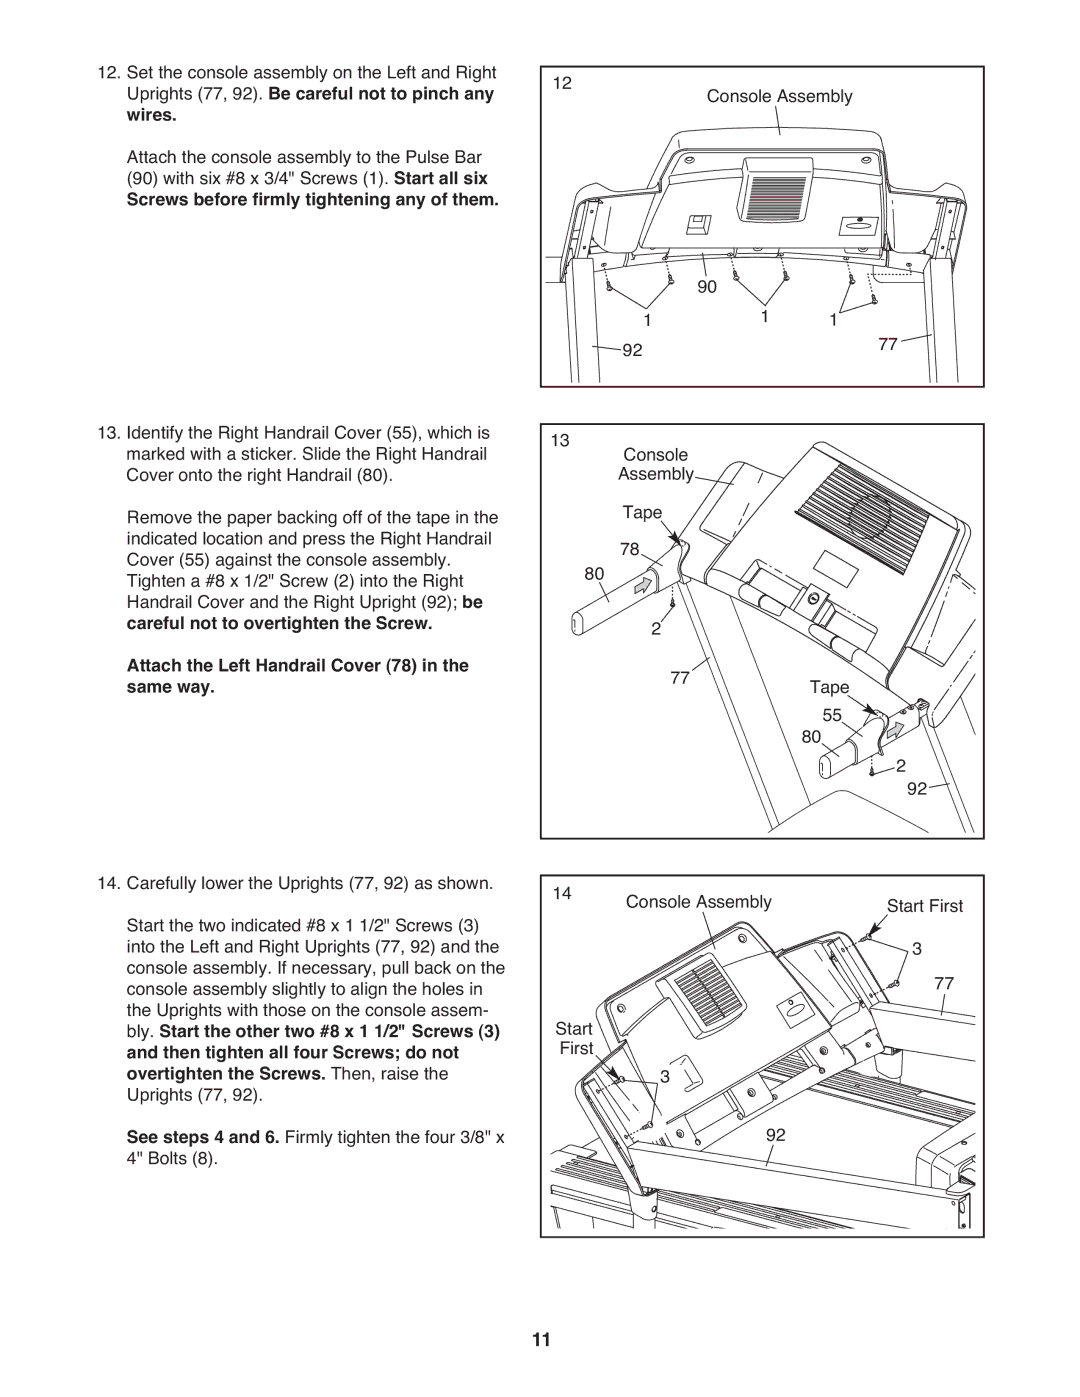
PFTL57908.0 specifications
The ProForm PFTL57908.0 is a versatile and feature-rich treadmill designed to meet the diverse needs of home fitness enthusiasts. Its robust construction and intelligent design make it a standout option for anyone looking to elevate their workout regimen.One of the standout features of the ProForm PFTL57908.0 is its powerful motor. Equipped with a 2.75 CHP motor, this treadmill provides a solid performance that supports speeds up to 12 miles per hour. Whether you’re walking, jogging, or running, this motor ensures a smooth and consistent experience, enabling users to tailor their workouts based on fitness goals.
The spacious running surface is another crucial aspect of the PFTL57908.0. The treadmill has a generous 20-inch by 55-inch deck, offering ample space for comfortable movement. Additionally, it features ProForm's innovative FlexSelect cushioning system, which allows users to choose between a firmer surface for enhanced stability and a softer surface that reduces impact on joints, thereby promoting safer workouts.
Furthermore, the treadmill comes equipped with a variety of pre-programmed workout options. With over 30 built-in workout apps, users can easily select routines tailored to specific fitness targets, whether it be weight loss, endurance training, or muscle toning. The intuitive interface displays relevant stats such as speed, distance, time, and calories burned, providing a comprehensive overview of each session.
Connectivity is another strong suit of the ProForm PFTL57908.0. It is compatible with iFit technology, enabling users to access an extensive library of interactive workouts led by personal trainers from around the world. This integration allows for an engaging workout experience, often simulating outdoor runs and trails.
Safety features are also prioritized with a durable safety key that stops the treadmill in case of unexpected situations. Moreover, the built-in sound system allows for an enjoyable workout atmosphere, with the ability to connect personal devices via Bluetooth.
In summary, the ProForm PFTL57908.0 stands out as a robust and feature-packed treadmill suitable for a wide range of fitness levels. With its powerful motor, large running surface, flexible cushioning, comprehensive workout programs, and smart connectivity, it provides an exceptional platform for achieving personal fitness goals from the comfort of home.

