THE INFORMATION MODE/DEMO MODE | THE OPTIONAL CHEST PULSE SENSOR | |
The console features an information mode that keeps | An optional chest pulse sensor offers | |
track of treadmill usage information. The information | ation as it tracks your heart rate during your workouts. | |
mode also allows you to select miles or kilometers as | To purchase the optional chest pulse sensor, call | |
the unit of measurement and to turn on and turn off the | the | |
demo mode. | of this manual. | |
To select the information mode, hold down the Stop |
| |
button, insert the key into the console, and then release |
| |
the Stop button. When the information mode is se- |
| |
lected, the following information will appear in the dis- |
| |
play: |
| |
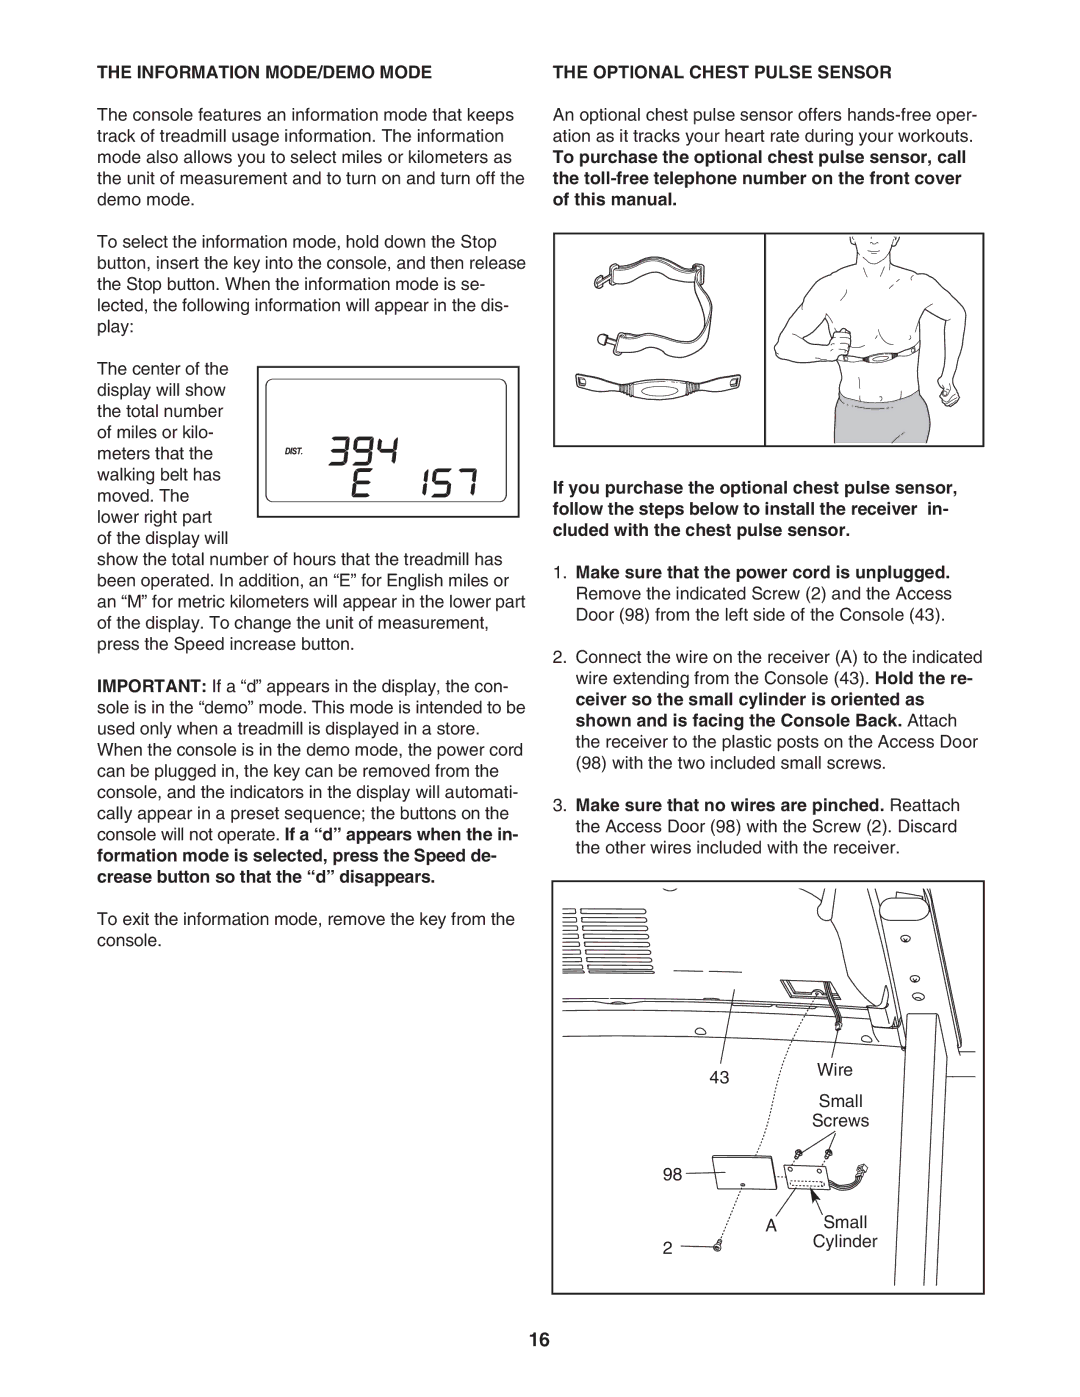
The center of the |
| |
display will show |
| |
the total number |
| |
of miles or kilo- |
| |
meters that the |
| |
walking belt has | If you purchase the optional chest pulse sensor, | |
moved. The | ||
follow the steps below to install the receiver in- | ||
lower right part | ||
cluded with the chest pulse sensor. | ||
of the display will | ||
| ||
show the total number of hours that the treadmill has | 1. Make sure that the power cord is unplugged. | |
been operated. In addition, an “E” for English miles or | ||
Remove the indicated Screw (2) and the Access | ||
an “M” for metric kilometers will appear in the lower part | ||
Door (98) from the left side of the Console (43). | ||
of the display. To change the unit of measurement, | ||
| ||
press the Speed increase button. | 2. Connect the wire on the receiver (A) to the indicated | |
| ||
IMPORTANT: If a “d” appears in the display, the con- | wire extending from the Console (43). Hold the re- | |
ceiver so the small cylinder is oriented as | ||
sole is in the “demo” mode. This mode is intended to be | ||
shown and is facing the Console Back. Attach | ||
used only when a treadmill is displayed in a store. | ||
the receiver to the plastic posts on the Access Door | ||
When the console is in the demo mode, the power cord | ||
(98) with the two included small screws. | ||
can be plugged in, the key can be removed from the | ||
| ||
console, and the indicators in the display will automati- | 3. Make sure that no wires are pinched. Reattach | |
cally appear in a preset sequence; the buttons on the | ||
the Access Door (98) with the Screw (2). Discard | ||
console will not operate. If a “d” appears when the in- | ||
the other wires included with the receiver. | ||
formation mode is selected, press the Speed de- | ||
| ||
crease button so that the “d” disappears. |
| |
To exit the information mode, remove the key from the |
| |
console. |
|
43 Wire
Small
Screws
98 ![]()
A Small
2 | Cylinder |
|
16