Displaying a computer image
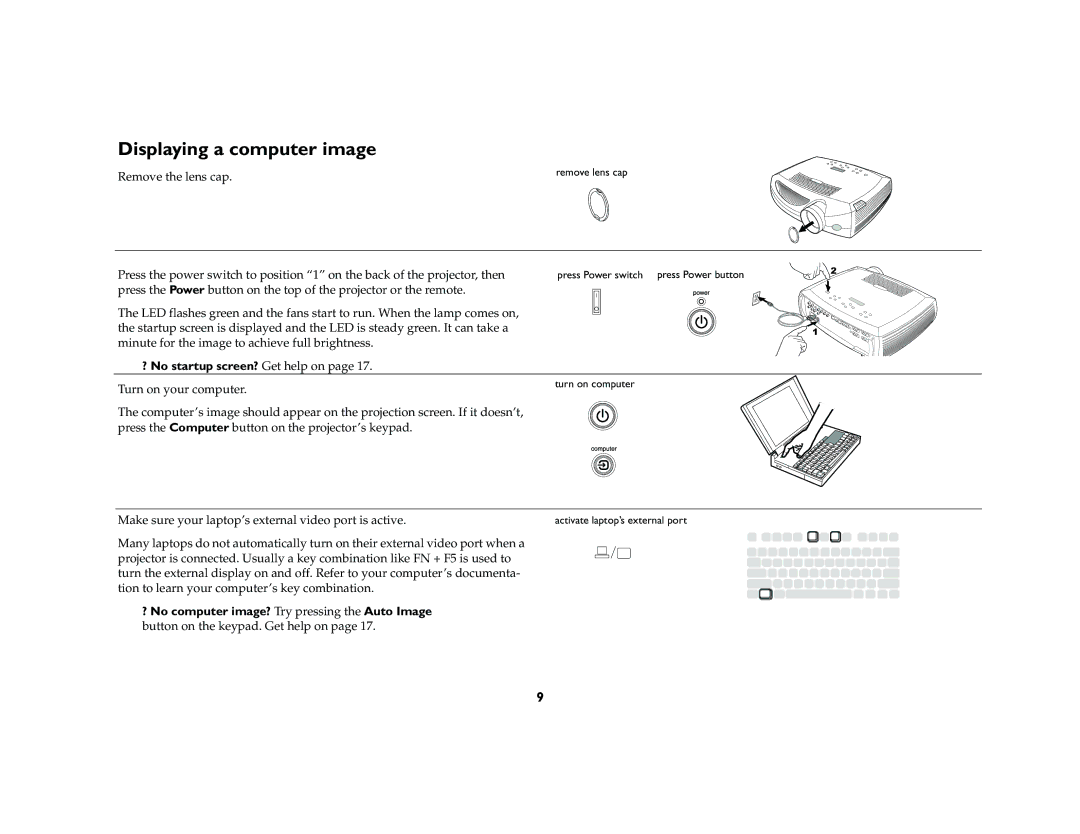
Remove the lens cap. | remove lens cap |
|
Press the power switch to position “1” on the back of the projector, then | press Power switch press Power button | 2 |
| ||
press the Power button on the top of the projector or the remote. | I |
|
The LED flashes green and the fans start to run. When the lamp comes on, | O |
|
|
| |
the startup screen is displayed and the LED is steady green. It can take a |
| 1 |
minute for the image to achieve full brightness. |
|
|
? No startup screen? Get help on page 17.
Turn on your computer. | turn on computer |
|
The computer’s image should appear on the projection screen. If it doesn’t, press the Computer button on the projector’s keypad.
Make sure your laptop’s external video port is active. | activate laptop’s external port |
Many laptops do not automatically turn on their external video port when a projector is connected. Usually a key combination like FN + F5 is used to turn the external display on and off. Refer to your computer’s documenta- tion to learn your computer’s key combination.
?No computer image? Try pressing the Auto Image button on the keypad. Get help on page 17.
9