where
Step 7. To change the switch default gateway IP address enter:
setDefaultRoute -h ipaddress
where
Step 8. To to exit the CLI enter:
logout
Using the Chassis Viewer
Step 1. Power up the switch.
Step 2. Connect a Category 5 or 6 (Cat 5/6) Ethernet cable to the
Step 3. To start Chassis Viewer, open a web browser and enter the IP of the switch.
NOTE: The browser must be on a workstation connected to the same Ethernet LAN, and on the same TCP/IP subnet as the switch
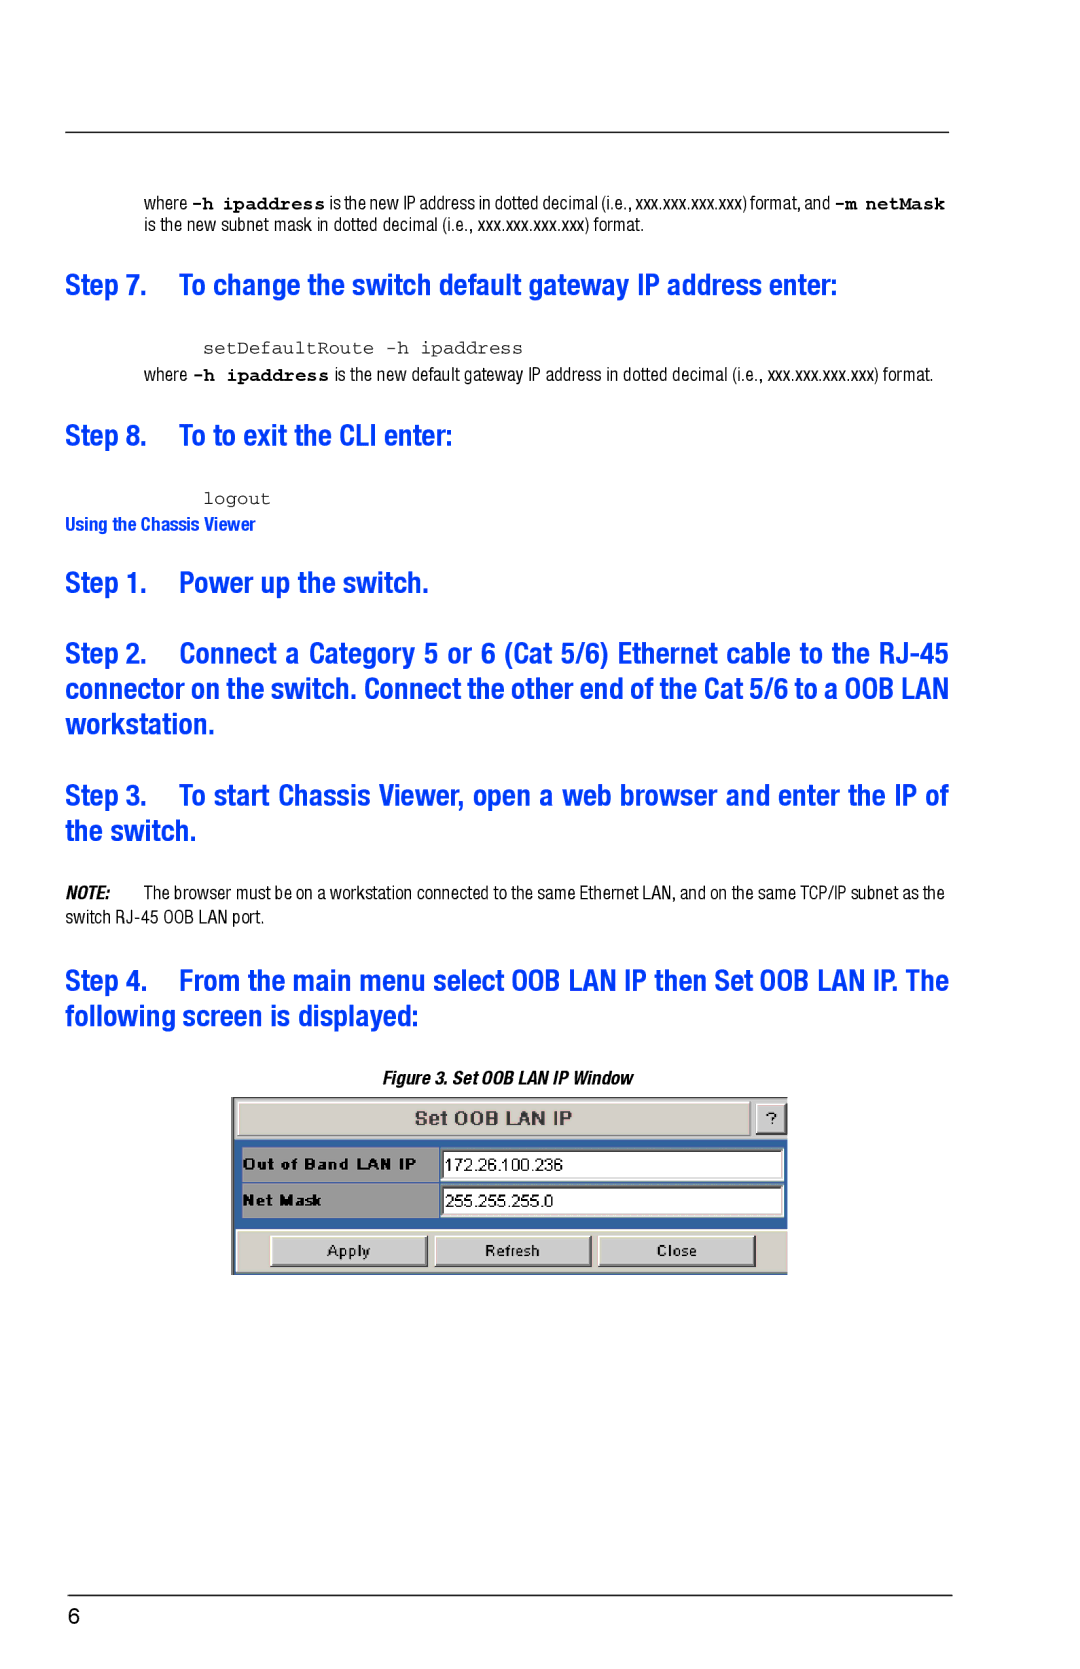
Step 4. From the main menu select OOB LAN IP then Set OOB LAN IP. The following screen is displayed:
Figure 3. Set OOB LAN IP Window
6