Q-SEE QUICK INSTALLATION GUIDE
MODEL NUMBER QC40196-835
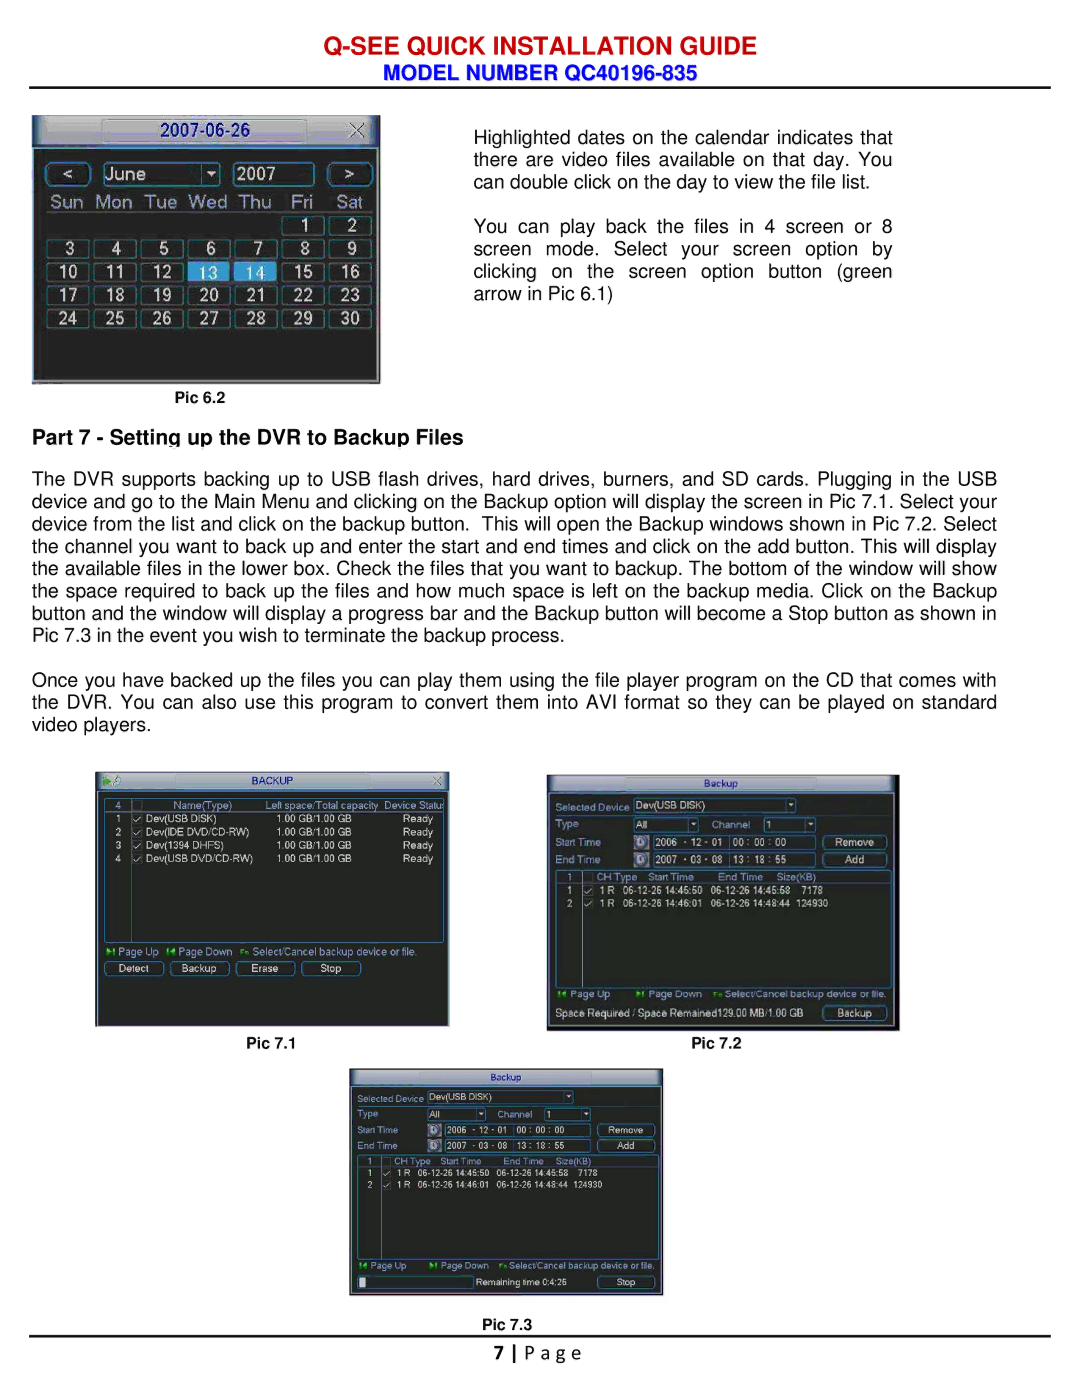
Highlighted dates on the calendar indicates that there are video files available on that day. You can double click on the day to view the file list.
You can play back the files in 4 screen or 8 screen mode. Select your screen option by clicking on the screen option button (green arrow in Pic 6.1)
Pic 6.2
Part 7 - Setting up the DVR to Backup Files
The DVR supports backing up to USB flash drives, hard drives, burners, and SD cards. Plugging in the USB device and go to the Main Menu and clicking on the Backup option will display the screen in Pic 7.1. Select your device from the list and click on the backup button. This will open the Backup windows shown in Pic 7.2. Select the channel you want to back up and enter the start and end times and click on the add button. This will display the available files in the lower box. Check the files that you want to backup. The bottom of the window will show the space required to back up the files and how much space is left on the backup media. Click on the Backup button and the window will display a progress bar and the Backup button will become a Stop button as shown in Pic 7.3 in the event you wish to terminate the backup process.
Once you have backed up the files you can play them using the file player program on the CD that comes with the DVR. You can also use this program to convert them into AVI format so they can be played on standard video players.
Pic 7.1 | Pic 7.2 |
Pic 7.3
7 P a g e