QH25DVR4C specifications
The Q-See QH25DVR4C is a state-of-the-art digital video recorder (DVR) designed for modern security and surveillance needs. This device provides an impressive solution for monitoring both residential and commercial properties, ensuring peace of mind through advanced technology and user-friendly features.One of the standout characteristics of the QH25DVR4C is its ability to support up to four high-definition channels. This allows users to connect multiple cameras simultaneously, providing comprehensive coverage of the monitored area. Each channel can record in 1080p resolution, delivering crystal-clear images with vibrant colors and sharp details. This level of clarity is essential for accurate identification and monitoring, making it ideal for security applications.
The DVR utilizes H.264 video compression technology, which minimizes file sizes while maintaining high-quality video output. This efficient compression enables users to store more footage without sacrificing quality. Additionally, the device includes substantial storage capabilities, with options for up to 2TB HDD, allowing for extended recording periods before footage needs to be overwritten.
Another key feature of the QH25DVR4C is its user-friendly interface. It offers a straightforward setup process, making it accessible for users with varying levels of technical expertise. The remote viewing capability is another significant advantage, as it allows users to access live and recorded footage from anywhere using a smartphone, tablet, or computer. This real-time access is invaluable for those seeking to monitor their properties while away.
The Q-See QH25DVR4C also incorporates motion detection technology, enabling the system to start recording only when motion is detected. This feature not only saves storage space but also makes it easier to review footage by eliminating unnecessary recordings. Furthermore, users can customize the motion detection zones to focus on specific areas of interest, enhancing the security coverage.
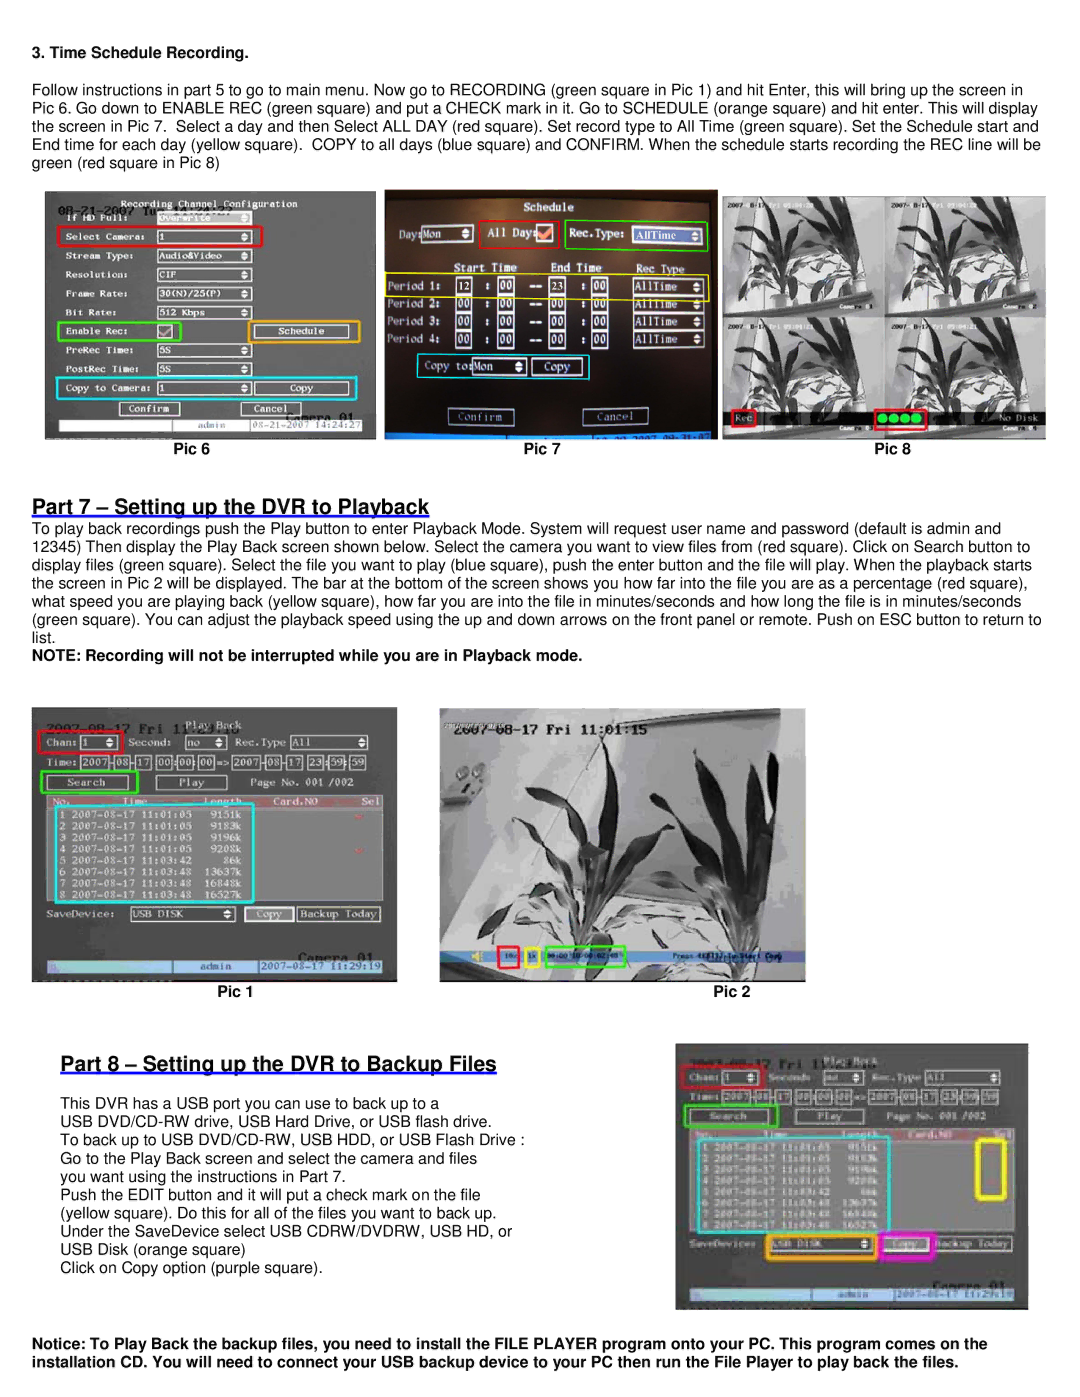
Additional functionalities include the option for scheduled recording and playback capabilities, ensuring users can customize their surveillance according to their needs. The device is also equipped with a USB port for easy backup and transfer of files.
In summary, the Q-See QH25DVR4C represents a powerful and versatile solution for anyone looking to enhance their security system. With high-definition video recording, efficient storage, user-friendly features, and remote accessibility, this DVR stands out as a reliable choice for comprehensive surveillance solutions. Whether for personal safety or business security, the QH25DVR4C delivers quality, convenience, and peace of mind.

