AD-C81Tw specifications
The QSC Audio AD-C81Tw is a versatile and high-performance ceiling loudspeaker designed to meet the demands of a variety of commercial audio applications, such as retail spaces, corporate environments, and hospitality venues. With its sleek design and advanced technology, the AD-C81Tw delivers exceptional sound quality while blending seamlessly into any architectural setting.One of the standout features of the AD-C81Tw is its 8-inch, low-frequency driver, which ensures impactful bass response and a well-balanced sound profile. The speaker also incorporates a high-frequency tweeter that delivers crisp, articulate highs, making it ideal for speech reinforcement as well as music playback. The coaxial design of the driver and tweeter allows for a streamlined installation process and optimum sound dispersion, providing even coverage across the listening area.
The AD-C81Tw is equipped with QSC's patented acoustic technology that enhances performance and reliability. The inclusion of a 70/100V transformer allows for flexibility in installation and makes it easier to reach long distances without losing audio quality. This feature is particularly useful in large venues where sound needs to be distributed uniformly.
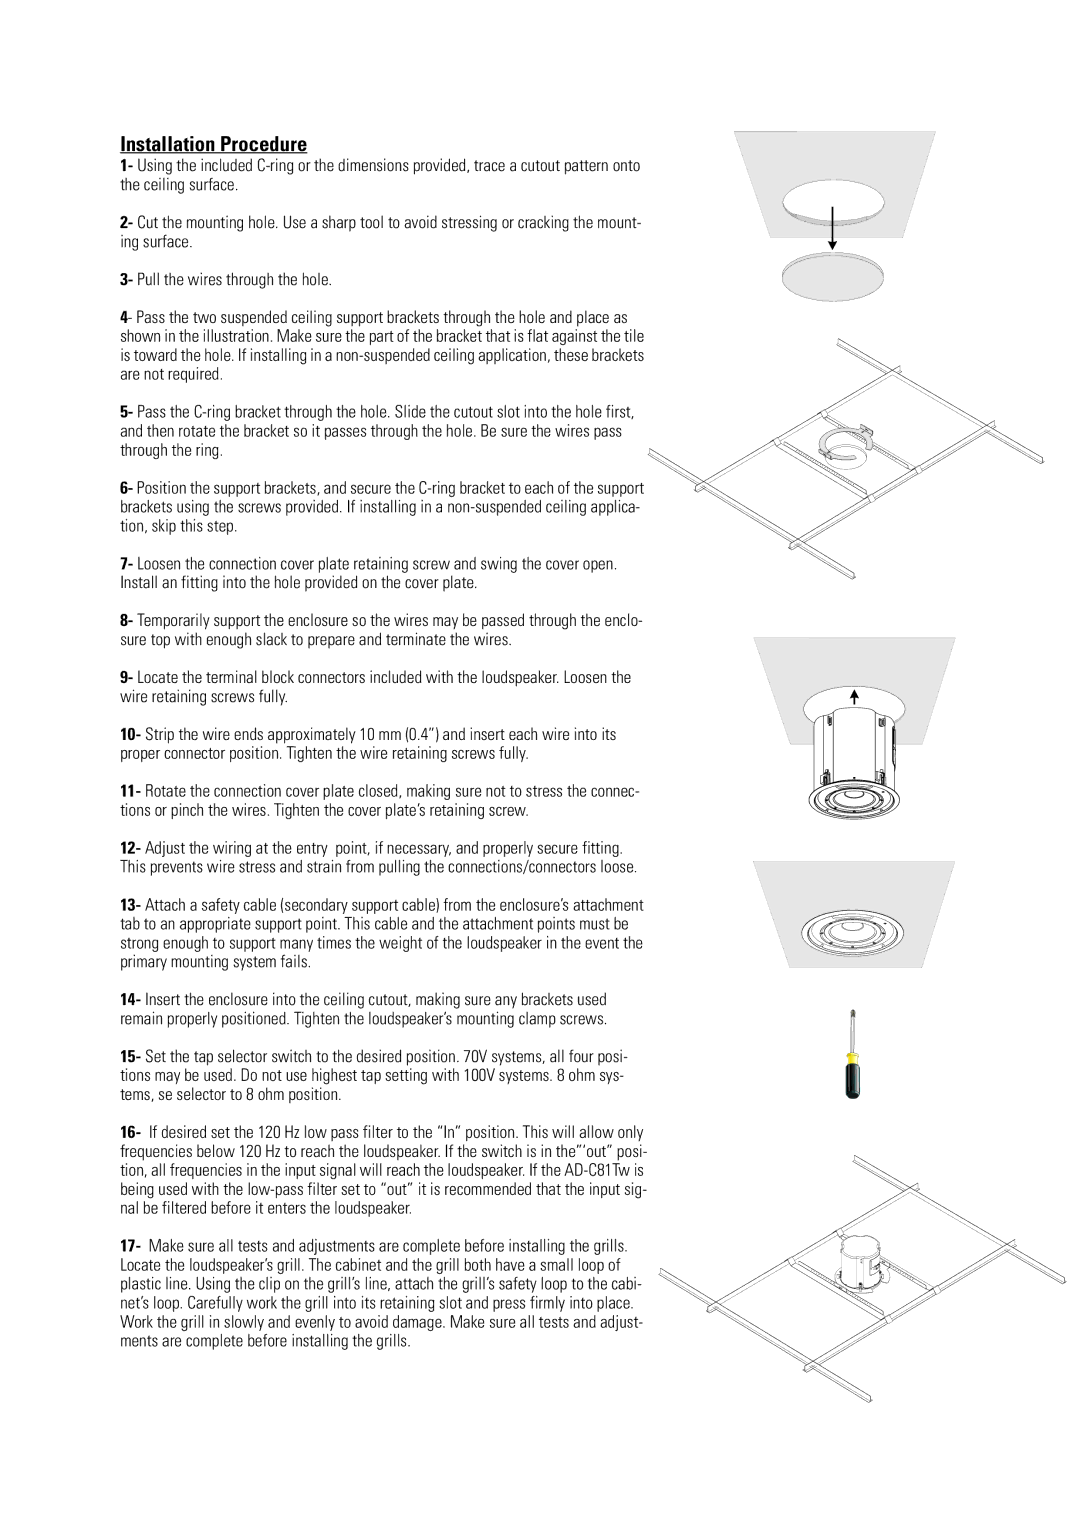
Another key characteristic of the AD-C81Tw is its quick-install design. The speaker is engineered with a simple mounting system that minimizes installation time and complexity, making it a favorite among contractors and system integrators. The back can is built to fit standard ceiling cutouts, and its integrated mounting hardware ensures a secure fit in various ceiling types.
The QSC AD-C81Tw is also designed with durability in mind. Its robust construction, combined with weather-resistant materials, makes it suitable for both indoor and outdoor applications. This ensures longevity and consistent performance in different environmental conditions.
In addition to its acoustic performance, the AD-C81Tw features a modern, low-profile appearance that complements any decor. The grille can be painted to match the surrounding ceiling, allowing for unobtrusive integration into various spaces.
Overall, the QSC Audio AD-C81Tw stands out as a reliable choice for those seeking a high-quality ceiling speaker that combines great sound with user-friendly features and stylish design, making it a perfect fit for a wide range of audio installations.

