
CD-8150 specifications
The Radio Shack CD-8150 is a well-regarded compact disc player that gained popularity during the late 1980s and early 1990s, a time when CD technology was rapidly evolving and gaining traction over traditional analog formats. As a pioneer in the field, the CD-8150 not only served music enthusiasts but also represented the technological advancements of its era.One of the primary features of the CD-8150 is its excellent audio quality. Equipped with a 16-bit Digital-to-Analog Converter (DAC), it provided a clear and crisp sound that allowed listeners to appreciate the full dynamic range of their music. This was complemented by its ability to play standard CDs, CD-Rs, and CD-RWs, making it versatile for its time. The player also featured a dual-speed transport mechanism that enhanced playback reliability and minimized errors.
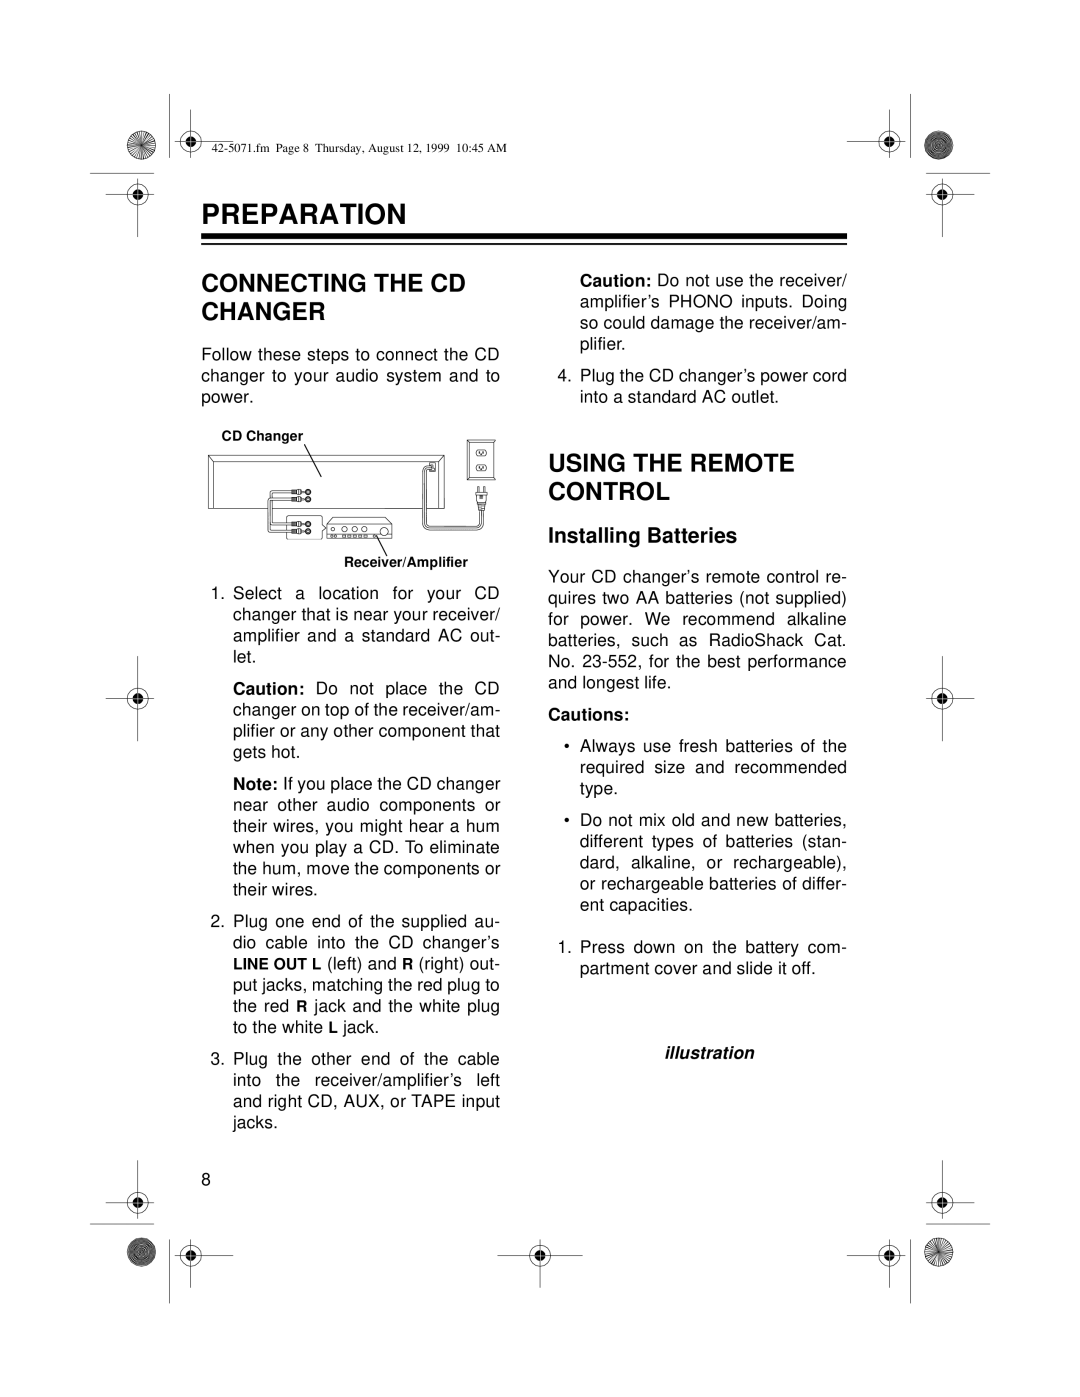
The CD-8150 was designed with user convenience in mind. It included a straightforward control interface, with clearly labeled buttons for easy navigation through tracks. Additionally, the remote control feature allowed users to control playback from a distance, enhancing the overall listening experience, especially during gatherings or while relaxing at home.
Another noteworthy aspect of the CD-8150 was its capability to execute various playback modes, such as shuffle and repeat. This functionality catered to diverse listening preferences and made it easier for users to enjoy their favorite tracks in their preferred order. Moreover, the device featured a multi-segment LED display that provided visual feedback on track selection, time elapsed, and remaining time, contributing to ease of use.
In terms of build quality, the CD-8150 was robustly constructed, featuring a solid chassis that reduced vibration and resonance during operation. This attention to design helped preserve the integrity of the audio signal, further enhancing sound reproduction.
While it may not have the advanced features and connectivity options seen in today’s digital devices, the Radio Shack CD-8150 remains a memorable piece of audio hardware that reflects a period when compact discs revolutionized the way people experienced music. Its combination of audio fidelity, user-friendly design, and solid construction have cemented its place as a significant player in the evolution of home audio systems. For collectors and vintage audio enthusiasts, the CD-8150 represents an important chapter in the story of digital music playback.