3.Plug the modular cord’s other end into the wall plate jack, then align the base’s keyhole slots with the wall plate studs and slide the base downward to secure it.
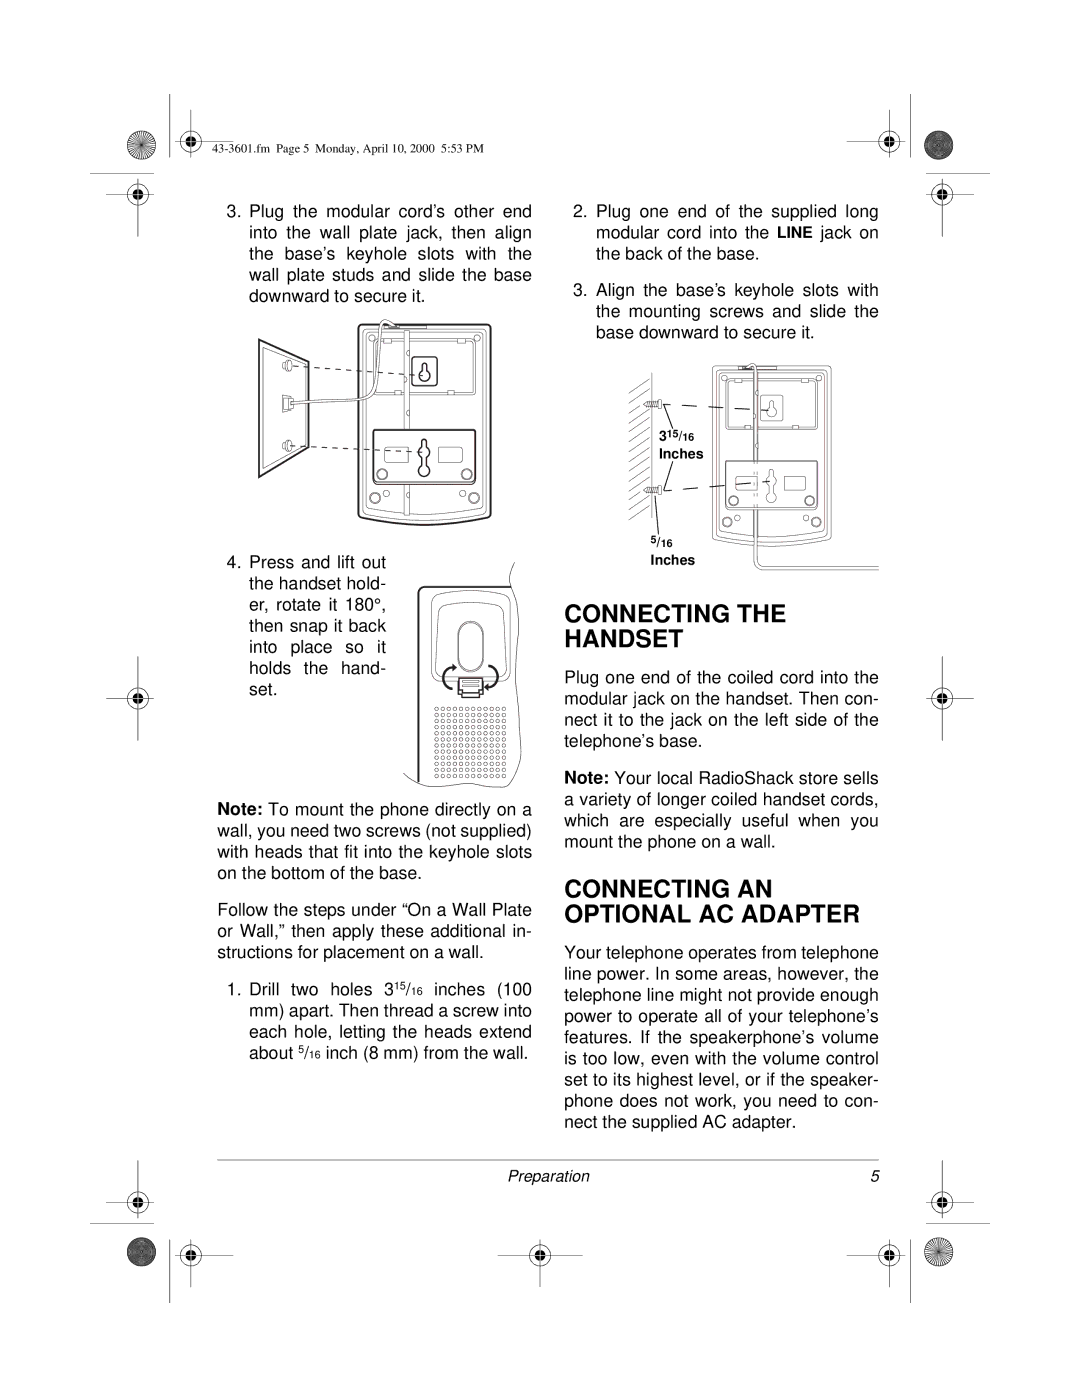
2.Plug one end of the supplied long modular cord into the LINE jack on the back of the base.
3.Align the base’s keyhole slots with the mounting screws and slide the base downward to secure it.
4.Press and lift out the handset hold- er, rotate it 180°, then snap it back
into place so it holds the hand- set.
Note: To mount the phone directly on a wall, you need two screws (not supplied) with heads that fit into the keyhole slots on the bottom of the base.
Follow the steps under “On a Wall Plate or Wall,” then apply these additional in- structions for placement on a wall.
1.Drill two holes 315/16 inches (100 mm) apart. Then thread a screw into each hole, letting the heads extend about 5/16 inch (8 mm) from the wall.
315/16
Inches
5/16
Inches
CONNECTING THE
HANDSET
Plug one end of the coiled cord into the modular jack on the handset. Then con- nect it to the jack on the left side of the telephone’s base.
Note: Your local RadioShack store sells a variety of longer coiled handset cords, which are especially useful when you mount the phone on a wall.
CONNECTING AN OPTIONAL AC ADAPTER
Your telephone operates from telephone line power. In some areas, however, the telephone line might not provide enough power to operate all of your telephone’s features. If the speakerphone’s volume is too low, even with the volume control set to its highest level, or if the speaker- phone does not work, you need to con- nect the supplied AC adapter.
Preparation | 5 |
| ||
|
|
|
|
|
|
|
|
|
|
|
|
|
|
|