INSTALLATION
MOUNTING THE PHONE
You can place the
•near an AC outlet
•near a modular telephone line jack
•out of the way of normal activities
Caution: You must use a Class 2
!power source that supplies 9 volts DC and delivers at least 300 mA. Its center tip must be set to negative, and its plug must fit the
Connecting the AC Adapter
1.Insert the supplied AC adapter's barrel plug into the 9V DC jack on the back of the phone.
|
| DC 9V | TEL LINE | |
ADJUST | LINE 2 DEFEAT | + | - | ! |
LINE 1 LINE 2 | OFF - ON |
|
|
|
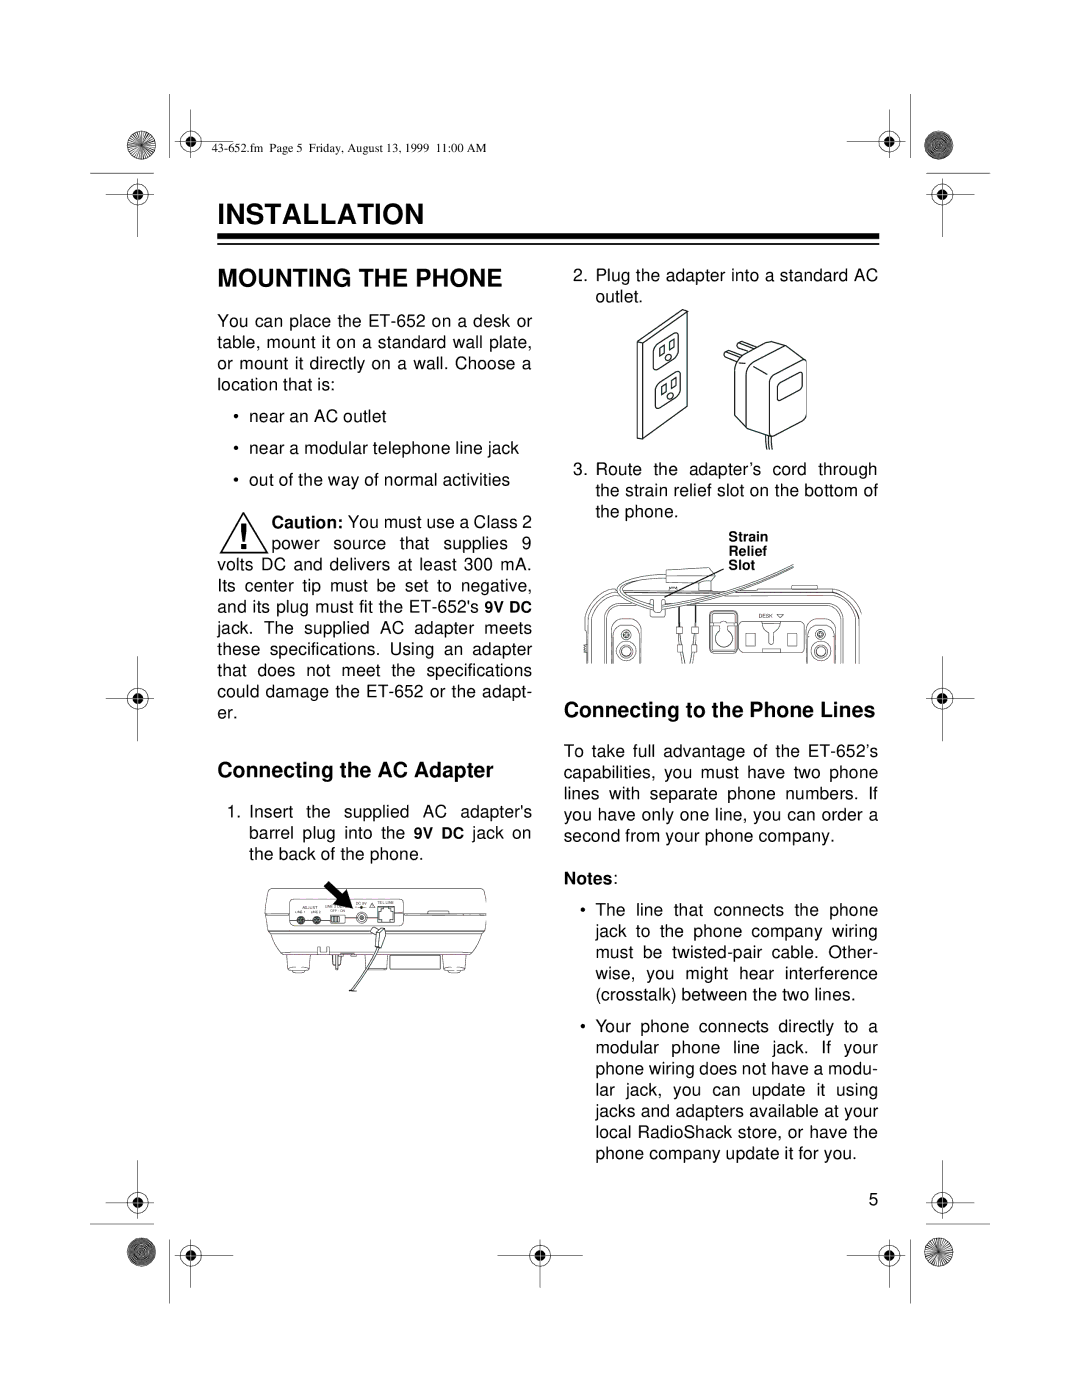
2.Plug the adapter into a standard AC outlet.
3.Route the adapter’s cord through the strain relief slot on the bottom of the phone.
Strain
Relief
Slot
DESK
Connecting to the Phone Lines
To take full advantage of the
Notes:
•The line that connects the phone jack to the phone company wiring must be
•Your phone connects directly to a modular phone line jack. If your phone wiring does not have a modu- lar jack, you can update it using jacks and adapters available at your local RadioShack store, or have the phone company update it for you.
5